


Whipping Up Whoville Magic: Easy Grinch Cookie Cups Recipe!
Hey, festive friends! If you’re ready to sprinkle a little Whoville magic into your holiday baking, you’re in for a treat – literally! Today, we’re diving into the whimsical world of Grinch Cookie Cups, a delightfully easy recipe that promises to bring mischievous joy to your kitchen. So, grab your Santa hat and let’s get baking!


A Dash of Whoville in Every Bite
The holiday season is upon us, and what better way to celebrate than with a touch of Grinchy goodness? We’re talking about Grinch Cookie Cups – a simple yet magical recipe that transforms basic ingredients into a whimsical treat straight from Whoville. No need to stress over complex steps; we’re keeping it easy, breezy, and oh-so-fun!

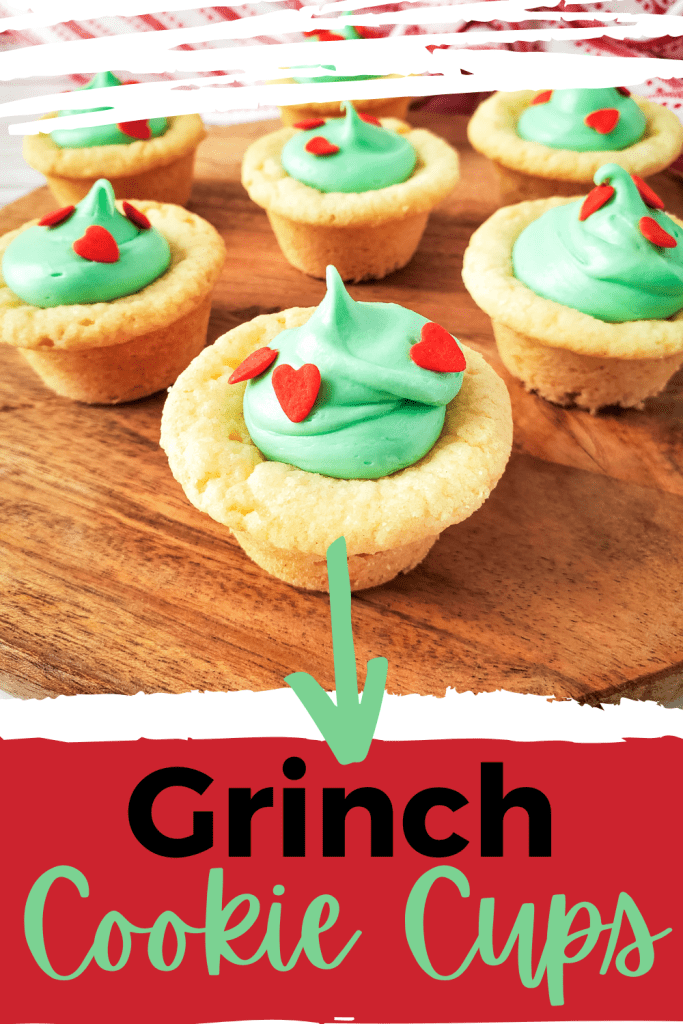
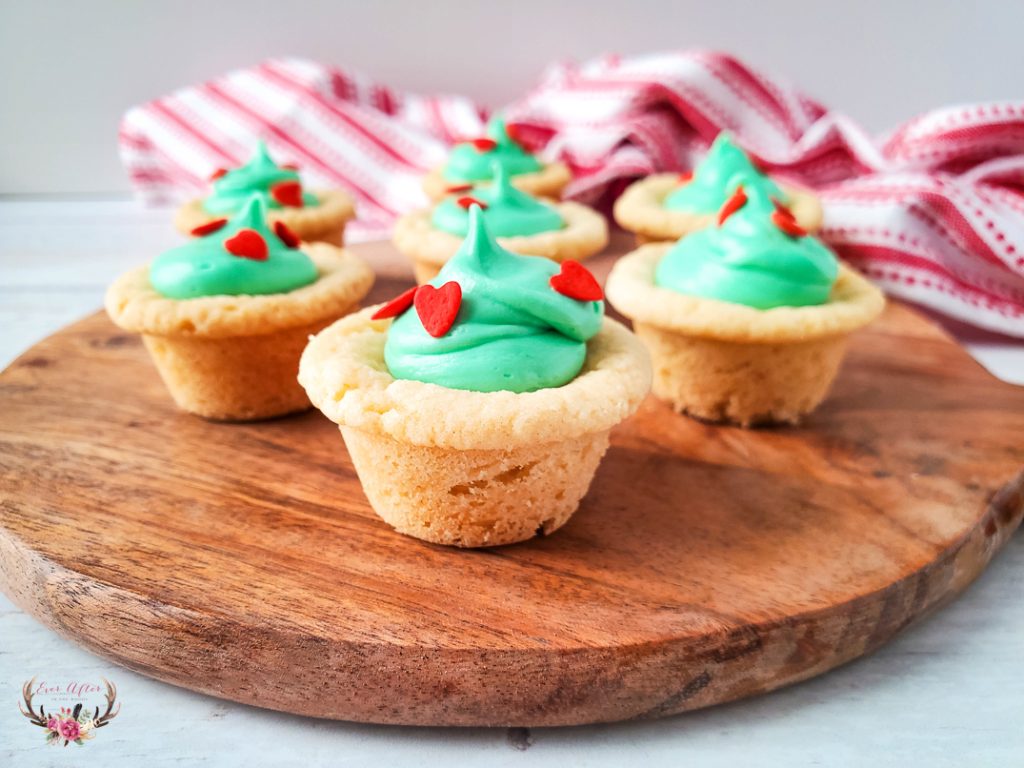
Easy Grinch Cookie Cups
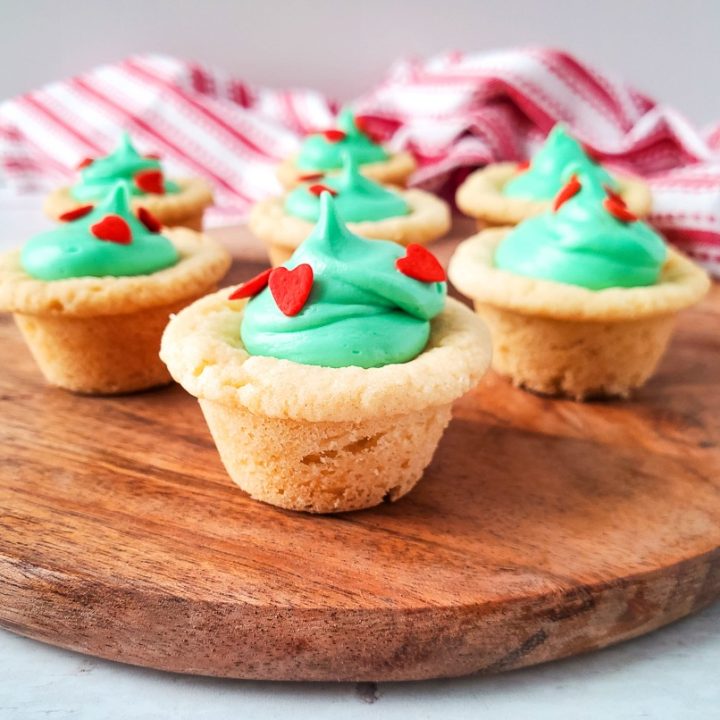
Super easy to make, these cookie cups are premade cookie dough baked in a mini muffin pan, with piped frosting and red heart sprinkles.
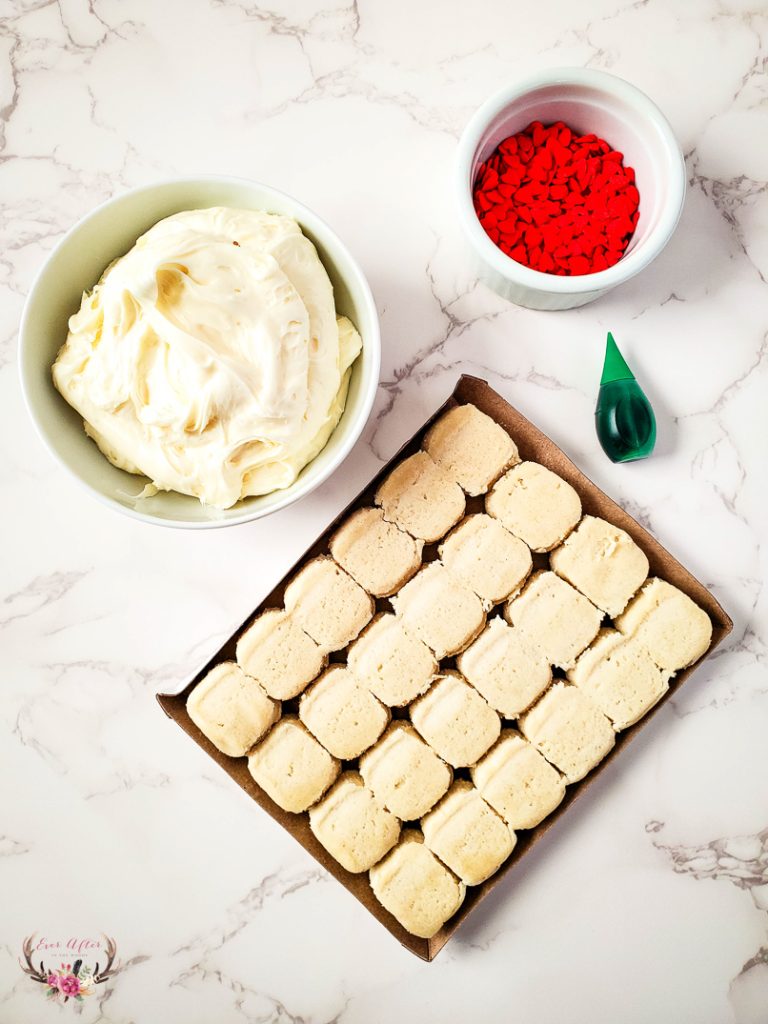
Ingredients:
Let’s start with the basics – here’s what you’ll need:
– 24 oz Ready To Bake Sugar Cookie Dough (24 ct)
– 1 cup white frosting
– 16-20 drops green food coloring
– Red heart sprinkles
No need to scour the grocery store for rare ingredients. The magic is in the simplicity!

Instructions for Grinch Cookie Cups
1. First things first, preheat that oven to 350 degrees. It’s the warm welcome your Grinchy creations deserve.
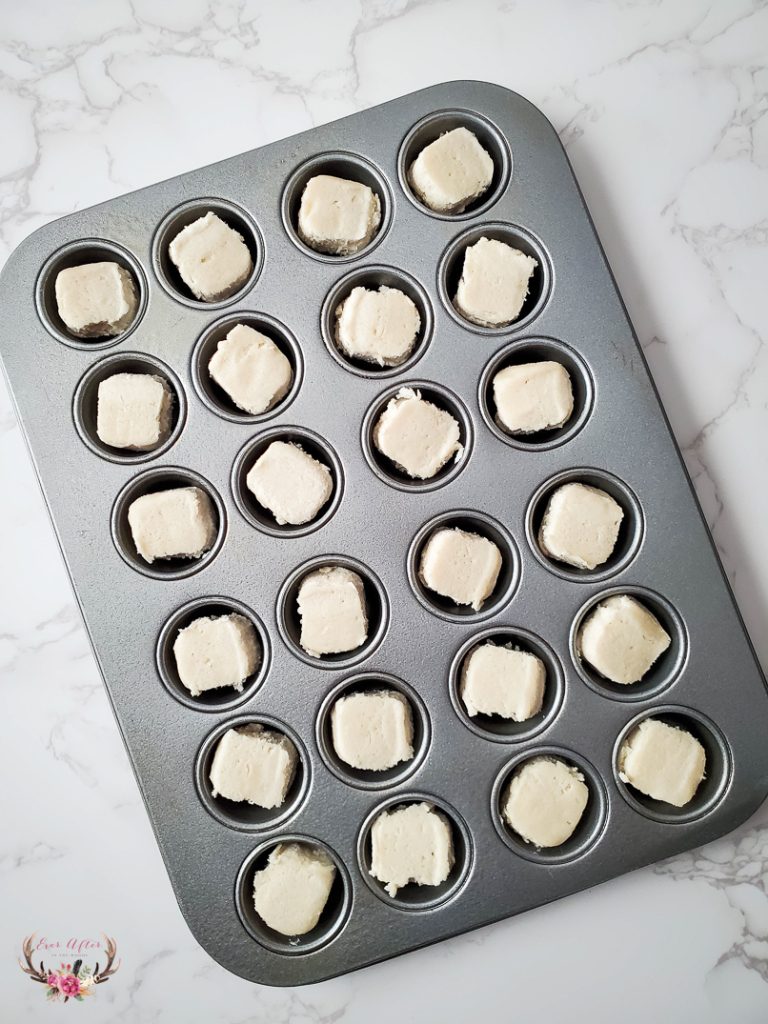
2. Take a deep breath as you place one piece of cookie dough into each cavity of a 24-count mini cupcake pan. It’s like creating a mini Grinch habitat!
3. Transfer the pan into the oven and let the magic happen. In 17-20 minutes, witness the golden transformation that will fill your kitchen with irresistible aromas.
4. Remove the pan, and let your cookie cups cool on a wire rack for one hour. This is your time to practice your best Grinch grin!
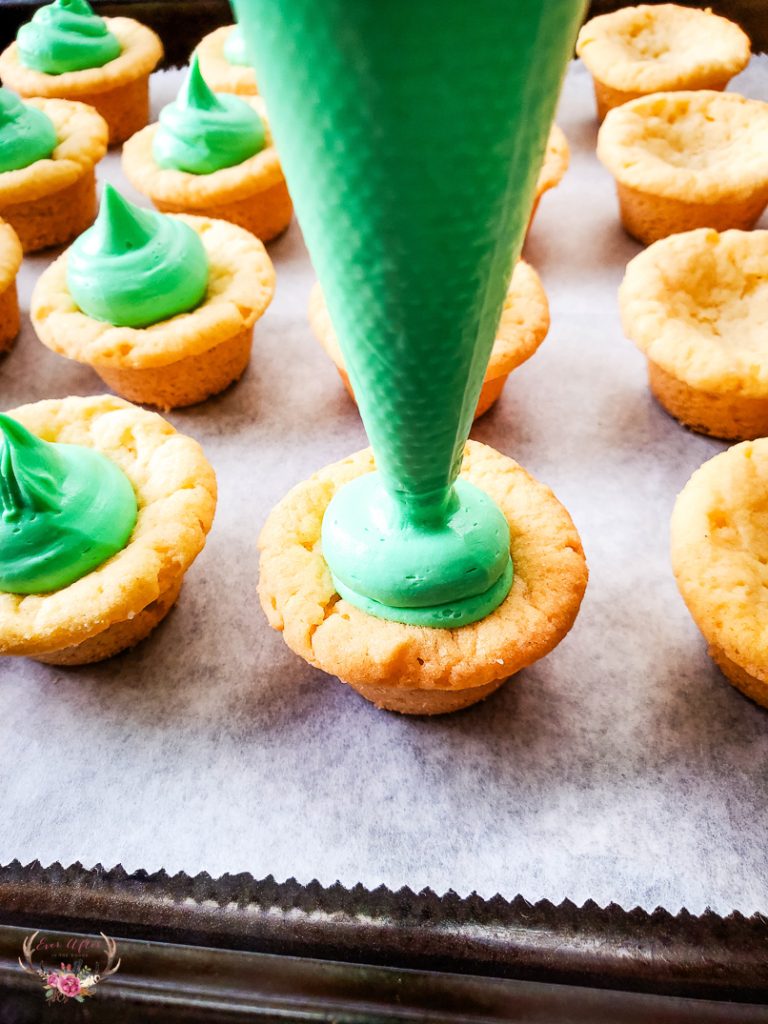
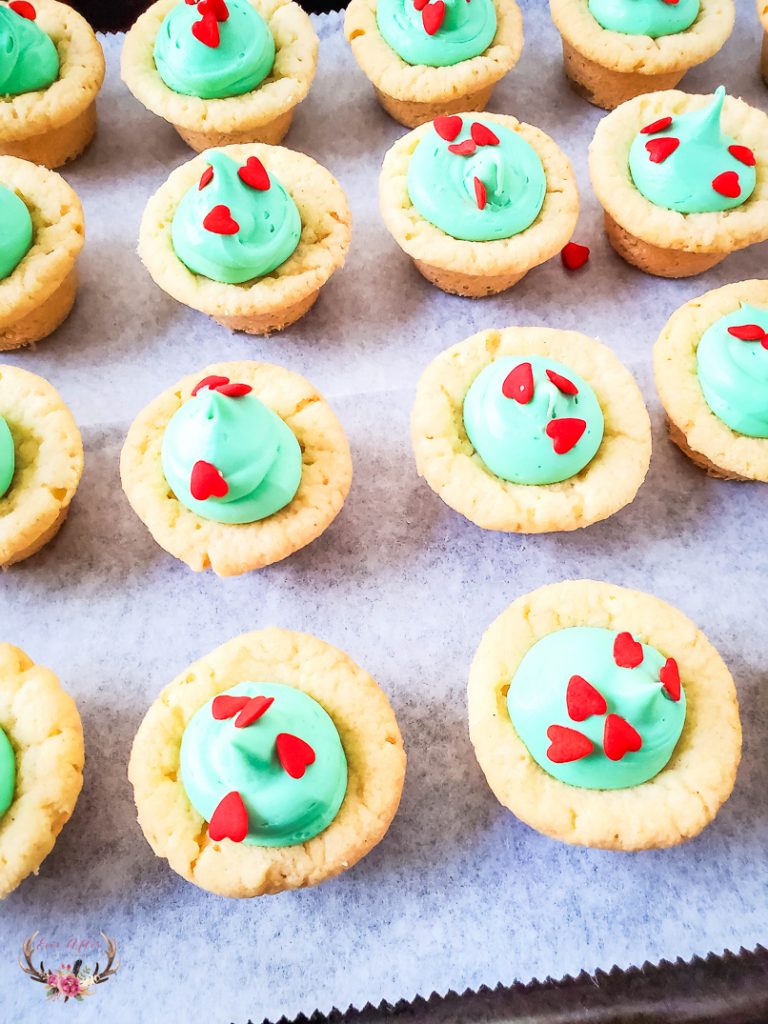
5. As your cookie cups cool, whip up a vibrant green frosting by stirring food coloring into white frosting. Then, pipe it into each cup and crown your creations with red heart sprinkles. It’s the finishing touch that adds a sprinkle of love.
Why We Love Grinch Cookie Cups
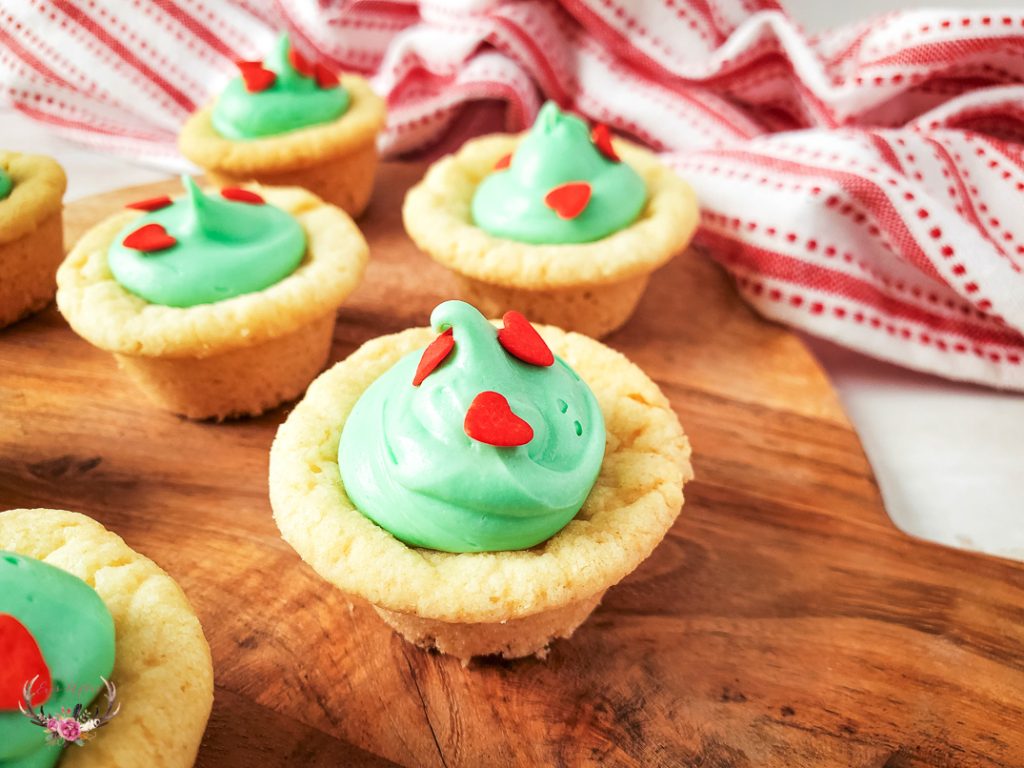
The beauty of Grinch Cookie Cups lies not just in their simplicity, but in the joy they bring. They’re perfect for spontaneous baking sessions, family gatherings, or as a delightful surprise for your inner circle. Plus, the little Grinch hearts are bound to steal smiles from anyone lucky enough to take a bite!
Let the Grinchy Festivities Begin!
And there you have it, a recipe that transforms basic ingredients into a festive masterpiece. Grinch Cookie Cups are not just treats; they’re a gateway to Whoville magic and mischievous joy. So, gather your ingredients, preheat that oven, and get ready to savor the sweetness of the season. Happy baking, and may your holidays be as whimsical as a Grinchy grin!
How to Bake in Batches to Make the Most of Your Baking Time
One way to handle your holiday baking is to bake in batches, then freeze and store for the big day. You can do this successfully over a couple of weeks with batch baking and batch preparing.
The biggest thing to remember is to only try a few different types of things in one day, or focus on just one type of baked good in one day. For example, you might want to bake all your quick breads in one day. Another day you can prepare all your cookie dough. Yet another time, you can bake all your fruit pies and so forth. This process makes the most of the time you have, the space you have, and your skill level.
Be Prepared
Don’t try batch baking without a plan of action. Be sure to write down your plans in advance so that you are sure you have enough time to do everything that you’ve planned. To figure out a basic time line, add up the prep time, the baking time for each oven full, and then multiply that by 1.5 to account for a little extra issues happening. Then you should be sure that you have enough time.
Get Everything Ready to Go
Your kitchen should be spotless when you start, and ensure that you have all the ingredients and appliances necessary to make each item ready to go. If you know, for example, that today you’ll be using about 10 pounds of flour, consider using a large bowl to hold the flour so you can easily spoon the flour into the measuring cup, flatten off over the bowl, without having to get into the bag over and over which usually means spillage.
Clean as You Go
Fill your sink immediately with hot soapy water so you can clean as you go. You will want to wash your mixing dishes and other utensils during the baking process so that you can use them again. There’s no point in totally destroying your kitchen as you batch bake, and you don’t have to. Set out a draining board, fill the sink with hot soapy water, and wash as you go. There are many opportunities during baking to wash a couple of dishes, and this will make the clean-up faster, and the process more organized.
All Day Batch Baking
You can set aside a day for batch baking such as a Saturday. Plan for all day baking, which usually entails 8 to 10 hours of work. Ensure that any other chores are done, including the shopping, and the kitchen is clean and ready prior to baking day. It’s important to organize your recipes with some logic behind them. For example, if you need dough to rise, start that first, so that it can be rising as you are preparing other things such as cookie dough or pie crusts. Both can be put in the refrigerator or freezer after preparation while you bake the bread, then baked after you bake the bread while the oven is still hot and ready.


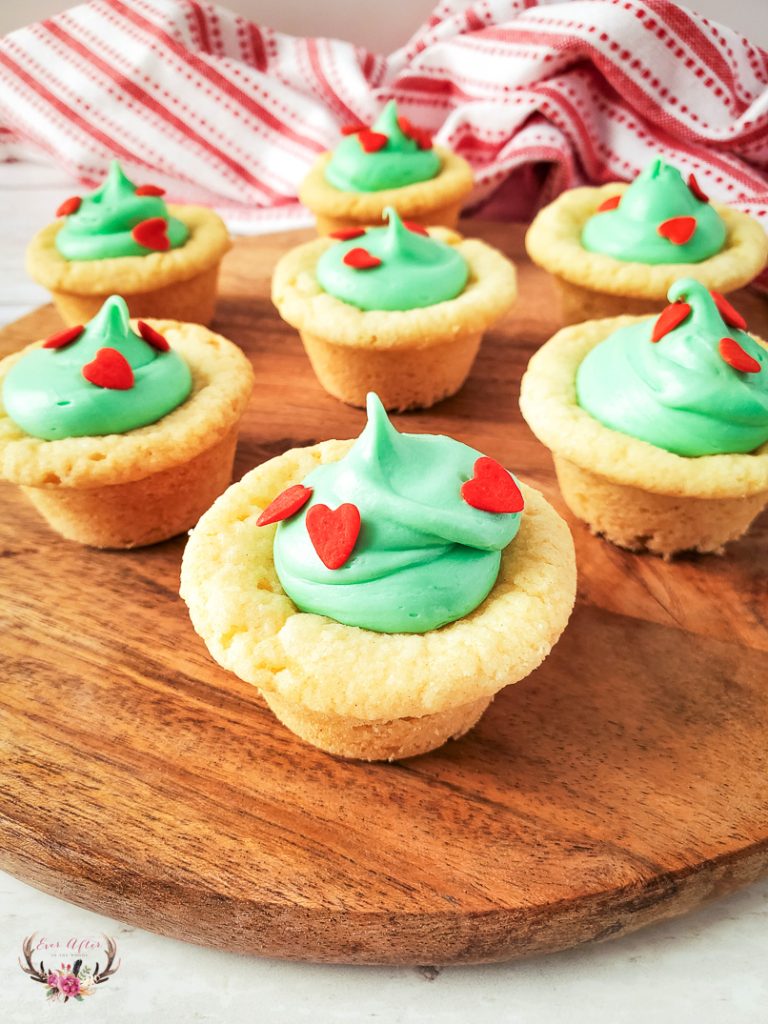
Grinch Cookie Cups
Super easy to make, these Grinch cookie cups are premade cookie dough baked in a mini muffin pan, with piped frosting and red heart sprinkles.
Ingredients
- 24 oz Ready To Bake Sugar Cookie Dough (24 ct)
- 1 cup white frosting
- 16-20 drops green food coloring
- Red heart sprinkles
Instructions
Preheat the oven to 350 degrees.
Place one piece of cookie dough into each cavity of a 24 count mini cupcake pan.
Transfer the pan to the oven, and bake for 17-20 minutes, or until cookies are golden.
Remove the pan from the oven and set on a wire cooling rack for 1 hour.
Carefully remove the cookie cups. You may gently use a butterknife around the edge to help pop it out.
Add frosting to a bowl, and stir in food coloring, until you have a solid color.
Add frosting to a piping bag, or plastic baggie, and snip off the end. Pipe frosting into each of the cookie cups, and top with a few heart sprinkles.
Notes
store in an airtight
container