


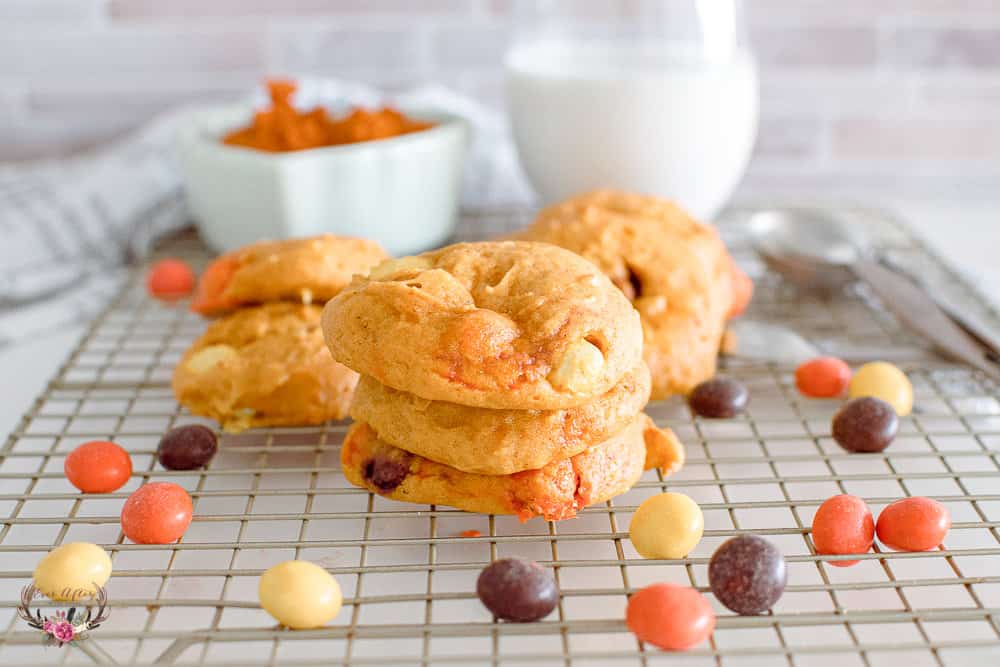
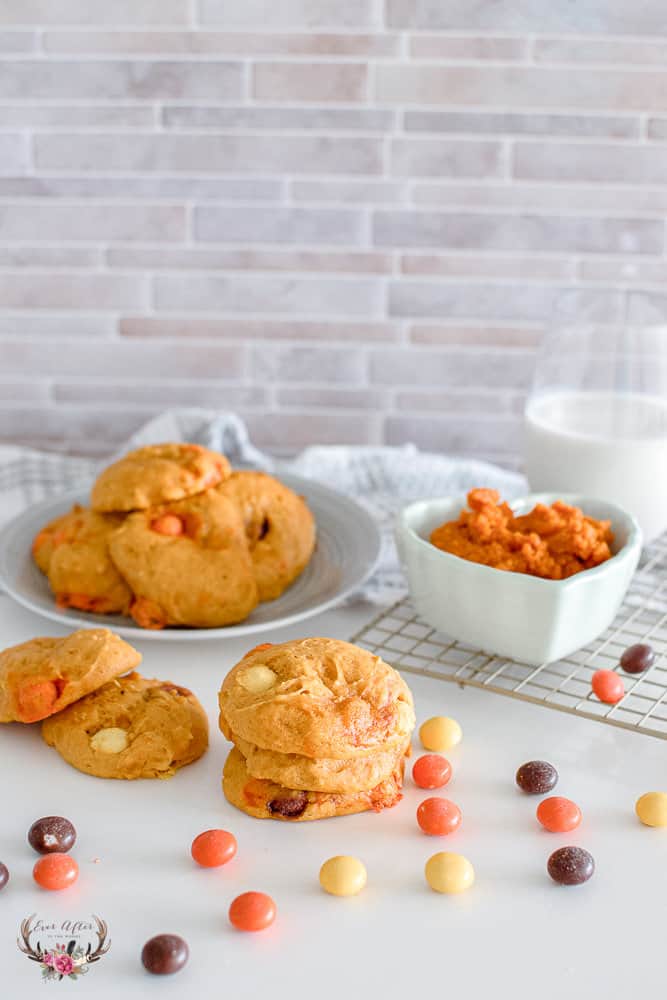
The perfect fall cookie – Pumpkin Reese’s Pieces Cookies. A yummy combination of pumpkin and peanut butter for a sweet and salty cookie.

Bake these ahead of time and freeze. Please note this recipe makes 12 cookies, so you may have to double the recipe for large groups.

Pumpkin Reese’s Pieces Cookies
Ingredients:
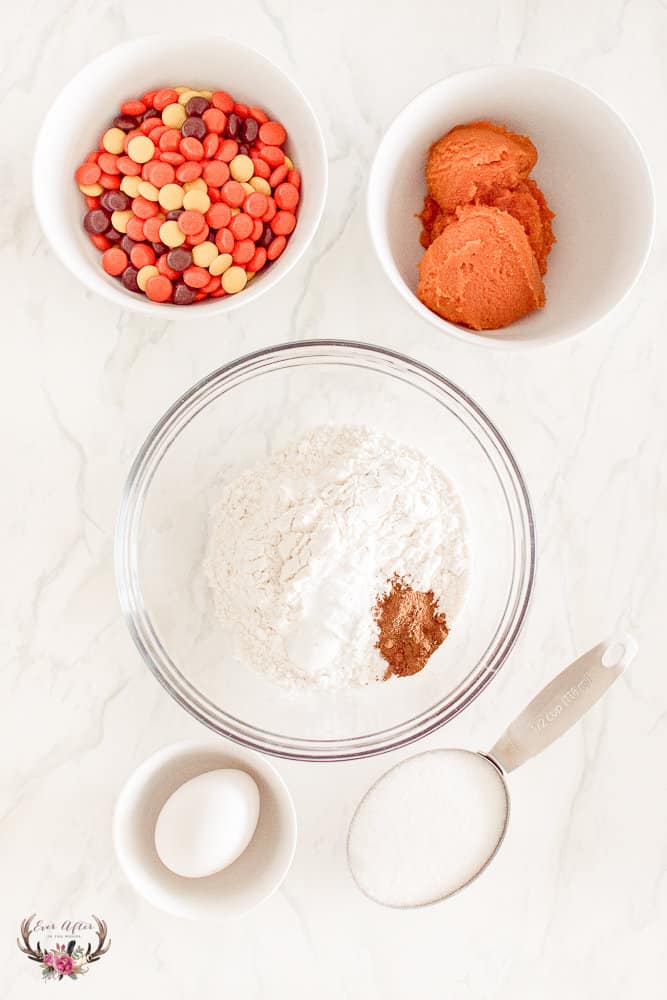
1 cup all-purpose flour
1 tsp baking powder
½ tsp baking soda
½ tsp salt
1 tsp ground cinnamon
½ cup sugar
½ tsp vanilla
1 large egg, room temperature
¼ cup vegetable oil
½ cup canned pumpkin
½ cup Reese’s Pieces candy
Prep time: 10 minutes
Total resting time: 35 minutes
Baking time: 10 minutes
Yields: 12 cookies
Instructions:
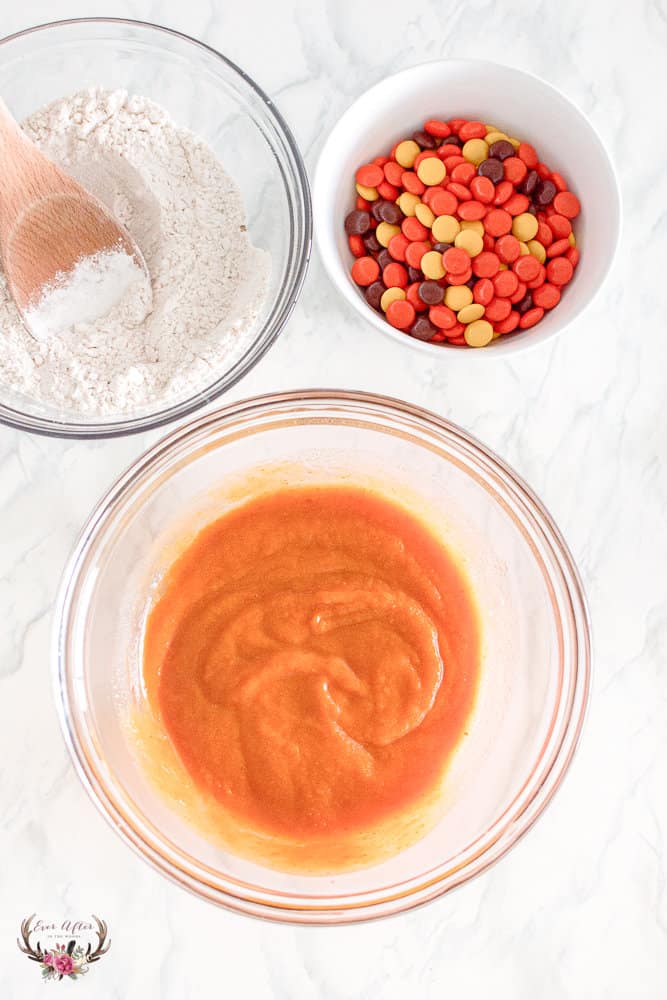
Begin by sifting all of your dry ingredients in a mixing bowl: flour, baking powder and soda, salt and ground cinnamon. Set aside.
Add sugar, vanilla and egg into a separate mixing bowl and whisk until creamy.
Add vegetable oil and canned pumpkin into the sugar and egg mixture. Mix until thoroughly combined.
Slowly add dry ingredients into wet ingredients and combine.
Fold the Reese’s Pieces candy into the cookie batter.
Cover the bowl of cookie batter with plastic and refrigerate for 30 minutes.
Once the time is up, preheat your oven to 350 degrees F.

Line a cookie sheet with parchment paper. Use a cookie scoop to add mounds of cookie dough onto the lined pan.
Bake for 8 to 10 minutes or until golden around the edges. Allow to cool for 5 minutes before serving.

Notes:
This batter is not like typical cookie dough: it will be incredibly sticky – but, this is normal and it is the consistency you want for this particular recipe.
The finished cookie is more cake-like than a traditional chocolate chip cookie.
If you don’t have a cookie scoop, be sure to drop mounds that are about 2 inches in diameter (hint: a typical cookie scoop holds about 1 ½ tablespoons of batter)

How to Bake in Batches to Make the Most of Your Baking Time
One way to handle your holiday baking is to bake in batches, then freeze and store for the big day. You can do this successfully over a couple of weeks with batch baking and batch preparing.
The biggest thing to remember is to only try a few different types of things in one day, or focus on just one type of baked good in one day. For example, you might want to bake all your quick breads in one day. Another day you can prepare all your cookie dough. Yet another time, you can bake all your fruit pies and so forth. This process makes the most of the time you have, the space you have, and your skill level.
Be Prepared
Don’t try batch baking without a plan of action. Be sure to write down your plans in advance so that you are sure you have enough time to do everything that you’ve planned. To figure out a basic time line, add up the prep time, the baking time for each oven full, and then multiply that by 1.5 to account for a little extra issues happening. Then you should be sure that you have enough time.
Get Everything Ready to Go
Your kitchen should be spotless when you start, and ensure that you have all the ingredients and appliances necessary to make each item ready to go. If you know, for example, that today you’ll be using about 10 pounds of flour, consider using a large bowl to hold the flour so you can easily spoon the flour into the measuring cup, flatten off over the bowl, without having to get into the bag over and over which usually means spillage.
Clean as You Go
Fill your sink immediately with hot soapy water so you can clean as you go. You will want to wash your mixing dishes and other utensils during the baking process so that you can use them again. There’s no point in totally destroying your kitchen as you batch bake, and you don’t have to. Set out a draining board, fill the sink with hot soapy water, and wash as you go. There are many opportunities during baking to wash a couple of dishes, and this will make the clean-up faster, and the process more organized.
All Day Batch Baking
You can set aside a day for batch baking such as a Saturday. Plan for all day baking, which usually entails 8 to 10 hours of work. Ensure that any other chores are done, including the shopping, and the kitchen is clean and ready prior to baking day. It’s important to organize your recipes with some logic behind them. For example, if you need dough to rise, start that first, so that it can be rising as you are preparing other things such as cookie dough or pie crusts. Both can be put in the refrigerator or freezer after preparation while you bake the bread, then baked after you bake the bread while the oven is still hot and ready.


Pumpkin Reeses Cookies
Ingredients
- 1 cup all-purpose flour 1 tsp baking powder ½ tsp baking soda ½ tsp salt 1 tsp ground cinnamon ½ cup sugar ½ tsp vanilla 1 large egg, room temperature ¼ cup vegetable oil ½ cup canned pumpkin ½ cup Reese’s Pieces candy
Instructions
- Begin by sifting all of your dry ingredients in a mixing bowl: flour, baking powder and soda, salt and ground cinnamon. Set aside.
- Add sugar, vanilla and egg into a separate mixing bowl and whisk until creamy.
- Add vegetable oil and canned pumpkin into the sugar and egg mixture. Mix until thoroughly combined.
- Slowly add dry ingredients into wet ingredients and combine.
- Fold the Reese’s Pieces candy into the cookie batter.
- Cover the bowl of cookie batter with plastic and refrigerate for 30 minutes.
- Once the time is up, preheat your oven to 350 degrees F.
- Line a cookie sheet with parchment paper. Use a cookie scoop to add mounds of cookie dough onto the lined pan.
- Bake for 8 to 10 minutes or until golden around the edges. Allow to cool for 5 minutes before serving.
Notes
This batter is not like typical cookie dough: it will be incredibly sticky – but, this is normal and it is the consistency you want for this particular recipe.
The finished cookie is more cake-like than a traditional chocolate chip cookie.
If you don’t have a cookie scoop, be sure to drop mounds that are about 2 inches in diameter (hint: a typical cookie scoop holds about 1 ½ tablespoons of batter)