6 Freezing Mistakes That Waste Produce And 6 Ways To Store Veggies Right
Last week, I opened my freezer to find a sad, frosty graveyard of forgotten vegetables.
That mushy, discolored mess was the result of my freezing mistakes—mistakes that cost me both money and perfectly good produce.
Whether you’re trying to save your garden’s bounty or just reduce food waste, knowing how to properly freeze and store vegetables can make all the difference.
Let me share what I’ve learned the hard way about keeping those veggies fresh and delicious.
1. Freezing Sopping Wet Vegetables
Nothing ruins a good batch of frozen veggies faster than excess moisture! I once tossed freshly washed broccoli straight into the freezer, only to discover ice-crusted, mushy florets a week later. Water turns into ice crystals that rupture cell walls, leaving you with limp, unappetizing vegetables when thawed.
The damage isn’t just cosmetic—those broken cell walls leak nutrients and flavor too. Your once-crisp green beans become sad, waterlogged shadows of their former selves.
Always pat vegetables thoroughly dry with clean kitchen towels or use a salad spinner before freezing. For extra insurance against moisture, I spread my dried veggies on a baking sheet and pre-freeze them for an hour before transferring to storage containers.
2. Using Regular Plastic Bags
My cheapskate moment with sandwich bags turned into a freezer disaster! Those flimsy plastic bags I grabbed from the kitchen drawer let air in and caused my beautiful bell peppers to develop severe freezer burn within weeks.
Regular plastic bags aren’t designed to withstand freezing temperatures or block out air. They become brittle, crack easily, and don’t provide the moisture and vapor barrier your vegetables desperately need.
Invest in actual freezer-grade storage bags or containers that are thick enough to protect against temperature fluctuations. Look for products specifically labeled for freezer use—they’re designed with thicker plastic and better seals. My favorite trick is double-bagging particularly valuable produce like those end-of-summer heirloom tomatoes.
3. Cramming Too Much In One Container
Last harvest season, I stuffed an entire garden’s worth of green beans into one massive container. Big mistake! The outer beans froze quickly while the center remained warm for hours, creating perfect conditions for bacteria growth before freezing.
Overpacked containers also freeze too slowly, which leads to those large ice crystals that destroy texture. When I finally thawed that giant bean block, I couldn’t separate individual pieces without thawing the whole thing—most ended up wasted.
Portion your vegetables in smaller, flatter containers that allow for quick, even freezing. I now freeze vegetables in single-layer, meal-sized portions that thaw quickly and evenly. This approach lets me grab exactly what I need without defrosting the entire batch.
4. Skipping The Blanching Step
“Blanching is too much work,” I told myself last summer before tossing raw zucchini straight into freezer bags. Three months later, I discovered brown, rubbery slices with off flavors that even my least picky eater rejected!
Raw vegetables contain enzymes that continue to break down nutrients and affect flavor, color, and texture—even in the freezer. These enzymes don’t stop working unless they’re deactivated through blanching, a quick dip in boiling water followed by an ice bath.
Take the extra few minutes to blanch vegetables like green beans, broccoli, cauliflower, and carrots before freezing. Each vegetable has its own blanching time—usually between 1-3 minutes. Trust me, that small effort makes the difference between vegetables you’ll actually eat and those you’ll throw away.
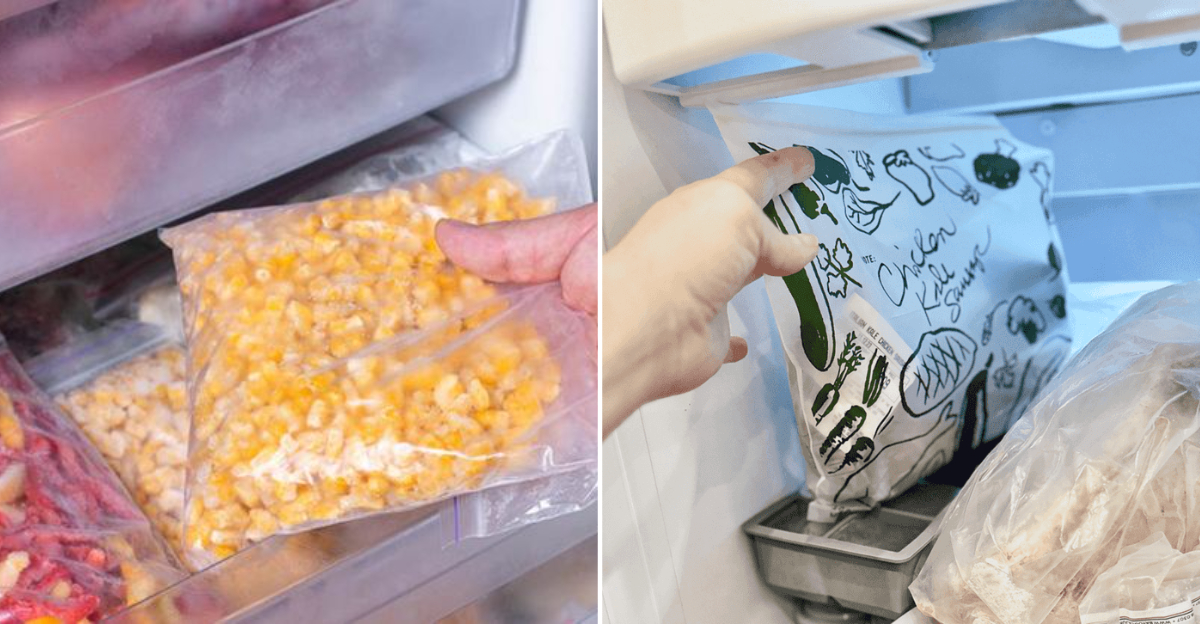
5. Mystery Packages Without Labels
“I’ll definitely remember what this is,” I confidently told myself while stashing unlabeled packages in my freezer. Six months later, I was playing freezer archaeology with unidentifiable icy lumps that all looked suspiciously similar!
Frozen vegetables without labels become mysterious science experiments. You can’t tell what they are, when you froze them, or whether they’re still good to eat. This uncertainty usually leads to waste as most people (sensibly) won’t risk eating something of unknown origin or age.
Label everything with contents AND date using freezer tape and permanent marker. I keep pre-cut freezer tape on the side of my fridge for easy access. Some folks use a freezer inventory sheet on their phone or refrigerator door to track what’s inside—brilliant if you freeze foods regularly!
6. Freezing Past-Prime Vegetables
“These slightly wilted spinach leaves will be fine once frozen,” I rationalized, trying to save a bag I’d neglected in the crisper drawer. Wrong! Freezing doesn’t improve quality—it preserves whatever condition your vegetables are in, good or bad.
That less-than-fresh produce will taste even worse after freezing. The freezing process magnifies existing quality issues, turning slightly soft vegetables into mushy messes and mild off-flavors into prominent ones.
Freeze vegetables at their peak freshness, ideally within hours of harvesting or purchasing. If you can’t freeze immediately, store them properly in the refrigerator and freeze as soon as possible. I’ve learned to plan my freezing sessions for the day I return from the farmers market, ensuring everything goes in at its absolute best.
7. Pat Dry Before Freezing
My freezer transformation began when I started treating my tea towels as essential freezing equipment! Thoroughly drying vegetables before freezing prevents those nasty ice crystals that destroy texture and flavor.
After washing vegetables, I lay them in a single layer on clean kitchen towels. For delicate items like berries, I use paper towels. Some vegetables, like spinach, benefit from a gentle squeeze in a kitchen towel to remove hidden moisture between the leaves.
For extra insurance against moisture, try the flash-freeze method: arrange dried vegetables in a single layer on a baking sheet and freeze for 1-2 hours before packaging. This pre-freezing step keeps pieces separate so they don’t clump together, allowing you to take just what you need later. Game-changing for busy weeknight cooking!
8. Vacuum Seal When Possible
The day I borrowed my neighbor’s vacuum sealer changed my freezer game forever! Those vacuum-sealed green beans stayed bright and flavorful for nearly a year—no freezer burn in sight.
Air is the enemy of frozen food. Every oxygen molecule that contacts your vegetables contributes to quality deterioration, even at freezing temperatures. Vacuum sealing removes that air, dramatically extending freezer life and preserving flavor, texture, and nutrients.
If you freeze vegetables regularly, a vacuum sealer is worth the investment. Don’t have one? No problem! Use the water displacement method instead: place vegetables in a zip-top freezer bag, then slowly lower the bag into water (keeping the opening above water level), which pushes air out before sealing. I’ve saved countless vegetables with this simple trick!
9. Freeze In Usable Portions
My “aha” moment came after throwing away half a defrosted block of spinach for the third time. Now I freeze vegetables in the amounts I actually use in recipes—game-changing!
Think about how you’ll use the vegetables later. For stir-fries, I freeze small bags of mixed vegetables ready to toss in the wok. For smoothies, I portion out individual blender-sized bags with combinations of fruits and greens.
Muffin tins and ice cube trays are perfect for freezing small portions of pureed vegetables or herbs. Once frozen, pop them out and store in freezer bags. I keep a container of these vegetable cubes for dropping into soups, stews, and pasta sauces—instant nutrition boosters that my kids don’t even notice! These smaller portions thaw faster and eliminate waste from partially used packages.
10. Blanch According To Size
My cauliflower blanching disaster taught me a valuable lesson—size matters! I’d thrown tiny florets and massive chunks into the same pot for the same time. The small pieces turned to mush while the large ones remained raw in the center.
Different vegetables need different blanching times, but so do different sizes of the same vegetable. Larger pieces need longer blanching than smaller ones. Cut vegetables into uniform sizes before blanching to ensure even results.
Keep a blanching chart on your refrigerator as a quick reference. Generally, small or tender vegetables like peas need 1-2 minutes, medium vegetables like broccoli florets need 2-3 minutes, and denser vegetables like carrots need 3-5 minutes. Always follow the blanching with an immediate ice bath of the same duration to stop the cooking process.
11. Use Freezer Inventory System
After discovering a two-year-old bag of mystery vegetables behind the ice cream, I created my freezer inventory system—a simple list that saved me hundreds in wasted food! A basic inventory helps you track what’s in your freezer and when it went in.
My system is low-tech but effective: a whiteboard on the freezer door with columns for item, date frozen, and use-by date. Some folks prefer apps or spreadsheets. Whatever works for you!
Follow the “first in, first out” rule—use older items before newer ones. I organize my freezer with the oldest items in front for visibility. Every few months, do a freezer audit to identify what needs using up. Those older vegetables make perfect additions to soups, stews, and casseroles where texture changes matter less.
12. Freeze At Peak Freshness
My grandmother’s wisdom rings in my ears whenever I freeze vegetables: “You can’t improve quality, only preserve it!” Vegetables frozen at their peak retain more nutrients than those sitting in your refrigerator for days.
For garden vegetables, freeze within hours of harvesting—ideally when they’re slightly underripe rather than fully mature. Store-bought vegetables should be frozen as soon after purchase as possible. I plan my freezing sessions for the same day as my farmers market visits.
Some vegetables actually benefit from slight underdevelopment for freezing. Peas and corn are sweetest when young, while green beans freeze better when they’re still slender and tender. Freezing vegetables at their peak means you’ll enjoy summer-fresh flavor in the dead of winter—worth every minute of preparation!