

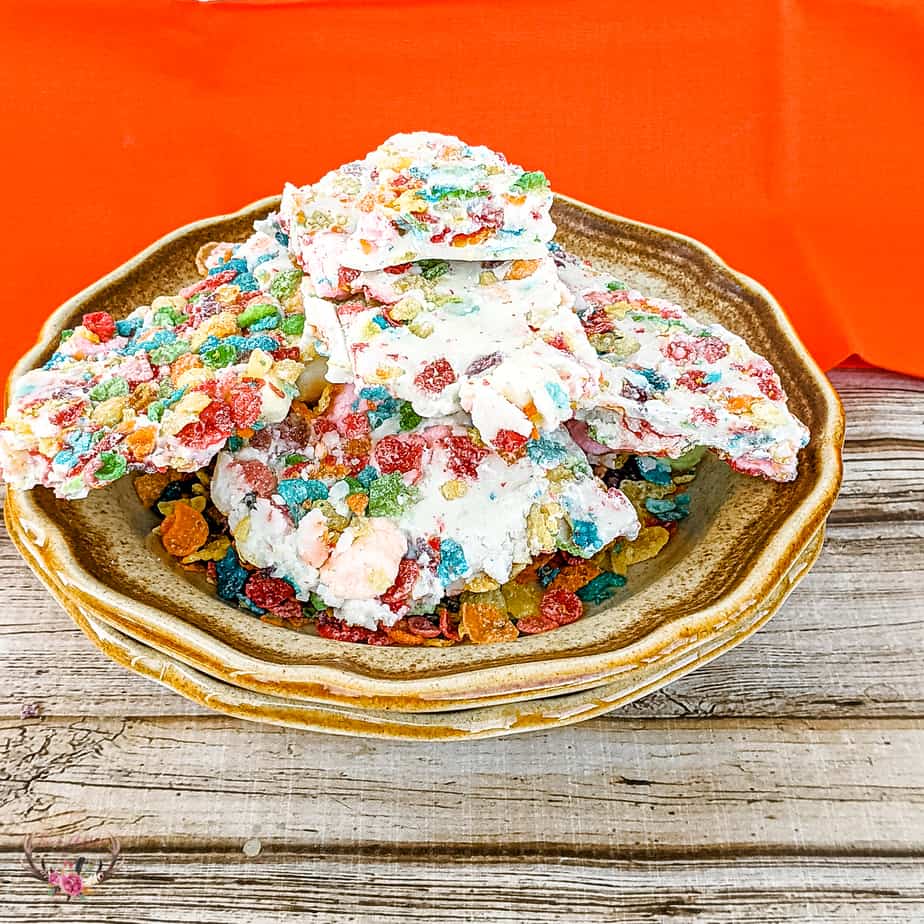
Fruity Pebble Chocolate Bark
Fruity Pebbles Cereal Treats
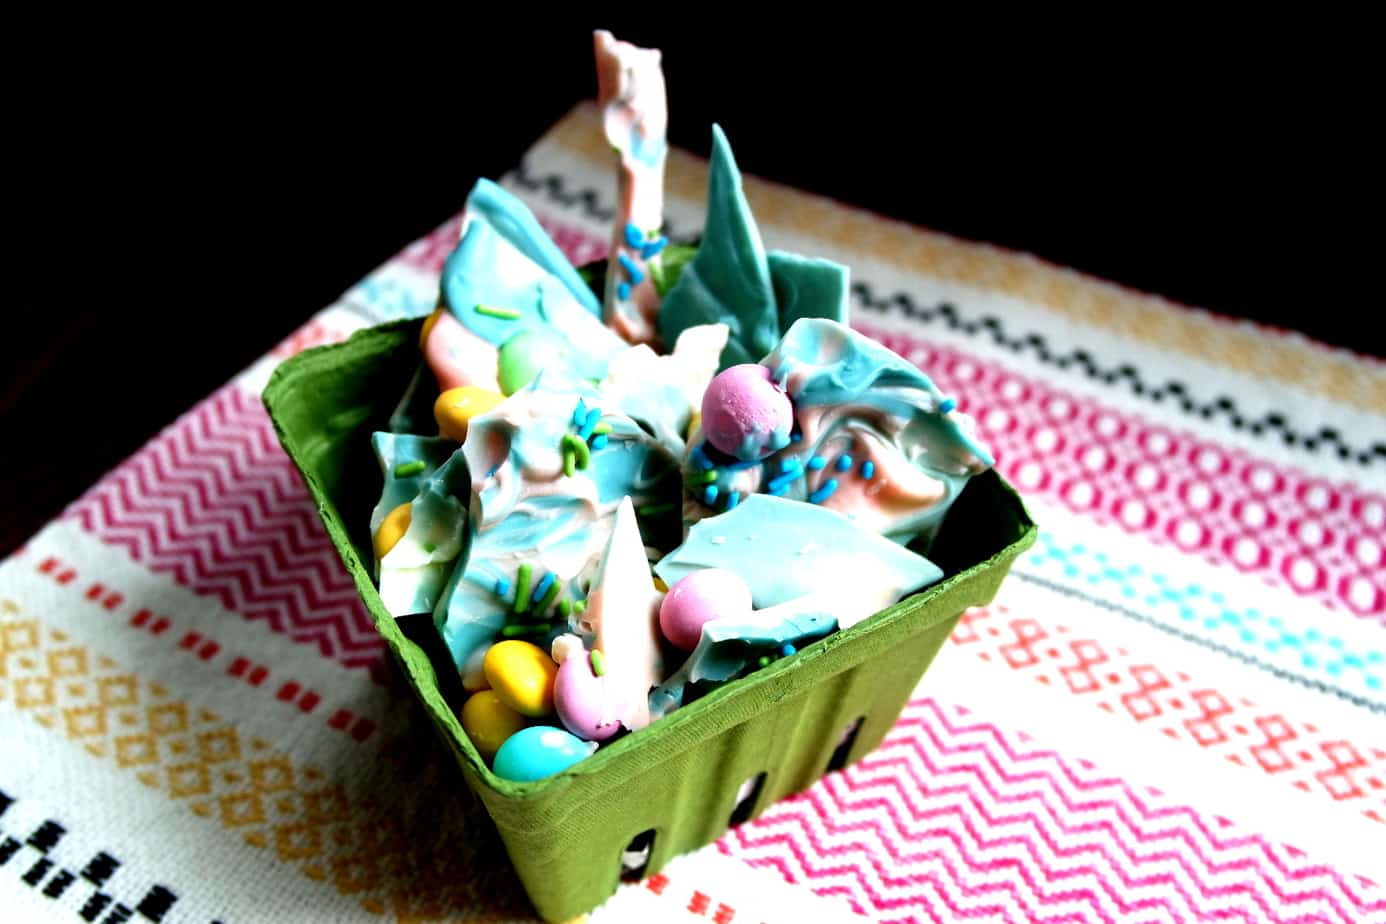
Colorful Chocolate Bark
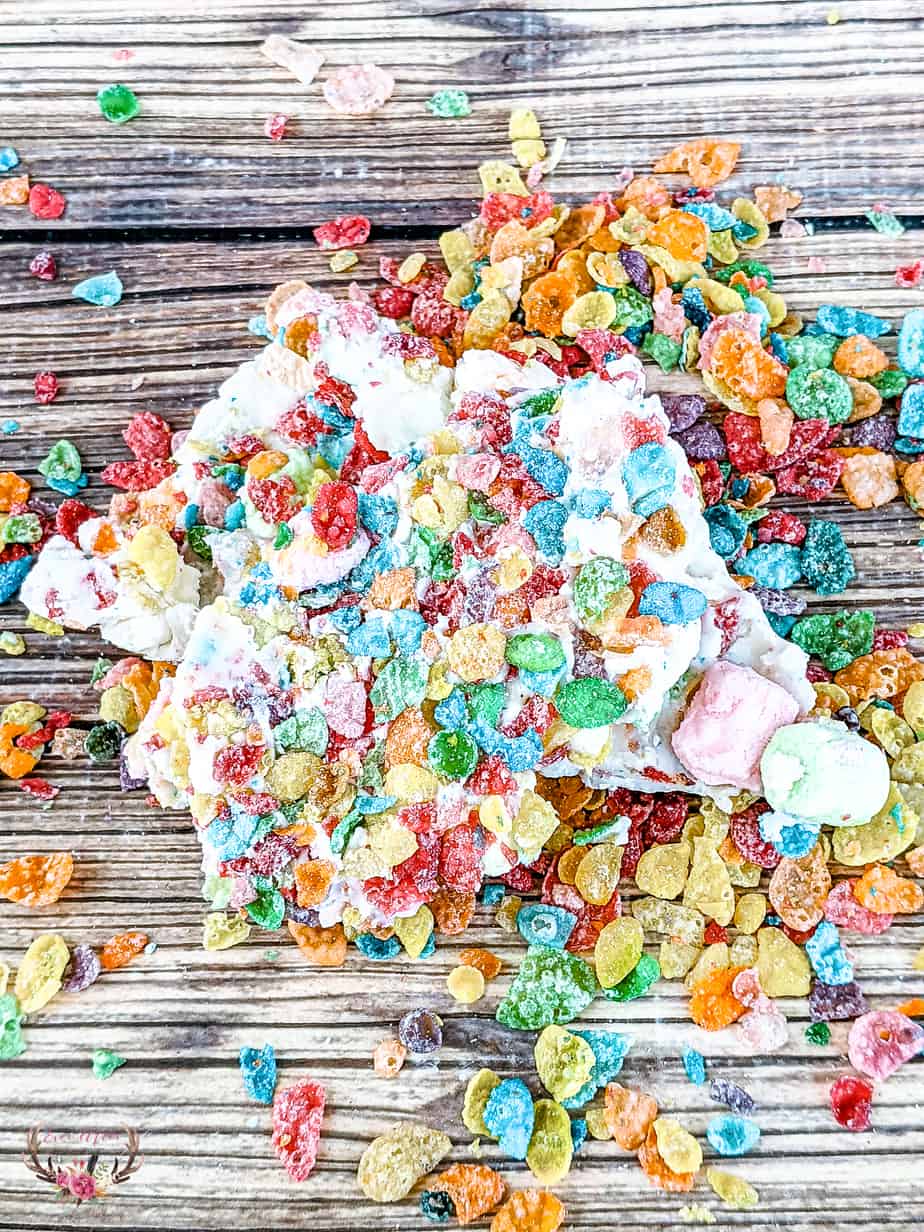
We love making chocolate bark for the kids because it is an easy and fun treat to make and you will have most items in your pantry. This Fruity Pebble Chocolate Bark is colorful and perfect for Rainbow birthday themes!
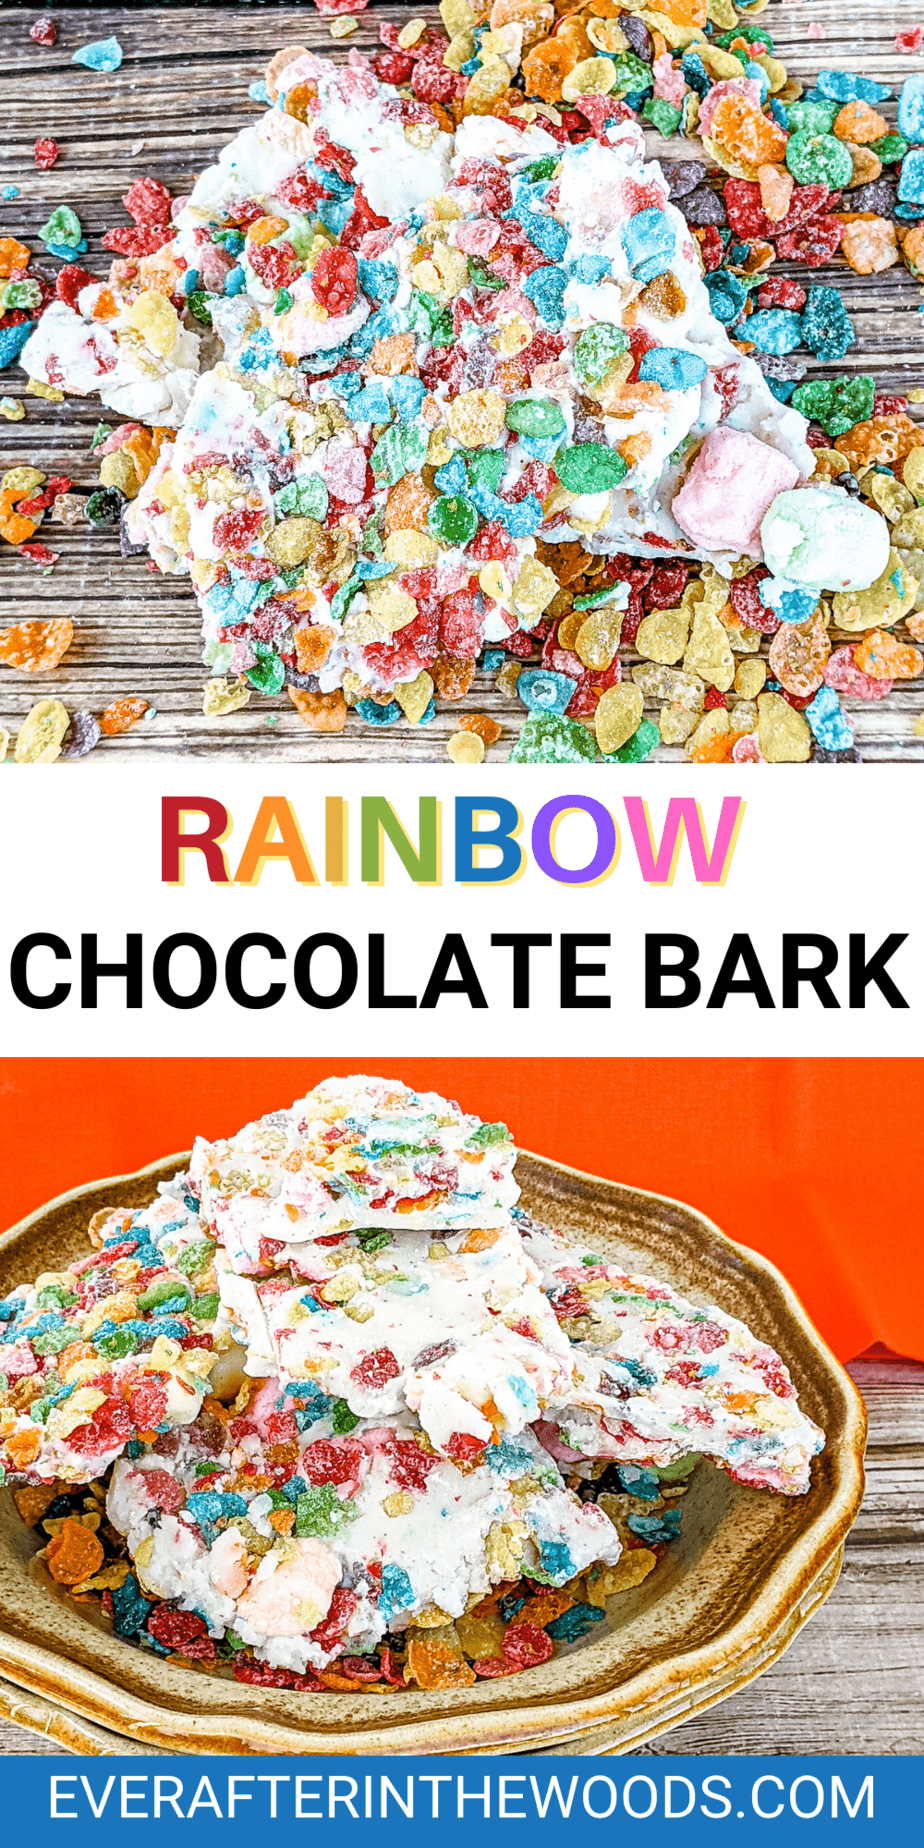
Rainbow Chocolate Bark
Ingredients
1 cup of fruity pebbles cereal
½ to 1 cup of fruity mini marshmallows
2 cups of white chocolate chips
1 teaspoon of crisco (or coconut oil)
Directions:
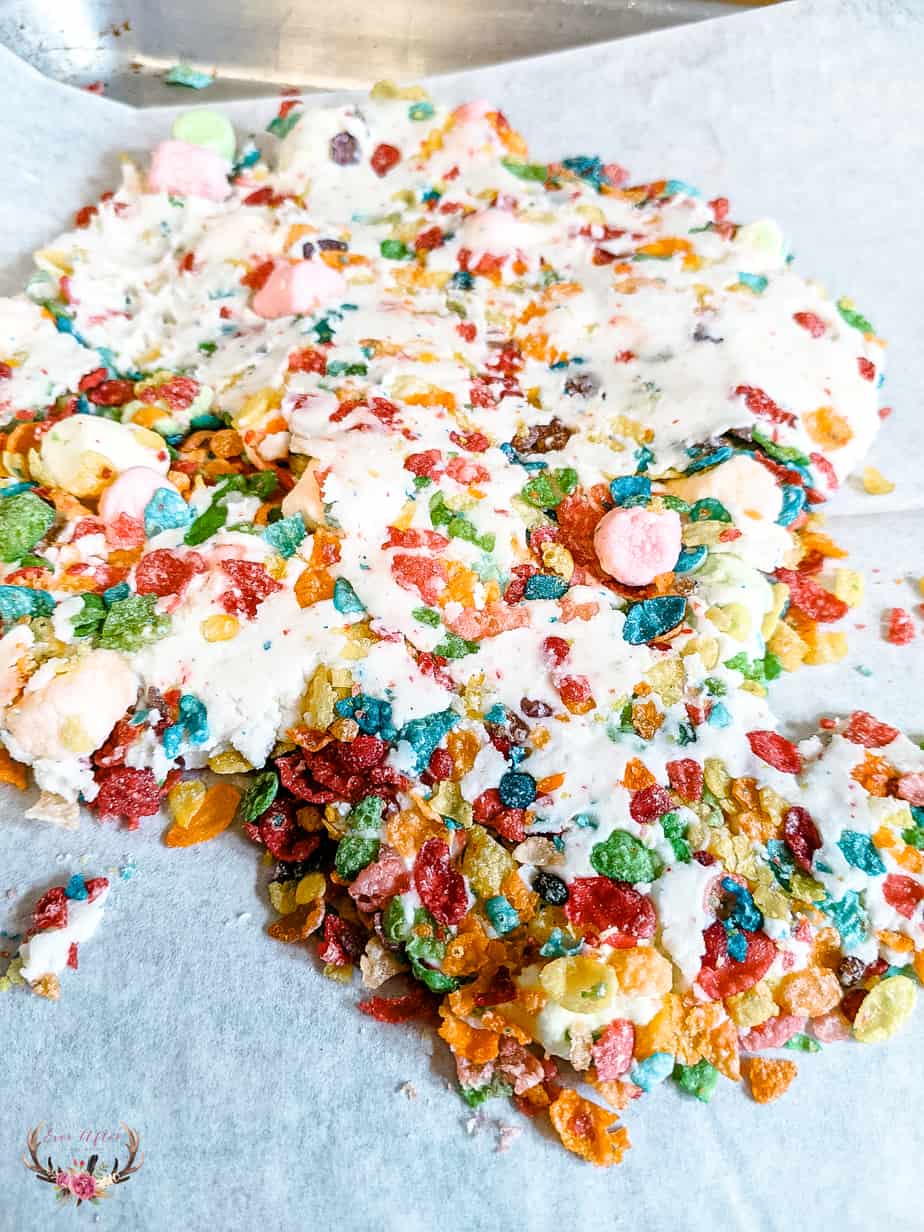
Line a baking sheet with parchment paper.
Pour fruity pebbles cereal on the baking sheet.
Sprinkle mini fruity marshmallows over the cereal. If you love fruity marshmallows, add a cup. Otherwise, a ½ cup is enough.
Pour the white chocolate chips into a large heat safe bowl.
Add crisco or coconut oil to the white chocolate chips.
Using a double boiler or the microwave, melt the chocolate chips, stirring often, until they are melted.
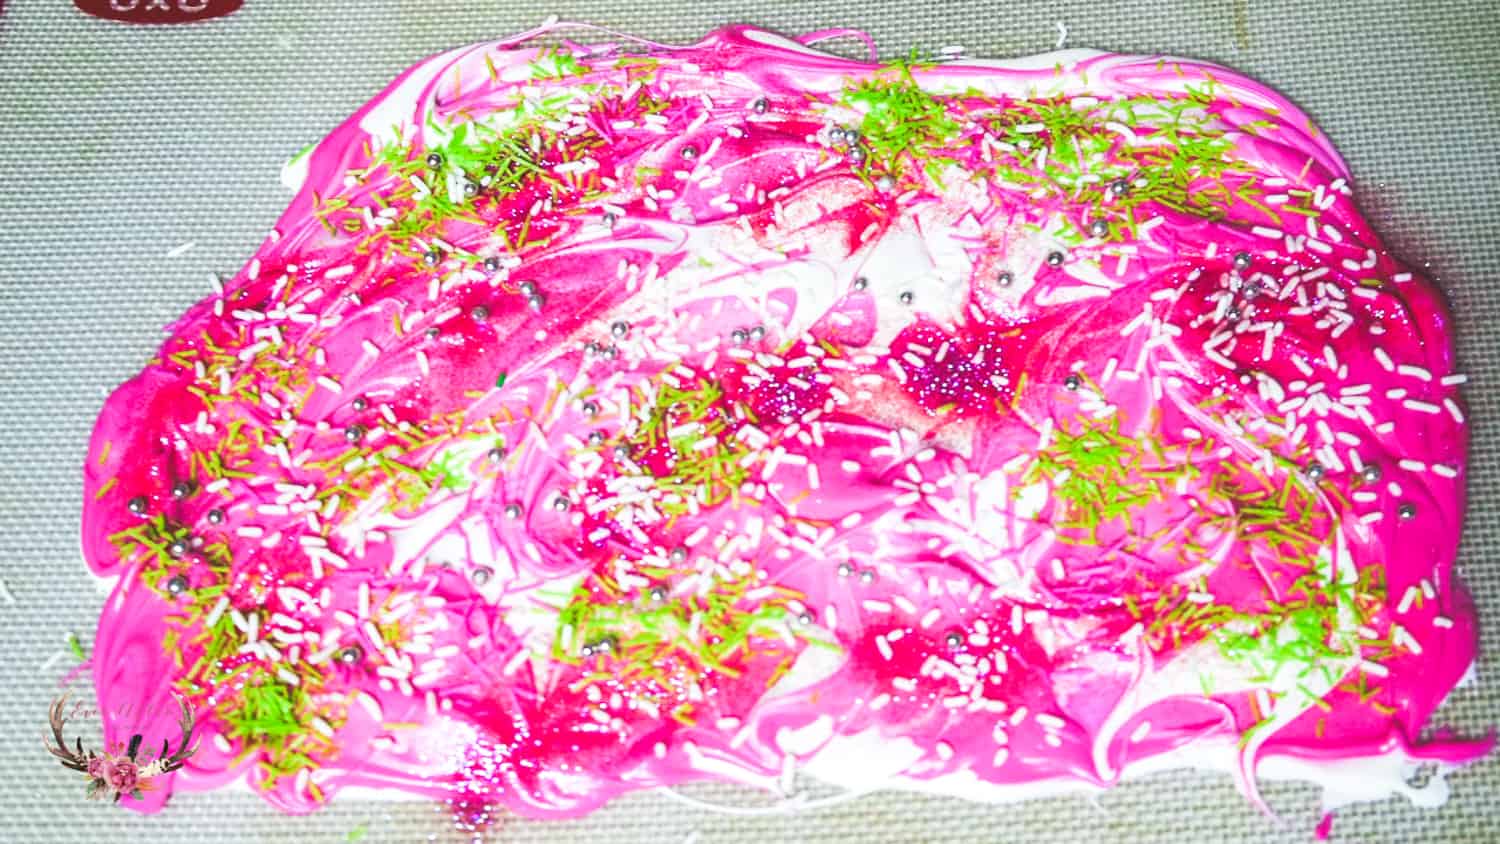
Pour the melted white chocolate chips over the cereal and marshmallows and allow to harden.
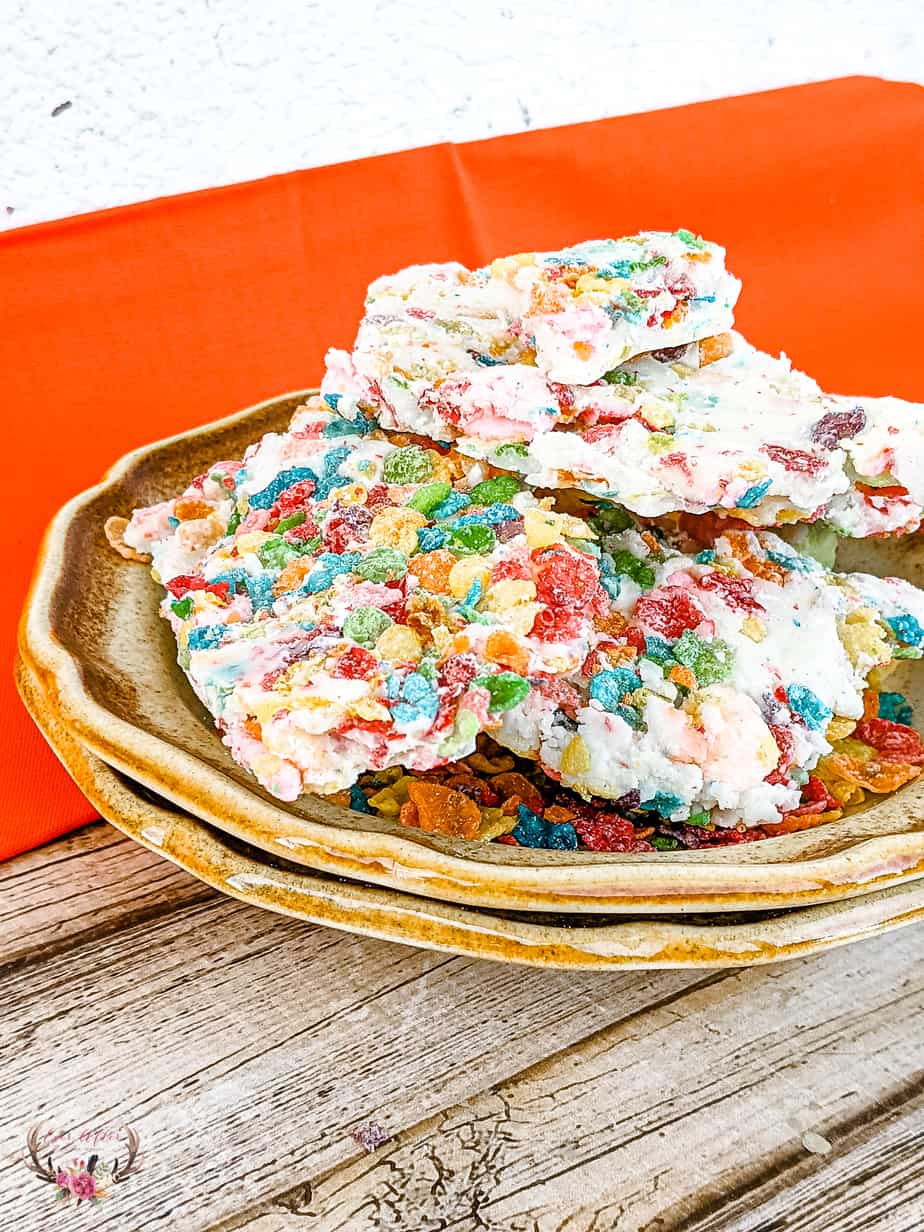
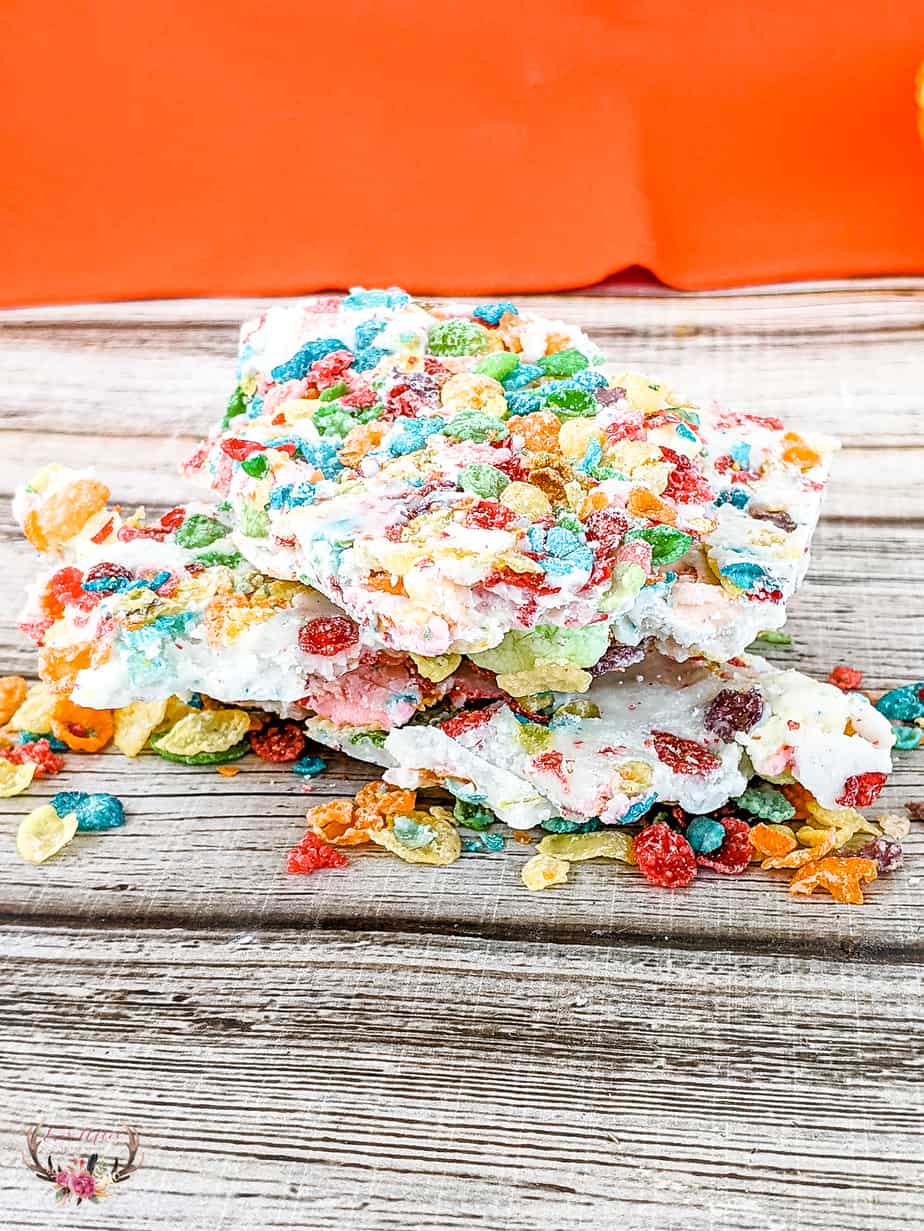
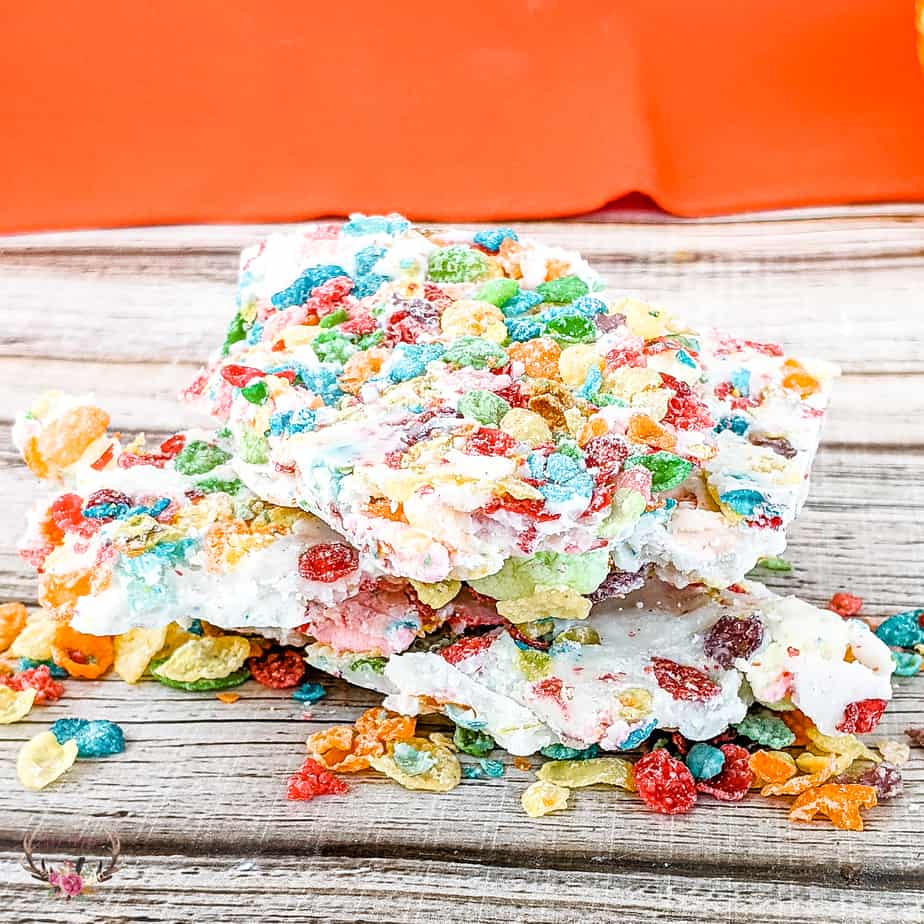
Break into chunks and enjoy!
If you love this chocolate bark, have a look at these other bark recipes:
Zombies 2 Chocolate Bark
Unicorn Chocolate Bark
Bunny Chocolate Bark
Frozen 2 Chocolate Bark

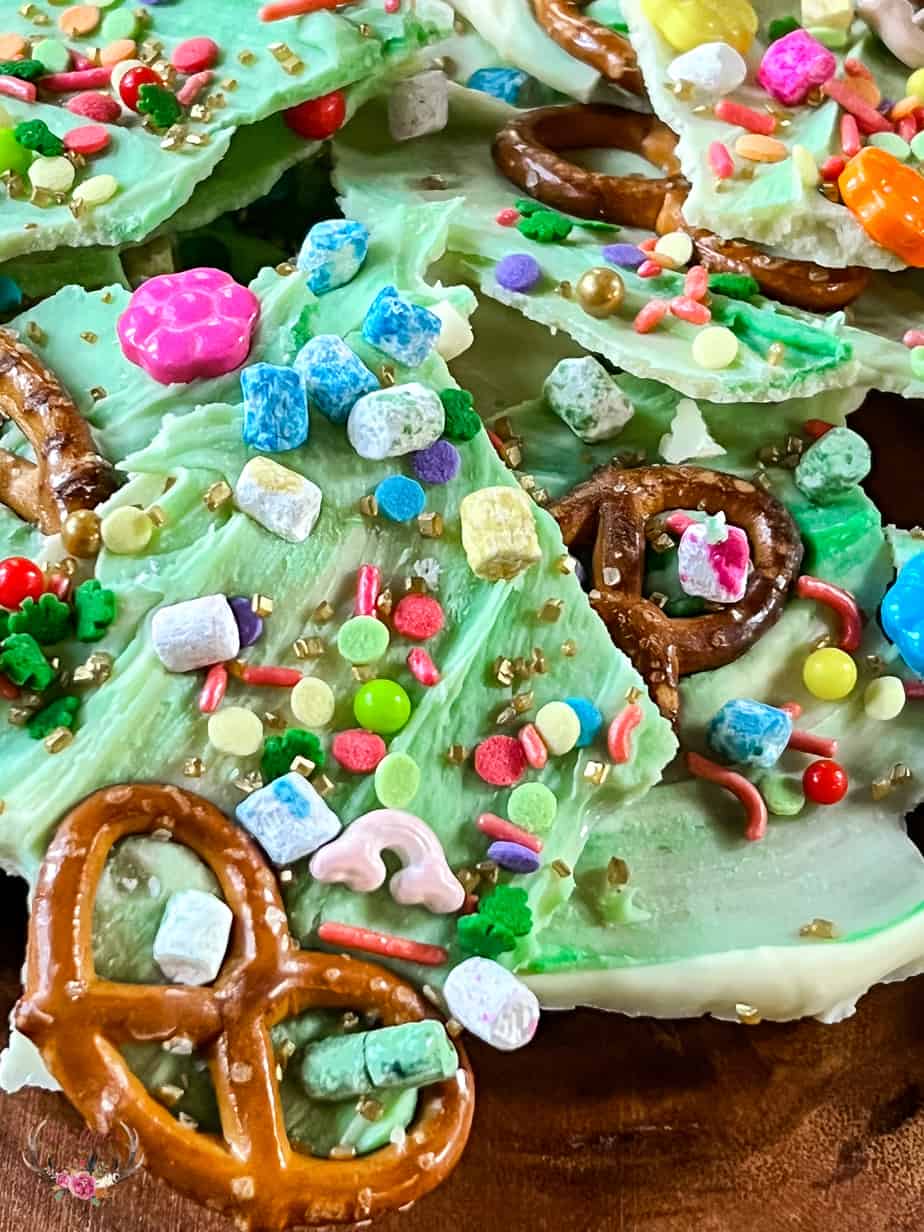
Green Spring Chocolate Bark
Leprechaun Bark
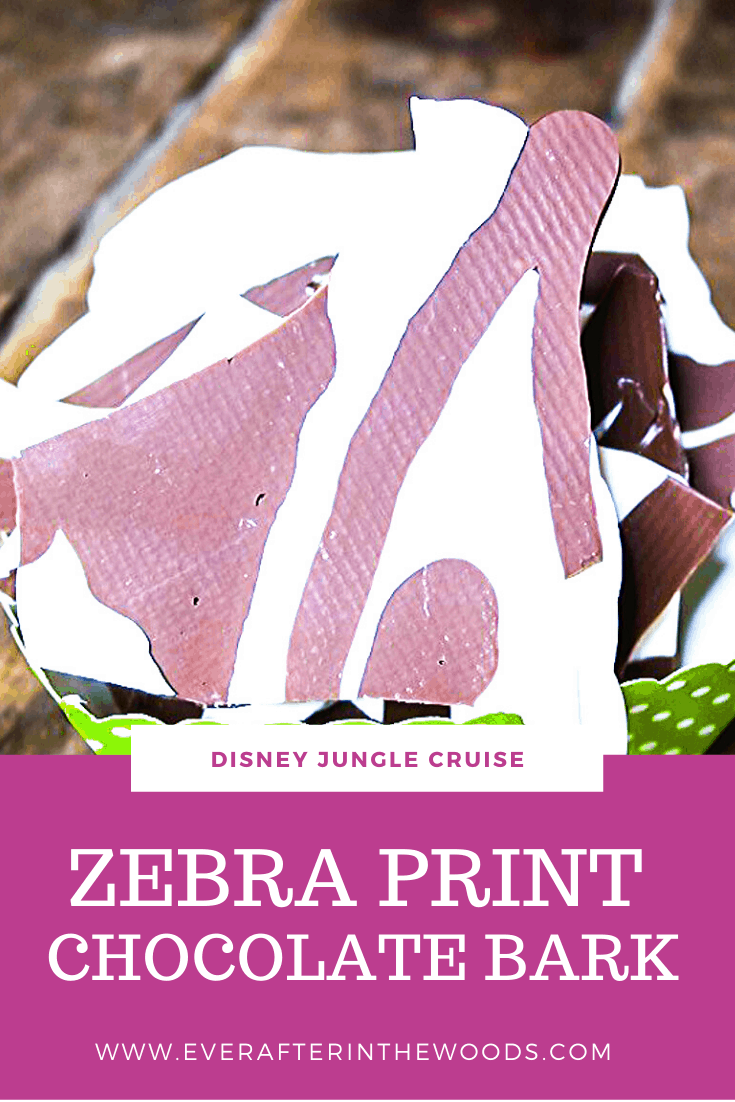
Zebra Print Bark
Some more tips and tricks for baking!
How to Bake in Batches to Make the Most of Your Baking Time
One way to handle your holiday baking is to bake in batches, then freeze and store for the big day. You can do this successfully over a couple of weeks with batch baking and batch preparing.
The biggest thing to remember is to only try a few different types of things in one day, or focus on just one type of baked good in one day. For example, you might want to bake all your quick breads in one day. Another day you can prepare all your cookie dough. Yet another time, you can bake all your fruit pies and so forth. This process makes the most of the time you have, the space you have, and your skill level.
Be Prepared
Don’t try batch baking without a plan of action. Be sure to write down your plans in advance so that you are sure you have enough time to do everything that you’ve planned. To figure out a basic time line, add up the prep time, the baking time for each oven full, and then multiply that by 1.5 to account for a little extra issues happening. Then you should be sure that you have enough time.
Get Everything Ready to Go
Your kitchen should be spotless when you start, and ensure that you have all the ingredients and appliances necessary to make each item ready to go. If you know, for example, that today you’ll be using about 10 pounds of flour, consider using a large bowl to hold the flour so you can easily spoon the flour into the measuring cup, flatten off over the bowl, without having to get into the bag over and over which usually means spillage.
Clean as You Go
Fill your sink immediately with hot soapy water so you can clean as you go. You will want to wash your mixing dishes and other utensils during the baking process so that you can use them again. There’s no point in totally destroying your kitchen as you batch bake, and you don’t have to. Set out a draining board, fill the sink with hot soapy water, and wash as you go. There are many opportunities during baking to wash a couple of dishes, and this will make the clean-up faster, and the process more organized.
All Day Batch Baking
You can set aside a day for batch baking such as a Saturday. Plan for all day baking, which usually entails 8 to 10 hours of work. Ensure that any other chores are done, including the shopping, and the kitchen is clean and ready prior to baking day. It’s important to organize your recipes with some logic behind them. For example, if you need dough to rise, start that first, so that it can be rising as you are preparing other things such as cookie dough or pie crusts. Both can be put in the refrigerator or freezer after preparation while you bake the bread, then baked after you bake the bread while the oven is still hot and ready.
Read each recipe that you plan to use and pay close attention to certain clues. For example, if an ingredient requires a cold kitchen, you’ll want to start that first. If something takes an hour to bake like banana bread, you can use that hour to mix other batter, dough, crust, filling and so forth that you can store in the refrigerator until you’re ready to bake them.
Organize the kitchen in stations. You will want a station for each type of baked good that you want to create. It’s a lot easier to lay out four pie crusts in pie tins, ready for fillings, than to do one at a time. As much as you can do for one type of thing in one run, do so. A bread making station is also essential. It needs to be a place you can freely flour the counter space, and easily clean up.
Be careful about combining batches in one recipe. If you have a cookie recipe that uses measures instead of weights, it’s better not to do them in more than one batch at a time, but you don’t need to clean the bowl between each batch that you make. Make the lightest type of batch first; for example, make sugar cookie dough before you make chocolate chip cookies, before you make peanut butter cookies. Consider the flavor, the ingredients, and everything before making the batches so that you can wash as little as possible.
The important thing about all day batch cooking is that you can choose to make only one type of baked good or you can make a number of different baked goods depending on how many people you need to feed.
Don’t try to stuff your oven too full. At most, you’ll want to cook two pies, four loaves of bread, and one large sheet of cookies at a time in one oven. Putting too many things in one oven can drastically change the temperature settings. Also, putting a dry item with a moist item in the oven at the same time can change the temperature needs. Read directions, plan ahead, and you’ll be fine.