

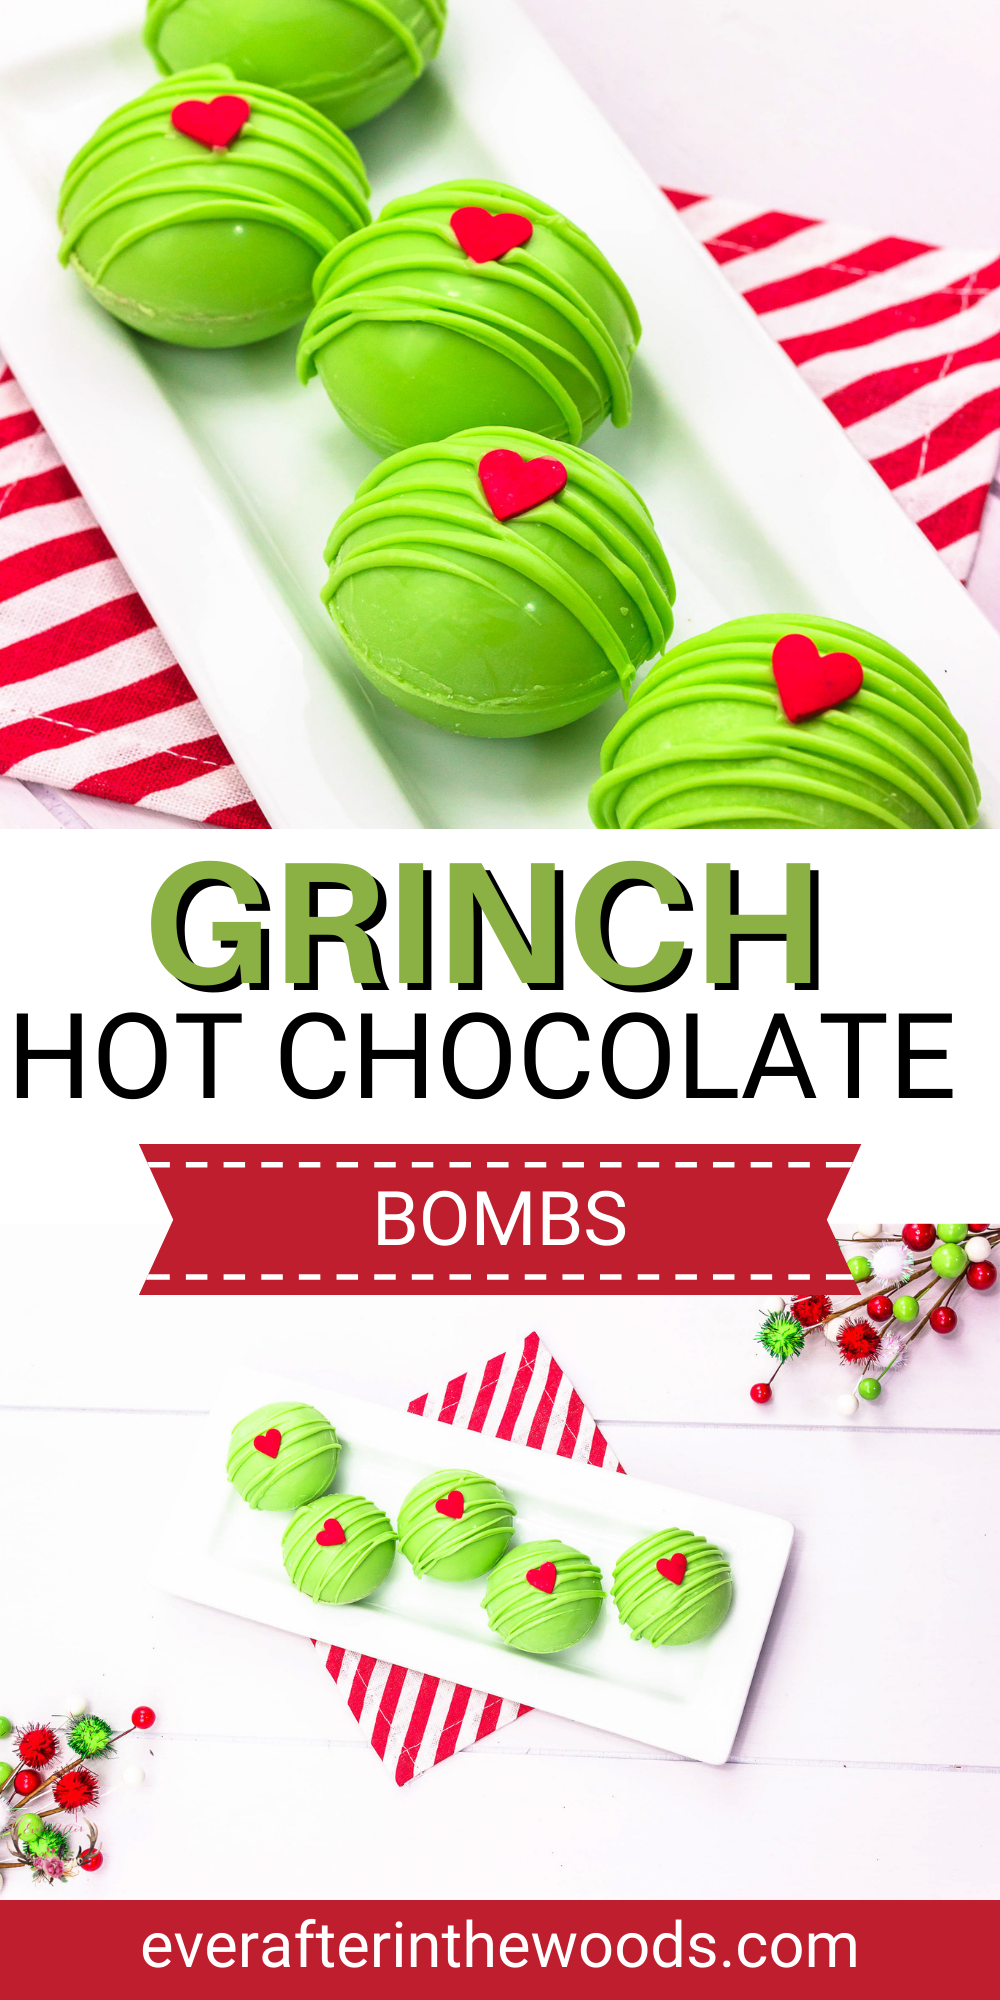
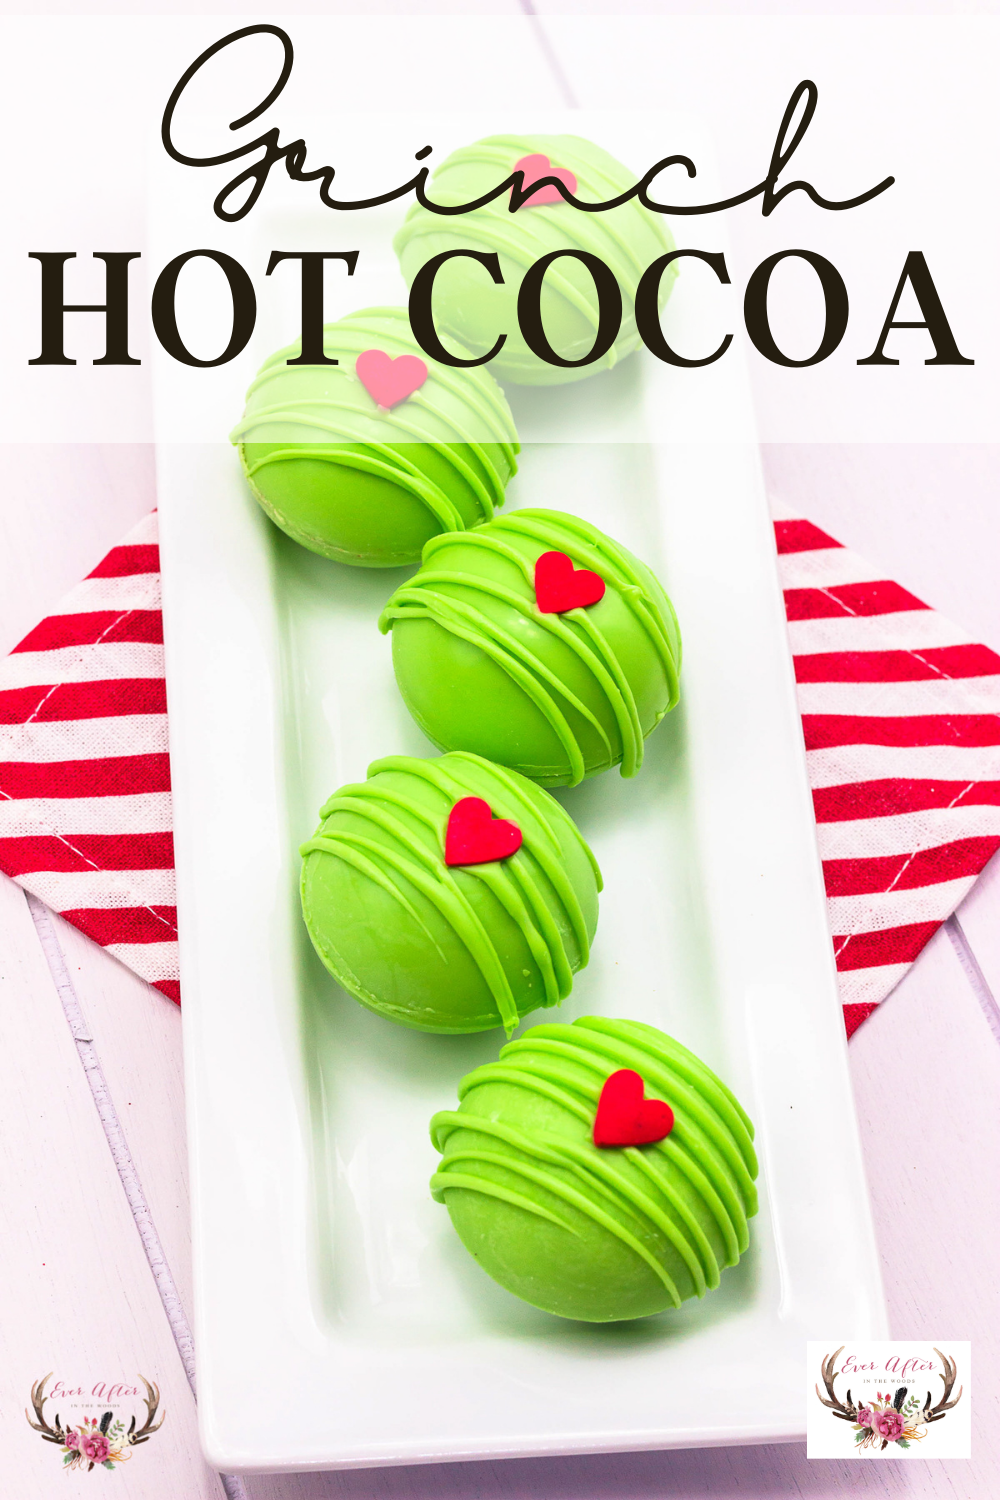
Grinch Hot Chocolate Bombs
Grinch Hot Cocoa Bombs
Hot Cocoa Bombs for Christmas
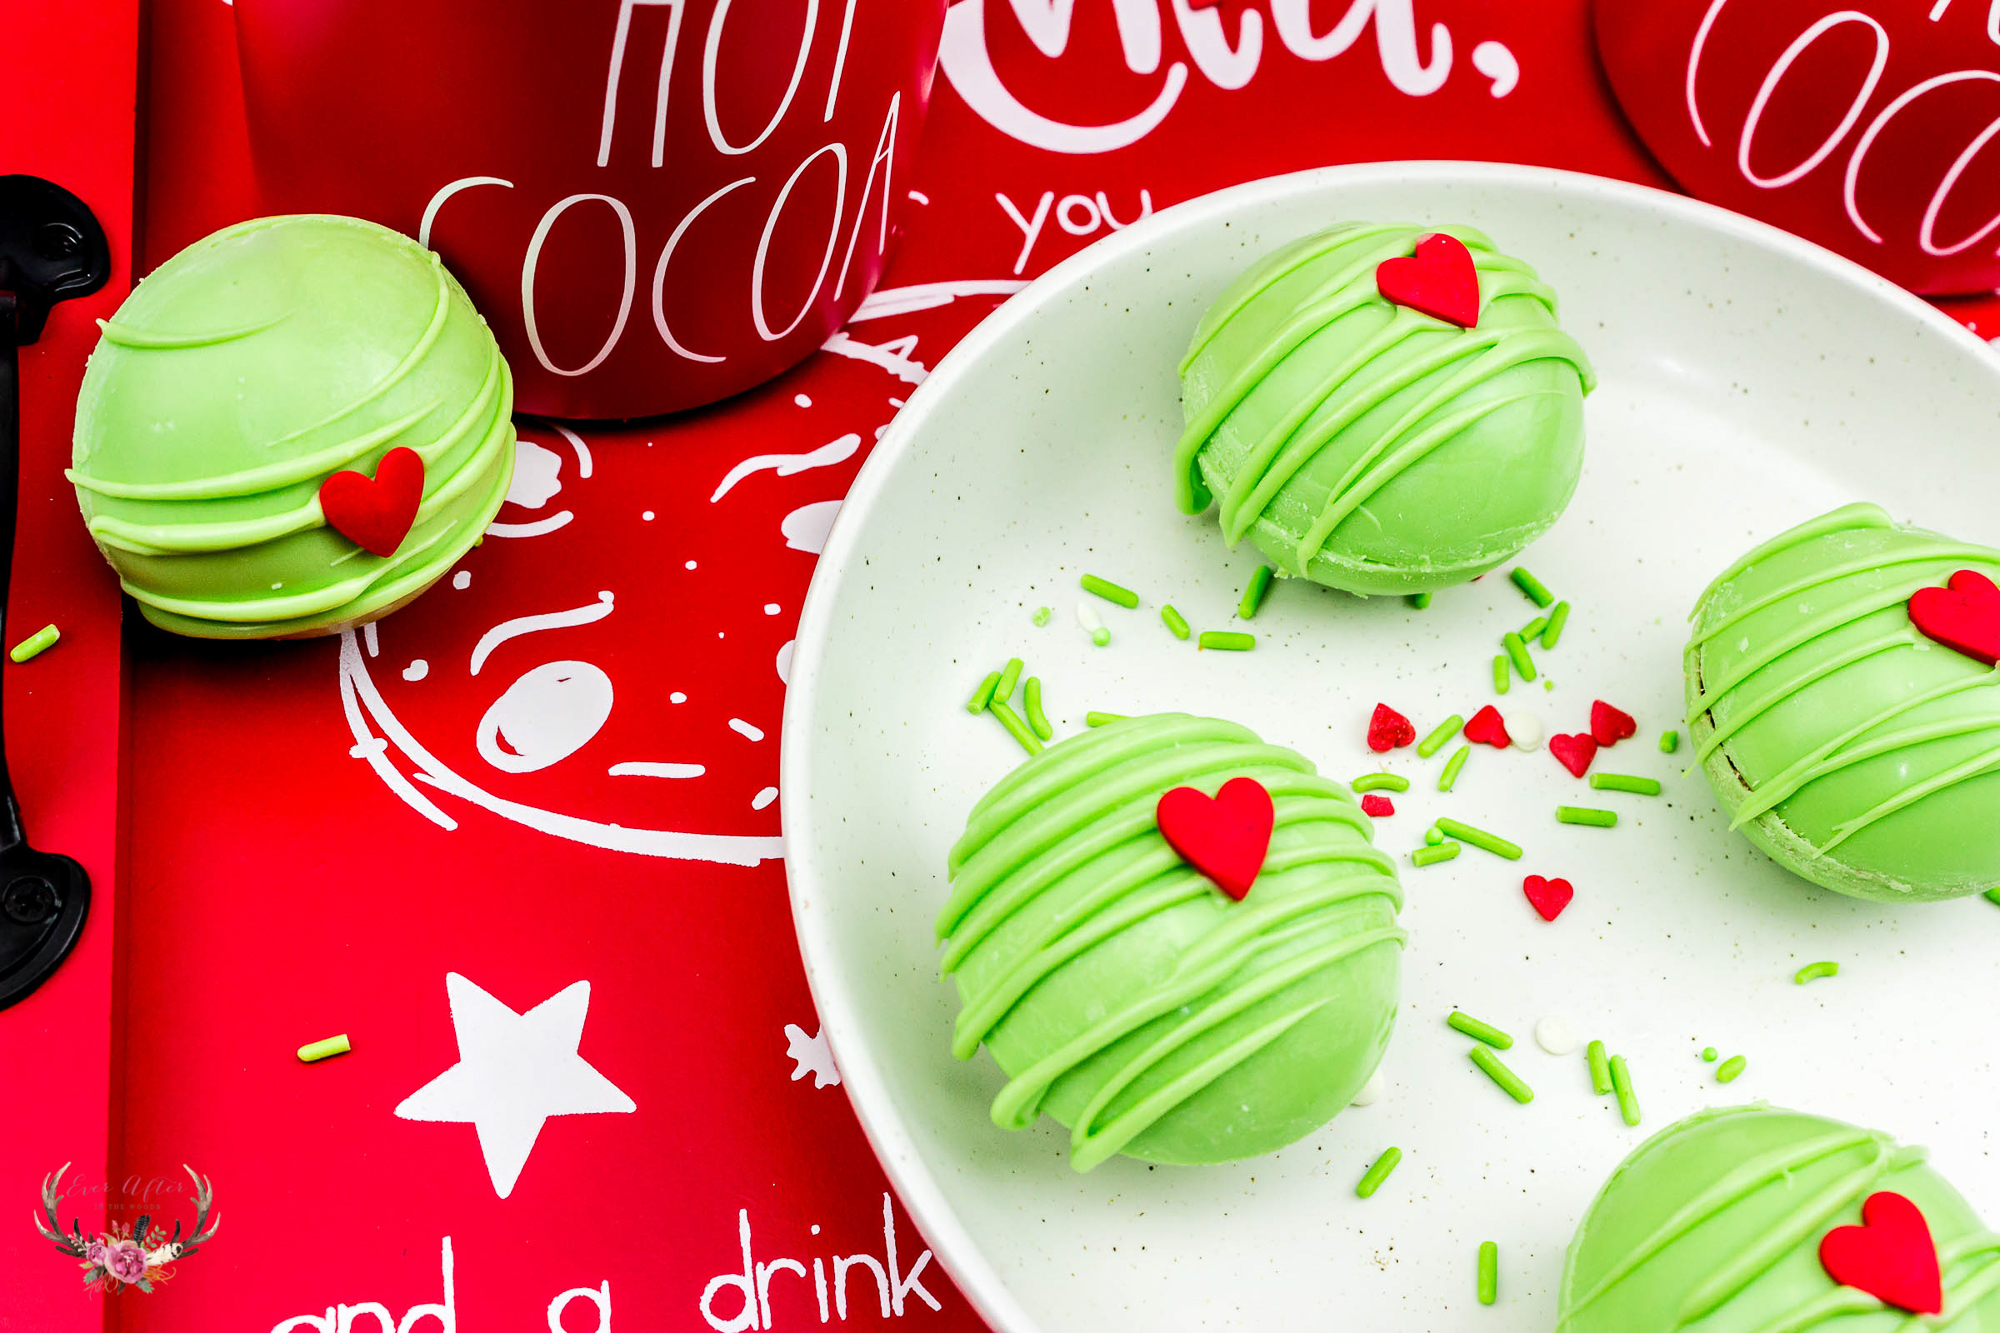
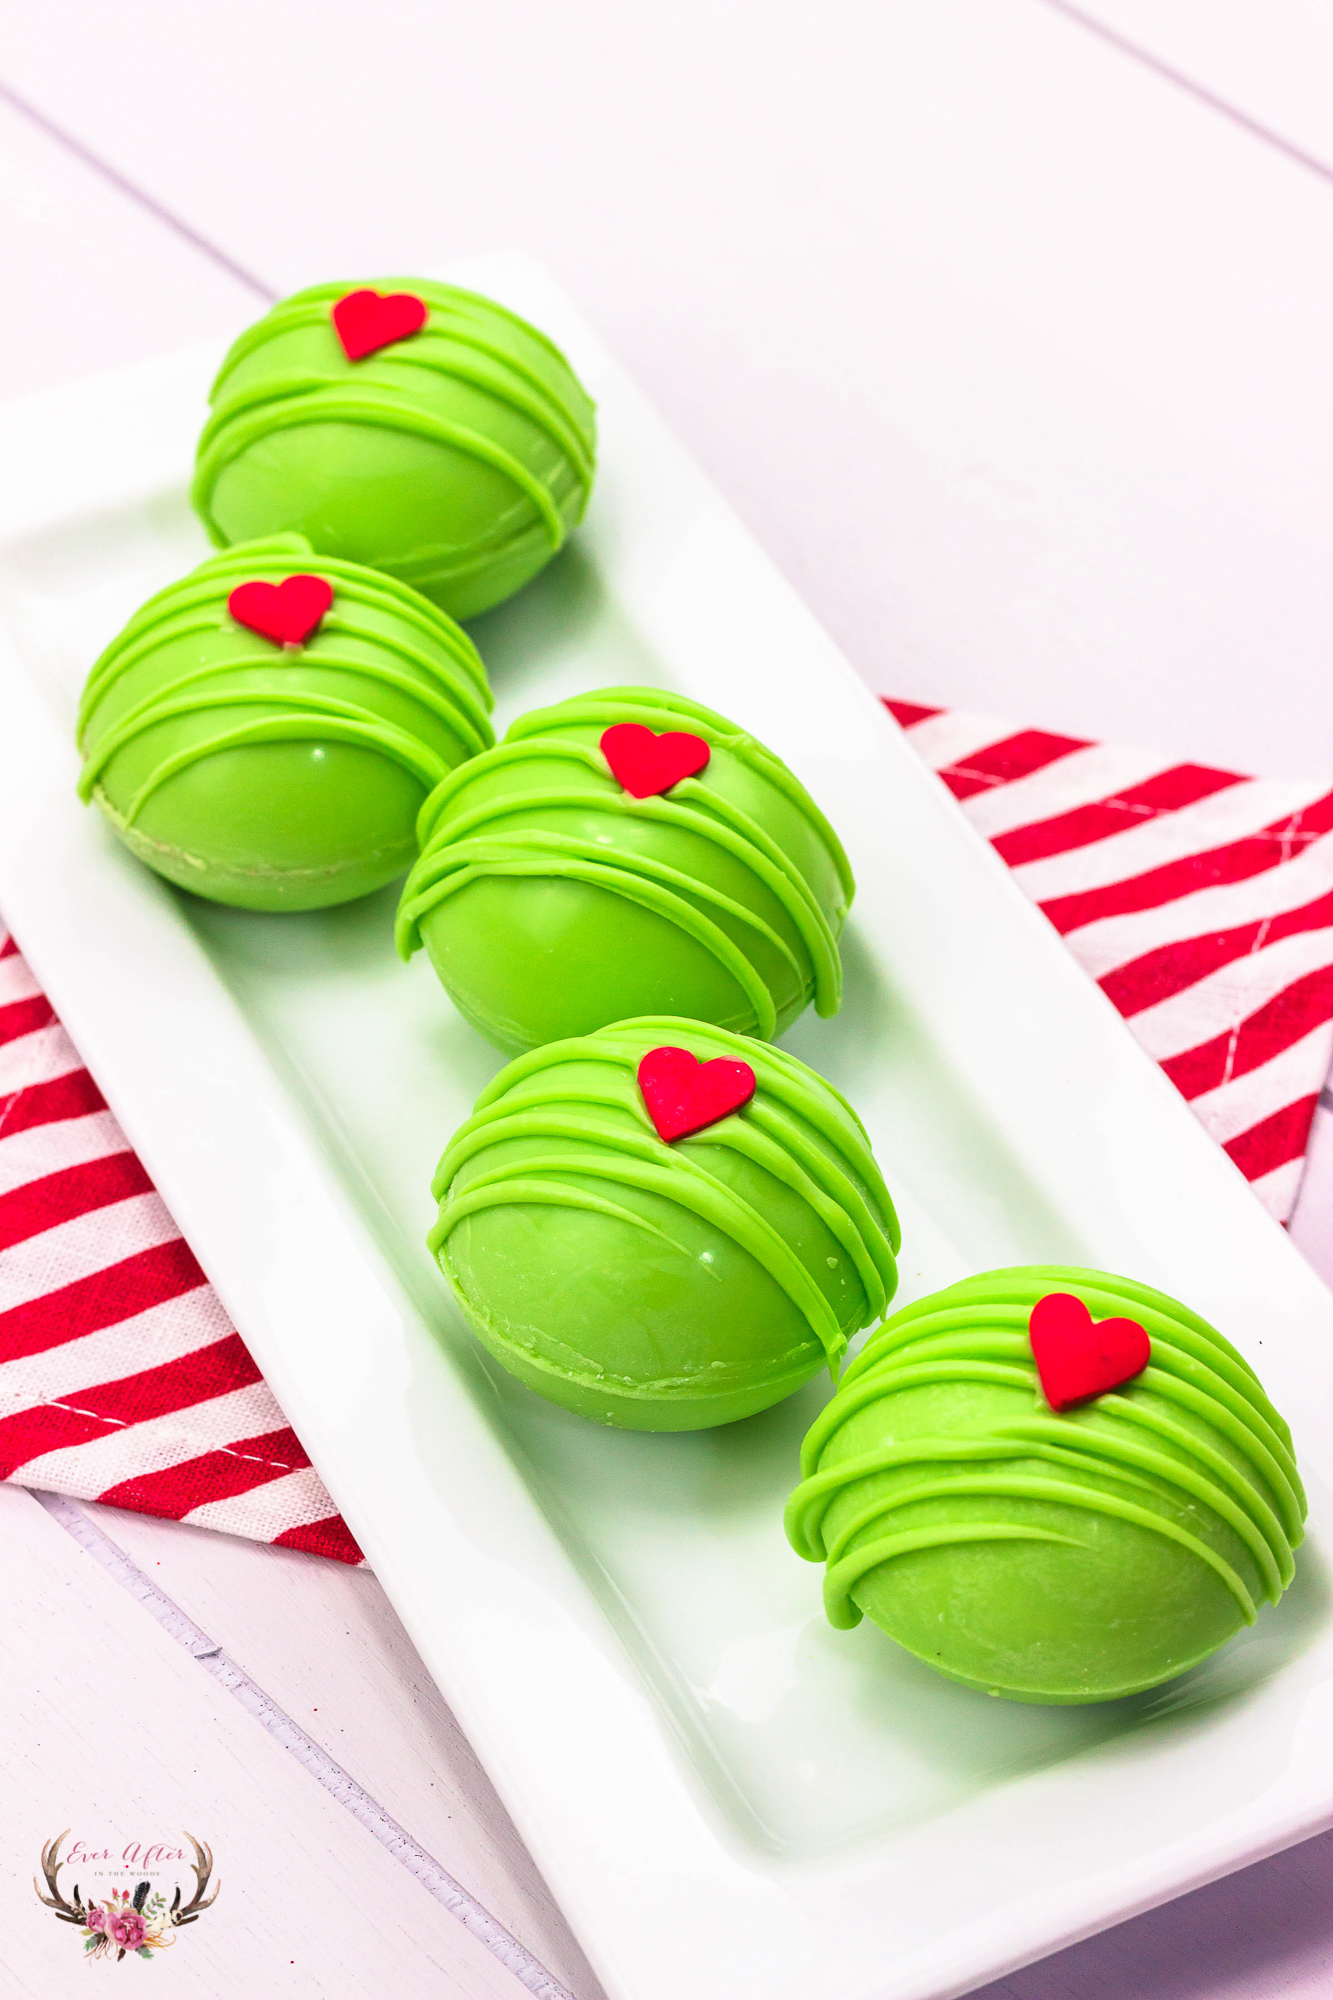
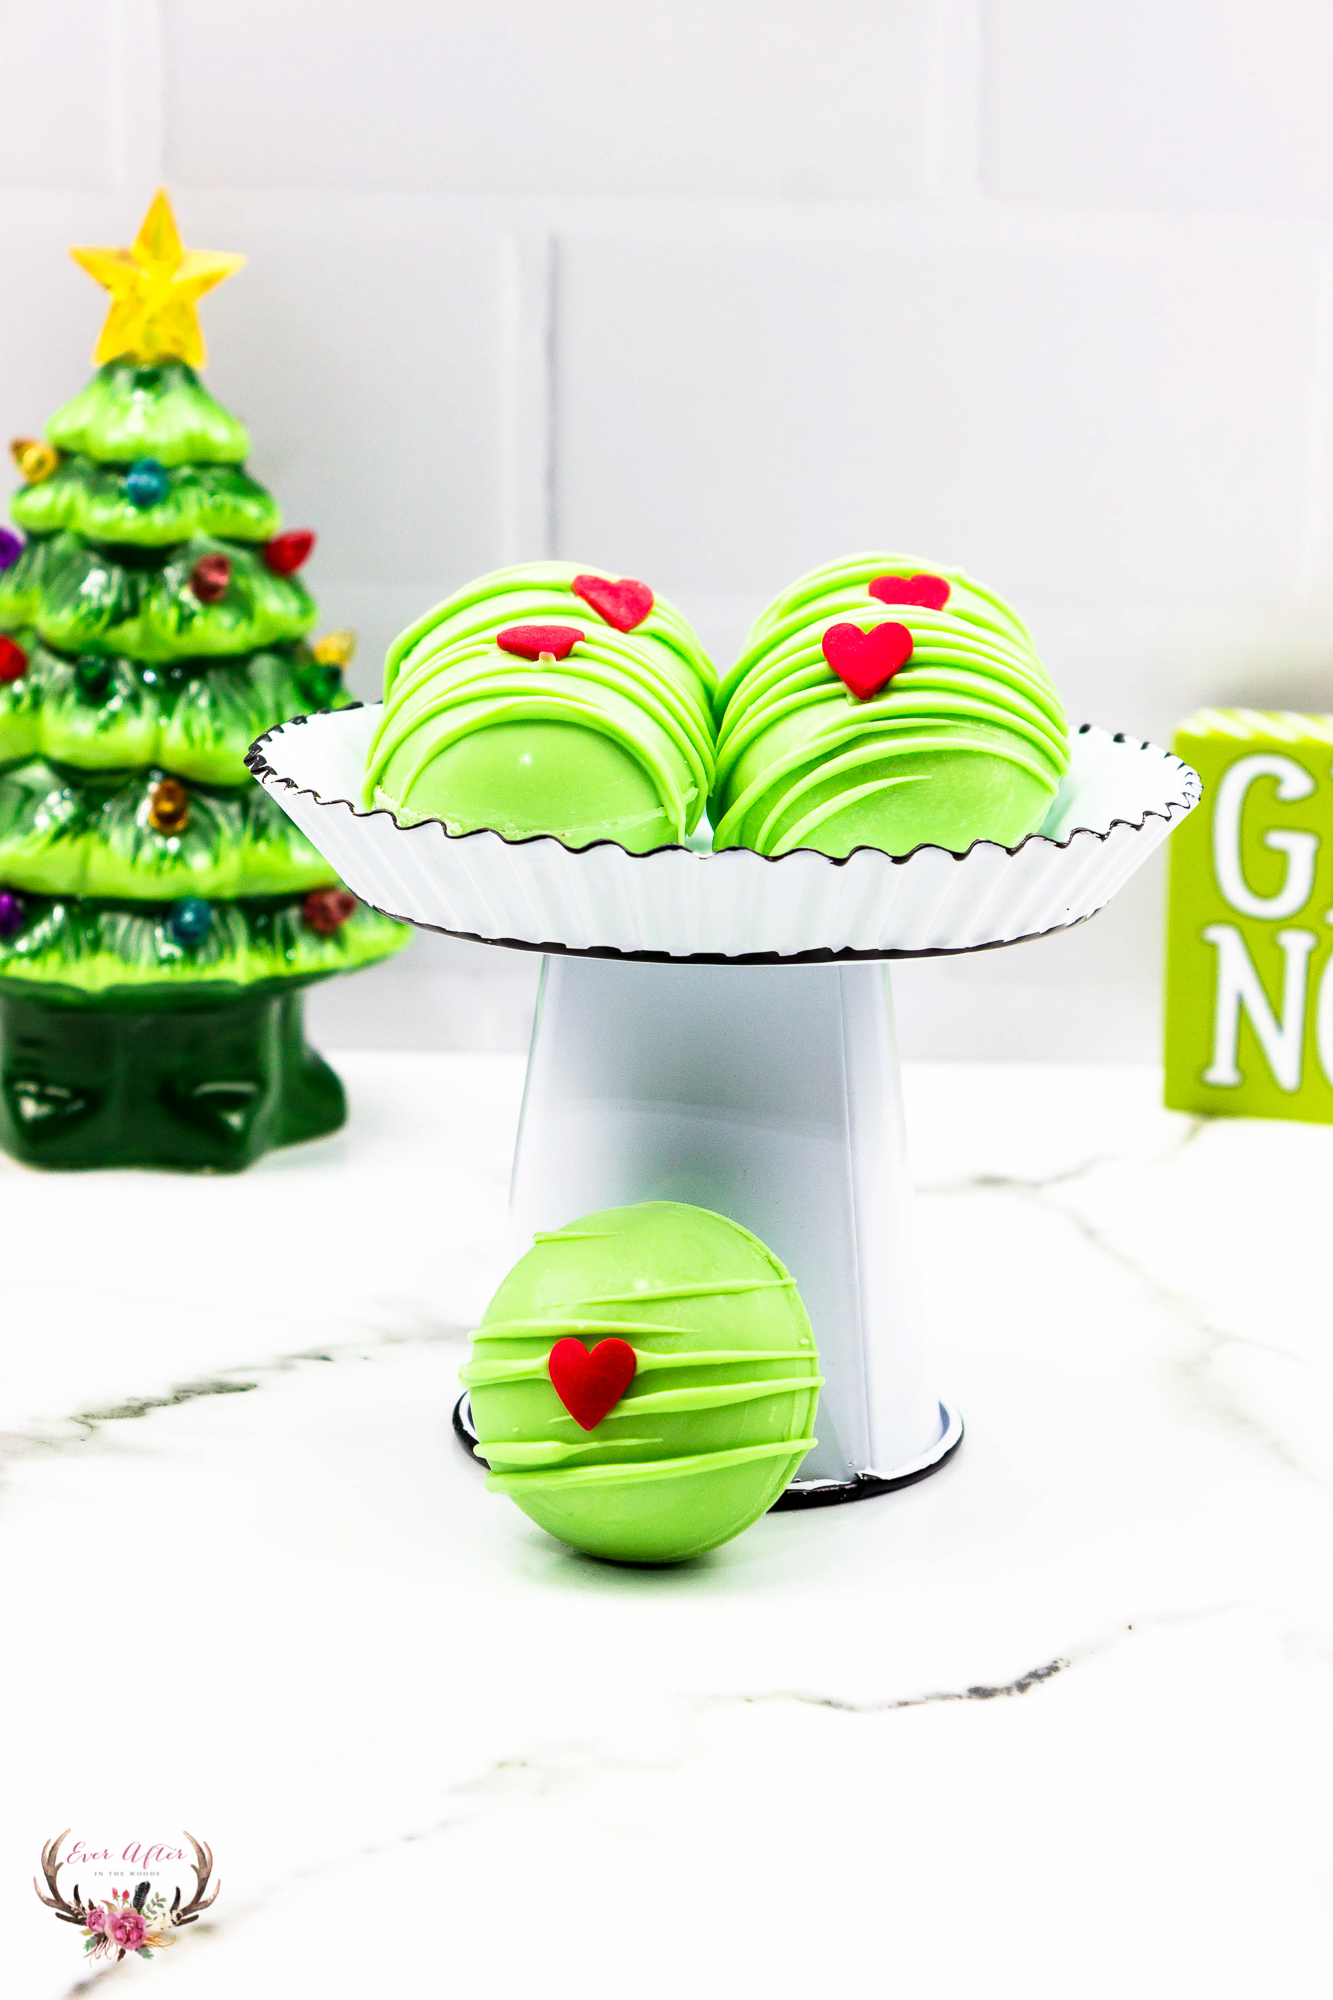
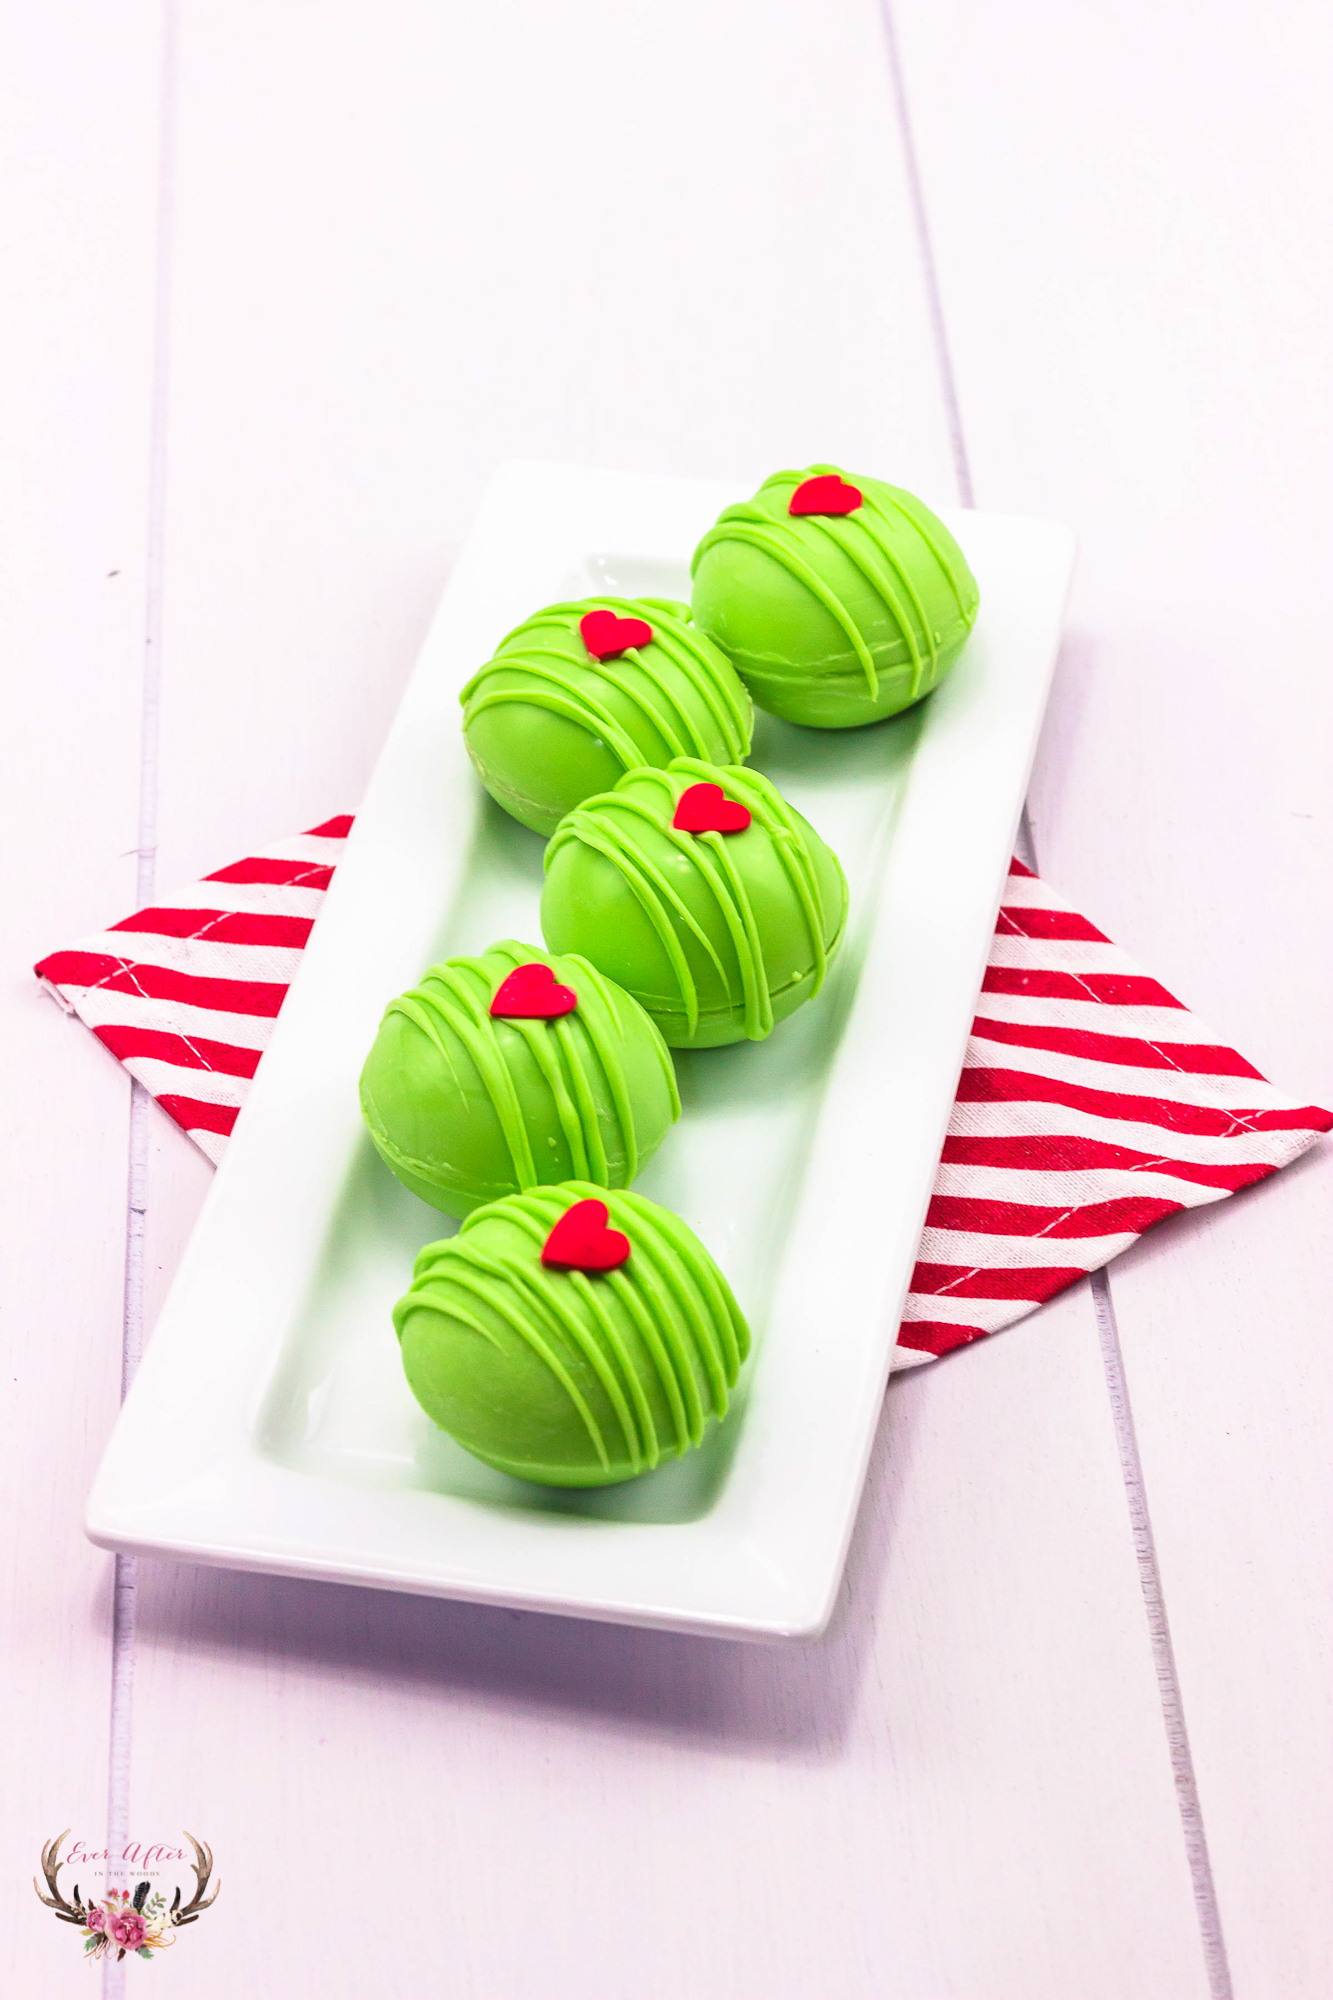
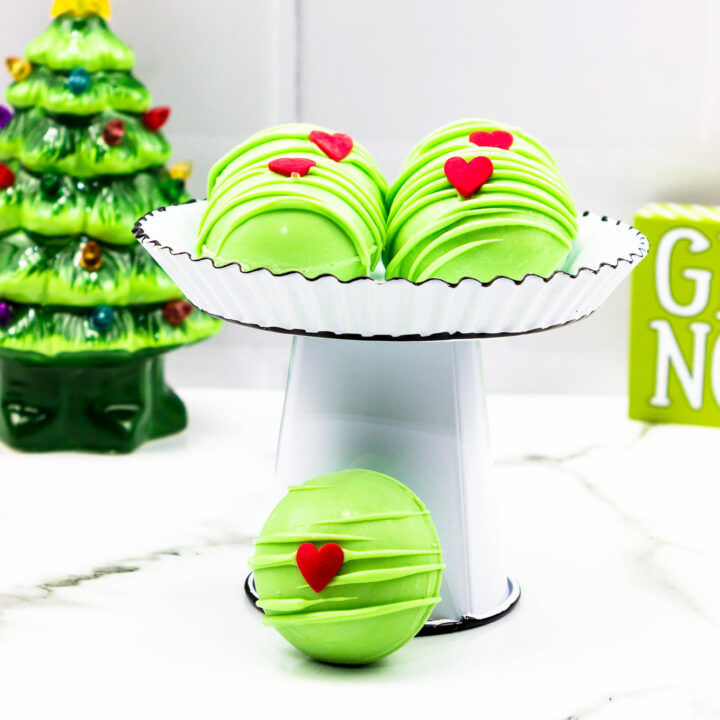
These adorable and sweet Grinch Hot Chocolate Bombs are the perfect treat to give and make this holiday season!
These green chocolate shells are filled with hot cocoa and marshmallows and topped with a red heart that is two sizes too small. Perfect for those long winter nights or as a special treat for watching holiday movies.
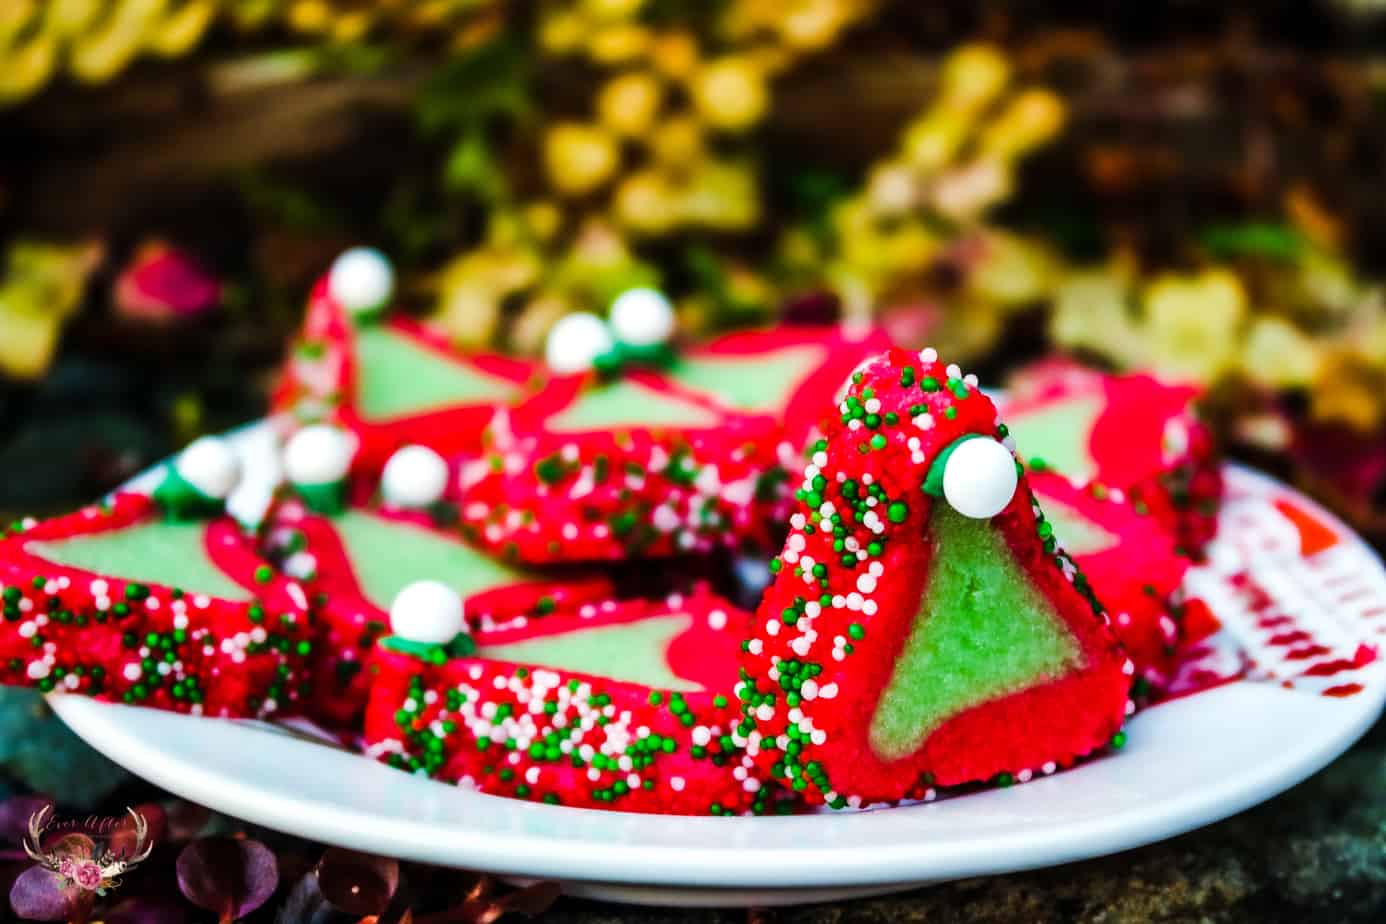
We love “How the Grinch Stole Christmas” so much in this house and it is definitely a holiday staple for sure, we made Grinch Sugar Cookies, Grinch Christmas Candy and Grinch Movie Popcorn – so it was just natural to make a Grinch Hot Chocolate Bomb to go along with our other green confections.
Grinch Hot Chocolate Bombs
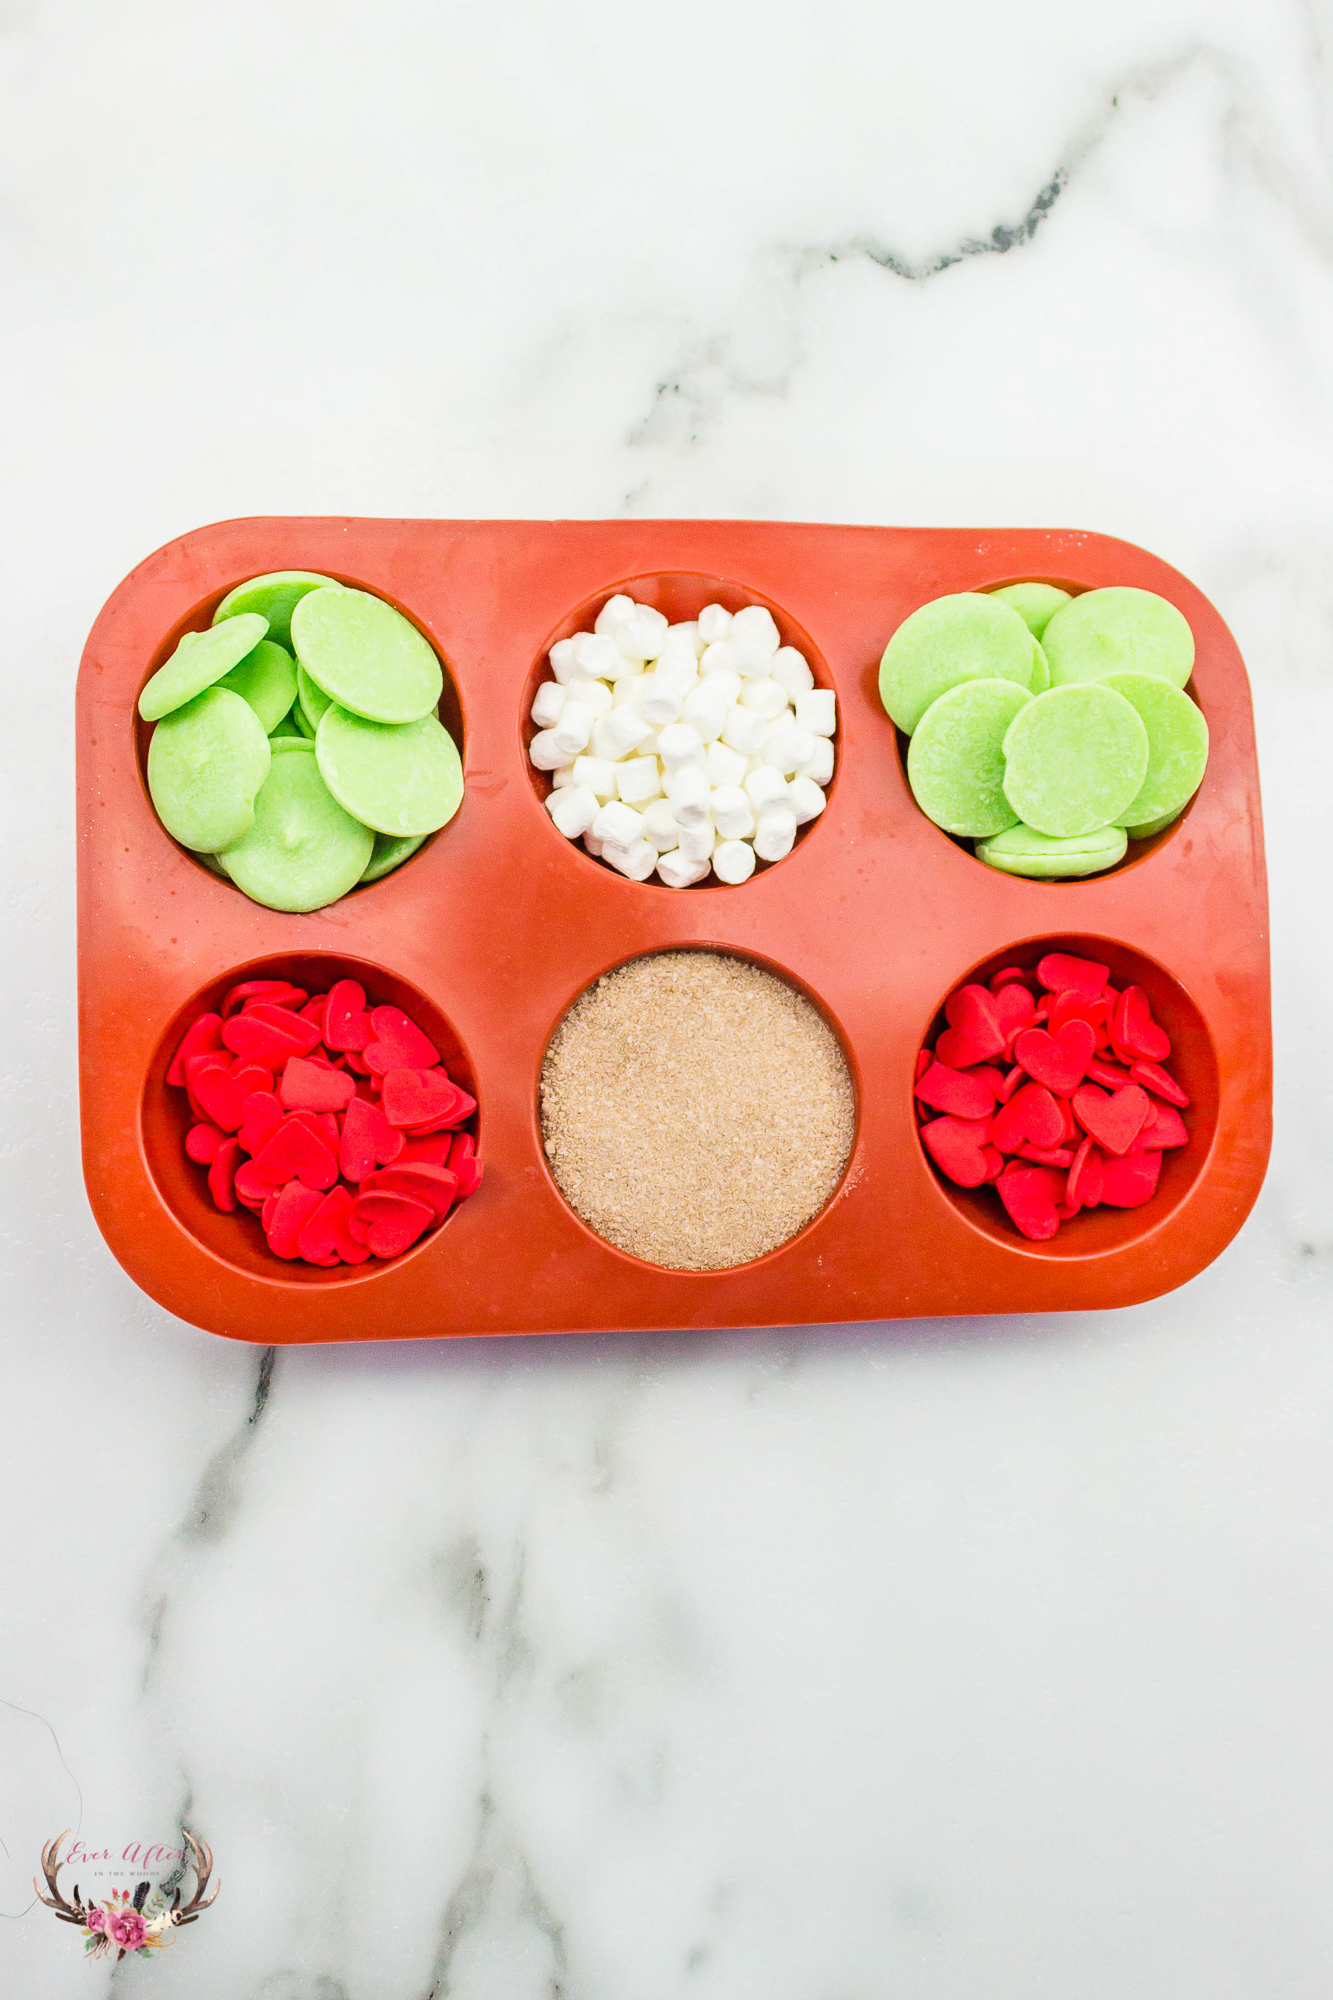
Ingredients/ Supplies Used: (links included are Amazon affiliate links)
- Chocolate mold – https://amzn.to/3cq3ojs
- Nestle Hot Chocolate – https://www.amazon.com/Nestle-Hot-Chocolate-Cocoa-Packets/dp/B07HFVYCXM/
- Mini marshmallows – A https://amzn.to/3FsTnOU
- Wilton Disposable Candy Piping Bags, 12-Count – https://amzn.to/3CzYavU
- Wilton Vibrant Green Meltables Candy Wafers – https://amzn.to/3kSferc
- Celebakes by CK Products Jumbo Red Hearts Edible Confetti https://amzn.to/3cuIW0I
We love to make these ahead of time and keep them in the fridge, these would also make great gifts this holiday season for teachers, friends and the kids in your life!
Time to Complete
- Prep time: 10 minutes
- Freezer time: 15 minutes
- Total time: 25 minutes
Servings – 3 (if you use one mold)
There seems to be a few steps to make these Grinch Hot Chocolate Bombs, but it goes fast once you have the hang of it- be sure to have all your supplies ready to go because the colored candy melts, melt faster!
Instructions
- Place the mold(s) into the freezer while you are melting the chocolate.
- Melting the chocolate:
You can either:
Follow the directions on the package to melt the chocolate in the microwave in a microwave-safe bowl OR you can set up a double boiler to melt the chocolate.
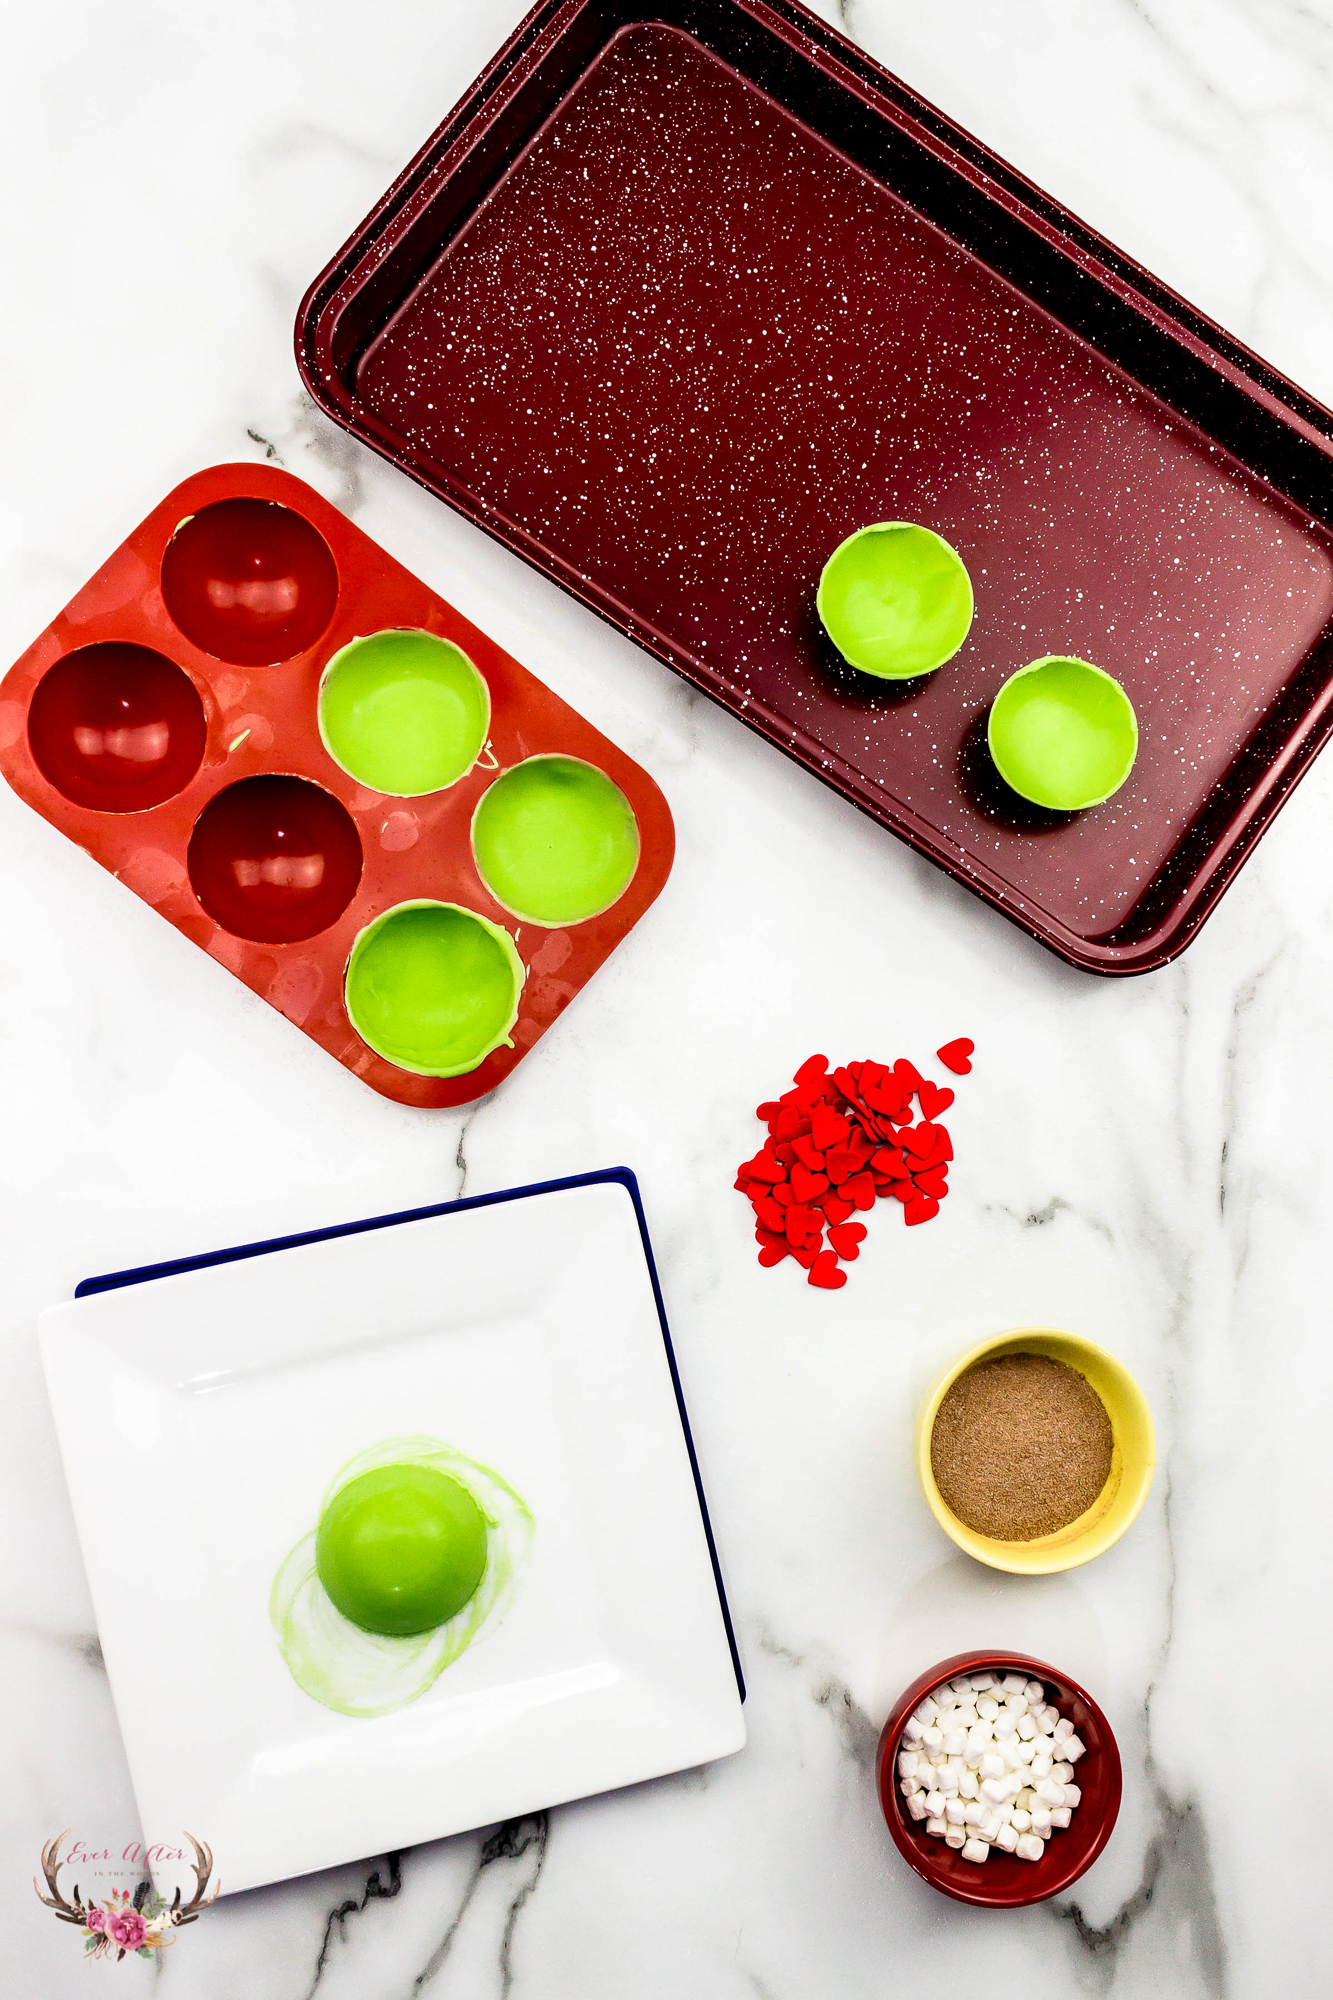
- Once the chocolate is melted, remove the candy molds from the freezer and place on a small baking sheet. Next, add 1 tbsp of the chocolate into the mold. Use your spoon to move the chocolate around the inside of the mold. Make sure that you apply the chocolate evenly.
- Repeat the process for the remainder of the molds. When you are done, lightly tap the mold(s) to get any air bubbles out.
- Place the mold on the baking sheet back into the freezer and let the chocolate spheres set up for 10 – 15 minutes.
- Remove the chocolate bomb molds from the freezer.
- Carefully remove the chocolate from the molds.
- Heat a plate in the microwave for approximately 60 seconds. Remove from the microwave then as you work on each mold, turn one of the bomb halves upside down and place it directly onto the hot plate for 5 to 10 seconds. You just want the rim to gently melt.
- Fill the molds with 1 tbsp of the hot cocoa mix and top with mini marshmallows.
- Then repeat the step to melt the rim of the bomb you are using to top your hot chocolate bomb.
- CAREFULLY press the two halves together.
- Repeat the process until all of the chocolate bombs are done.
- You can add some of the green candy melts into a disposable candy melt bag, microwave according to directions on the bag, and then snip off the tip of the bag and drizzle the chocolate over the tops of the hot chocolate bombs, then add on a red heart.
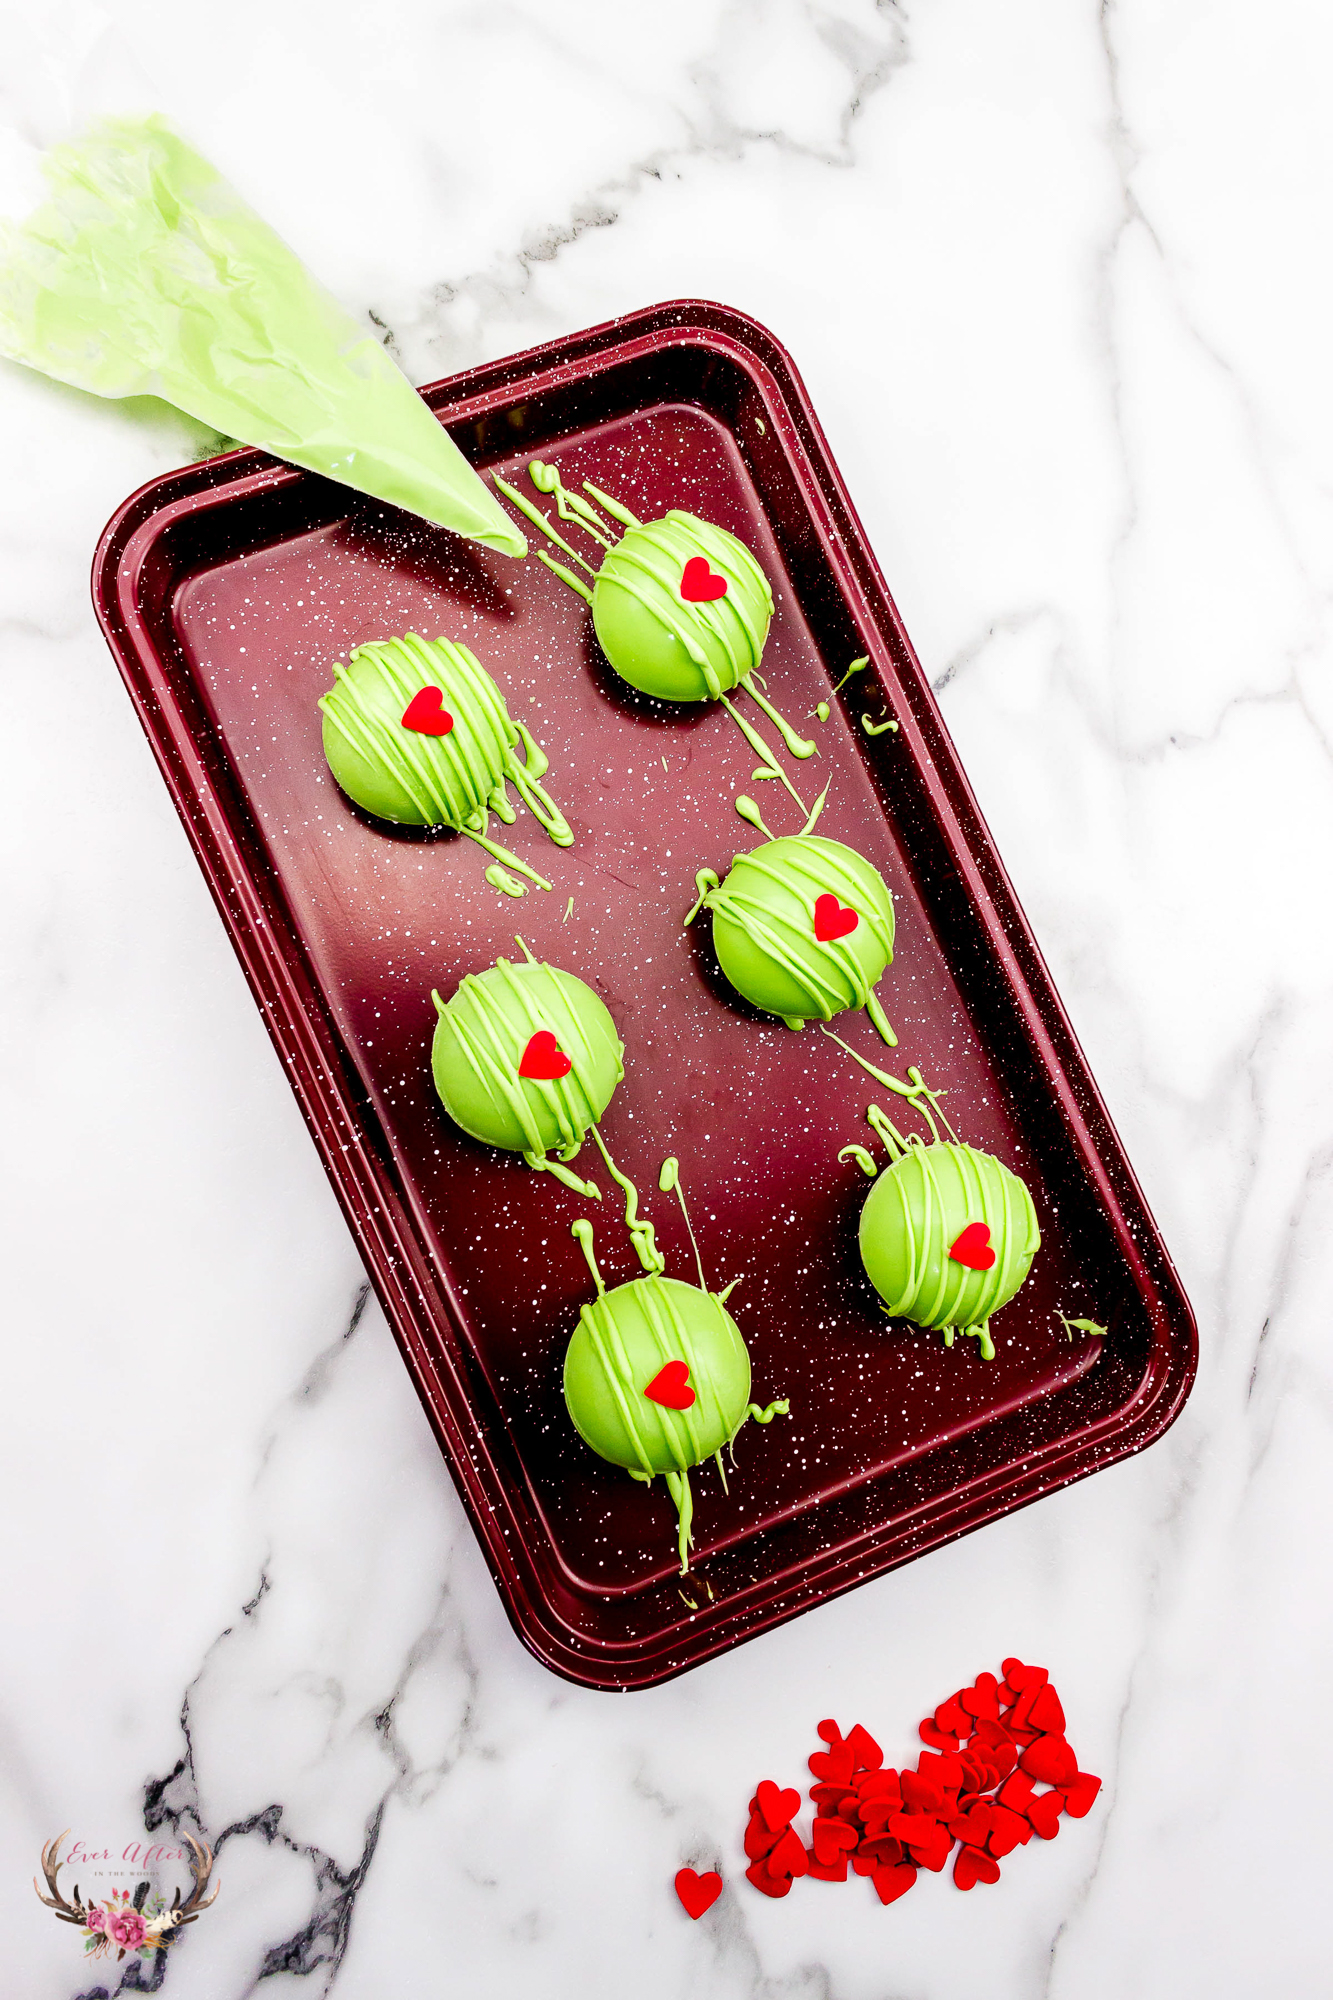
*TIP – using the disposable candy melt bag is honestly the best way to drizzle melted chocolate. Plus, when it’s all done, just throw the bag away. Easy to clean, easy to melt the chocolate, and you can snip off just the right size of tip that you want.
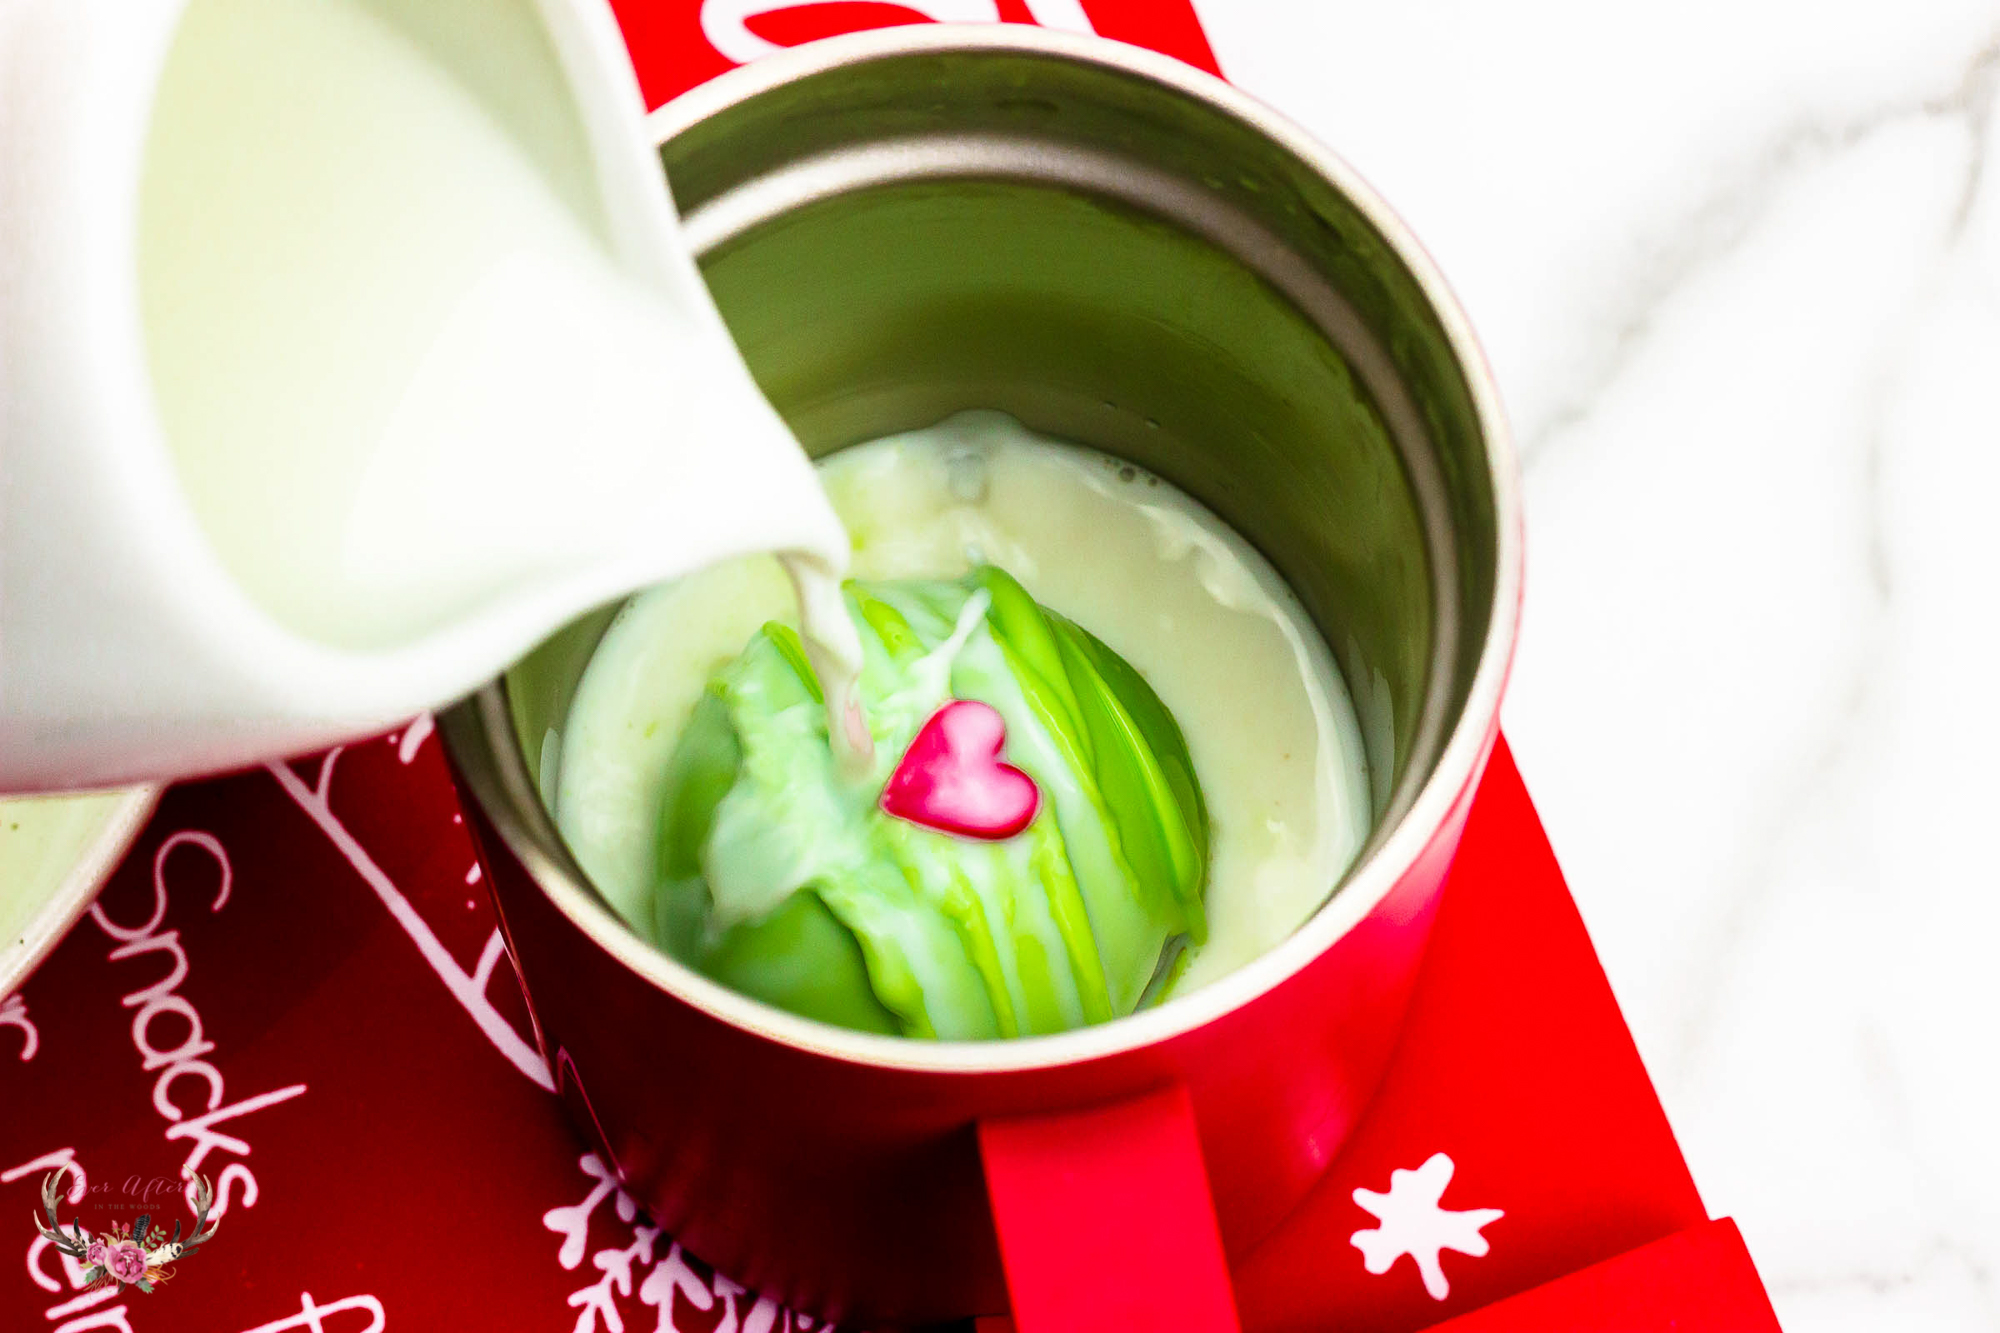
- To use the hot chocolate bomb, place it in a large mug, pour warm milk over it and stir until everything is mixed together and enjoy!
*TIP – to take your hot chocolate to another level, add whipped cream, and then top with sprinkles!
Additional Tips for Success
Colored candy melts set up a lot faster than regular chocolate ones so keep that in mind when working on these. Make sure you have everything ready to go and be ready to work on these.
To store these, they will need to be stored in an airtight container or bag for up to two weeks. You can keep them in the fridge as well.
You can also use your own homemade hot chocolate recipe and buy the marshmallows separately.
To prevent fingerprints on the chocolate balls, wear food safe gloves while making these.
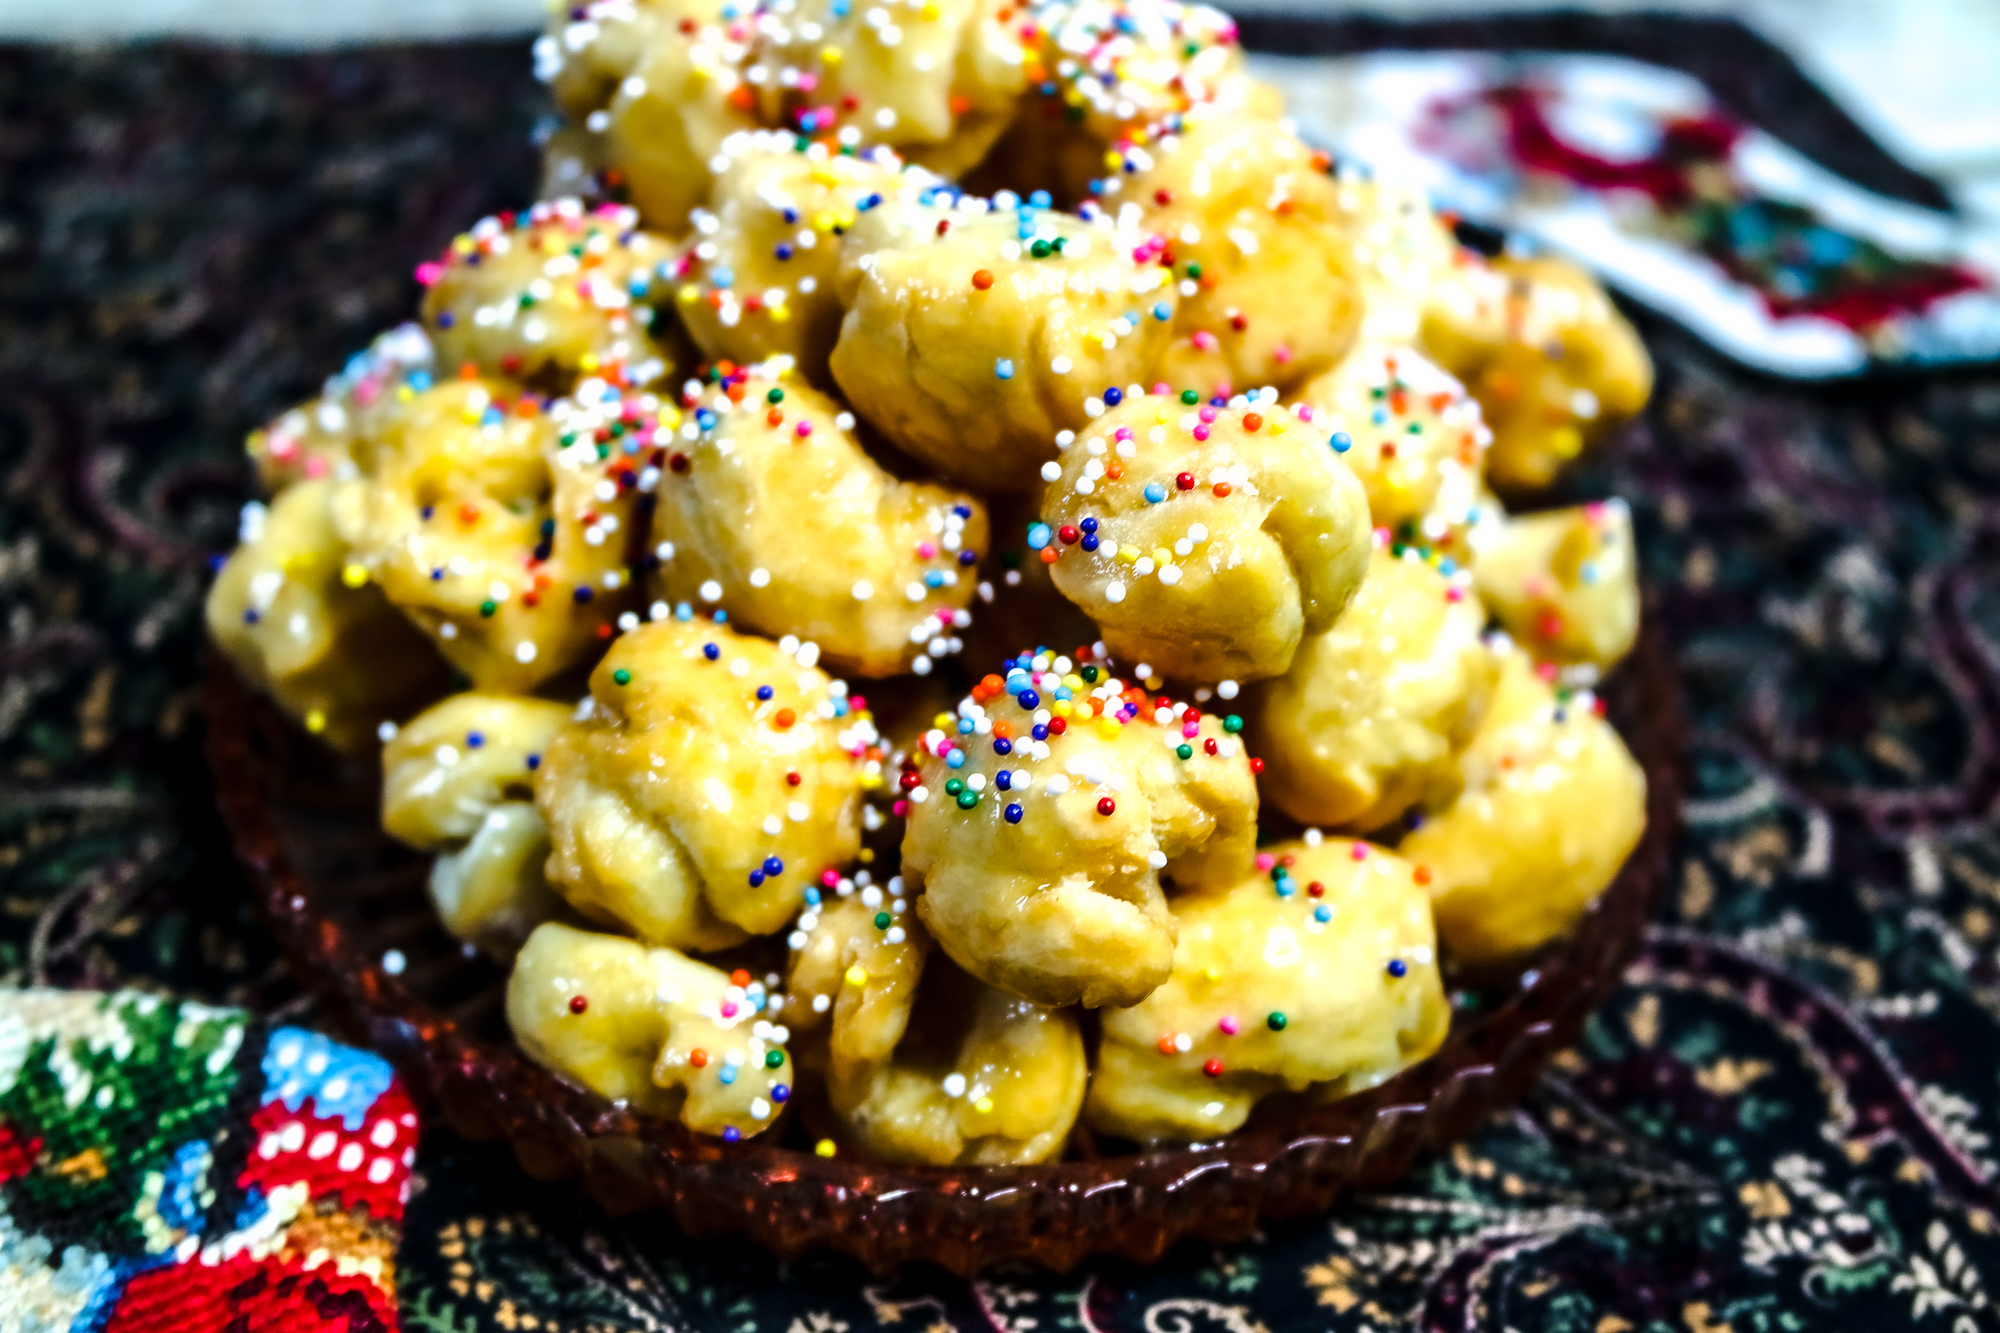
Oh my we are certainly prepared this holiday season with all of our Grinch treats but be sure to check out all of our holiday cookie recipes too because we have numerous recipes for those cookie platters and cookie exchanges this year!
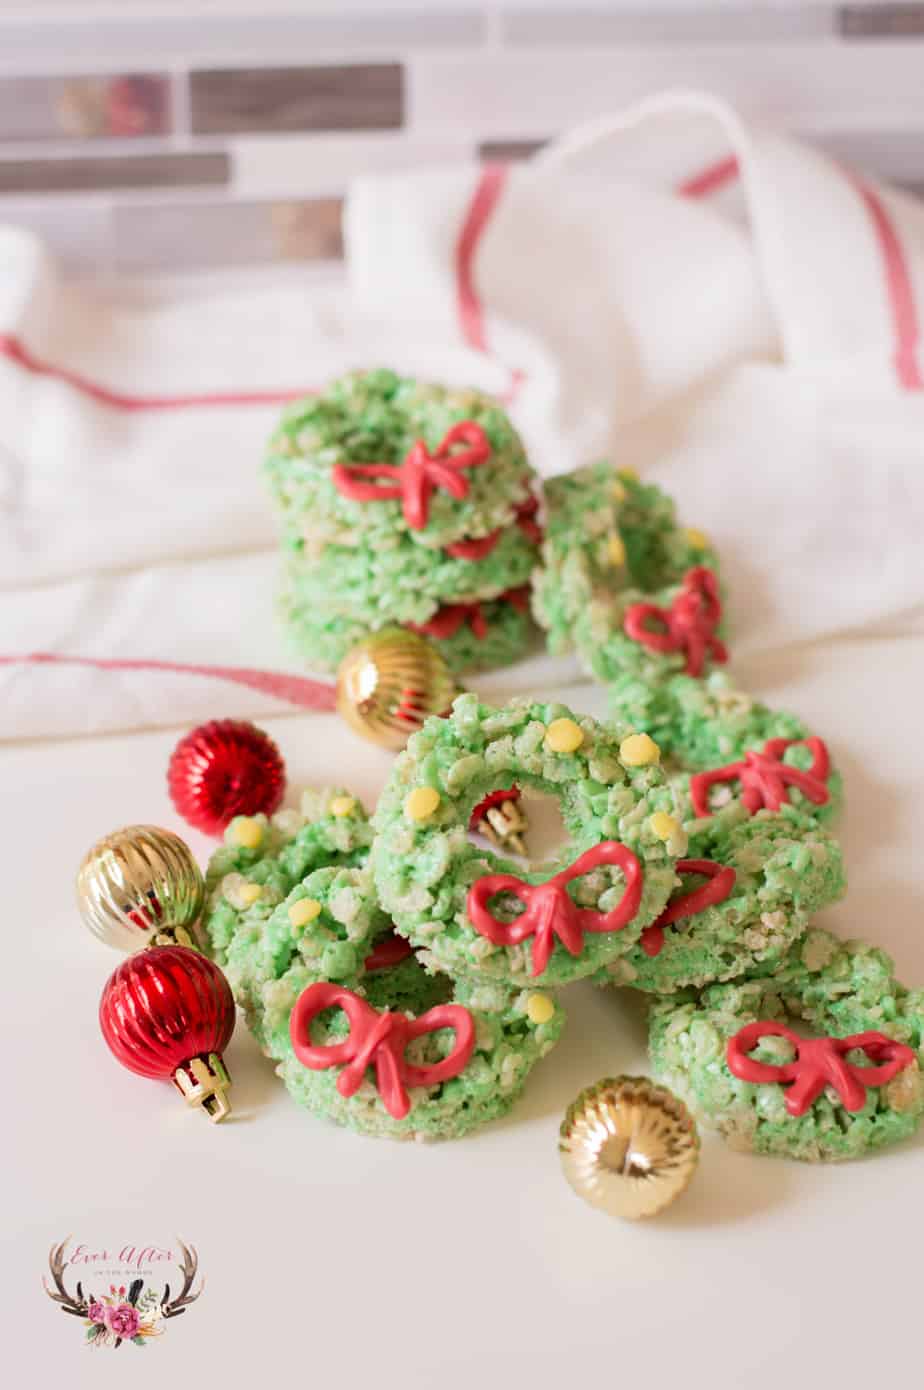
Christmas Wreath Cookies
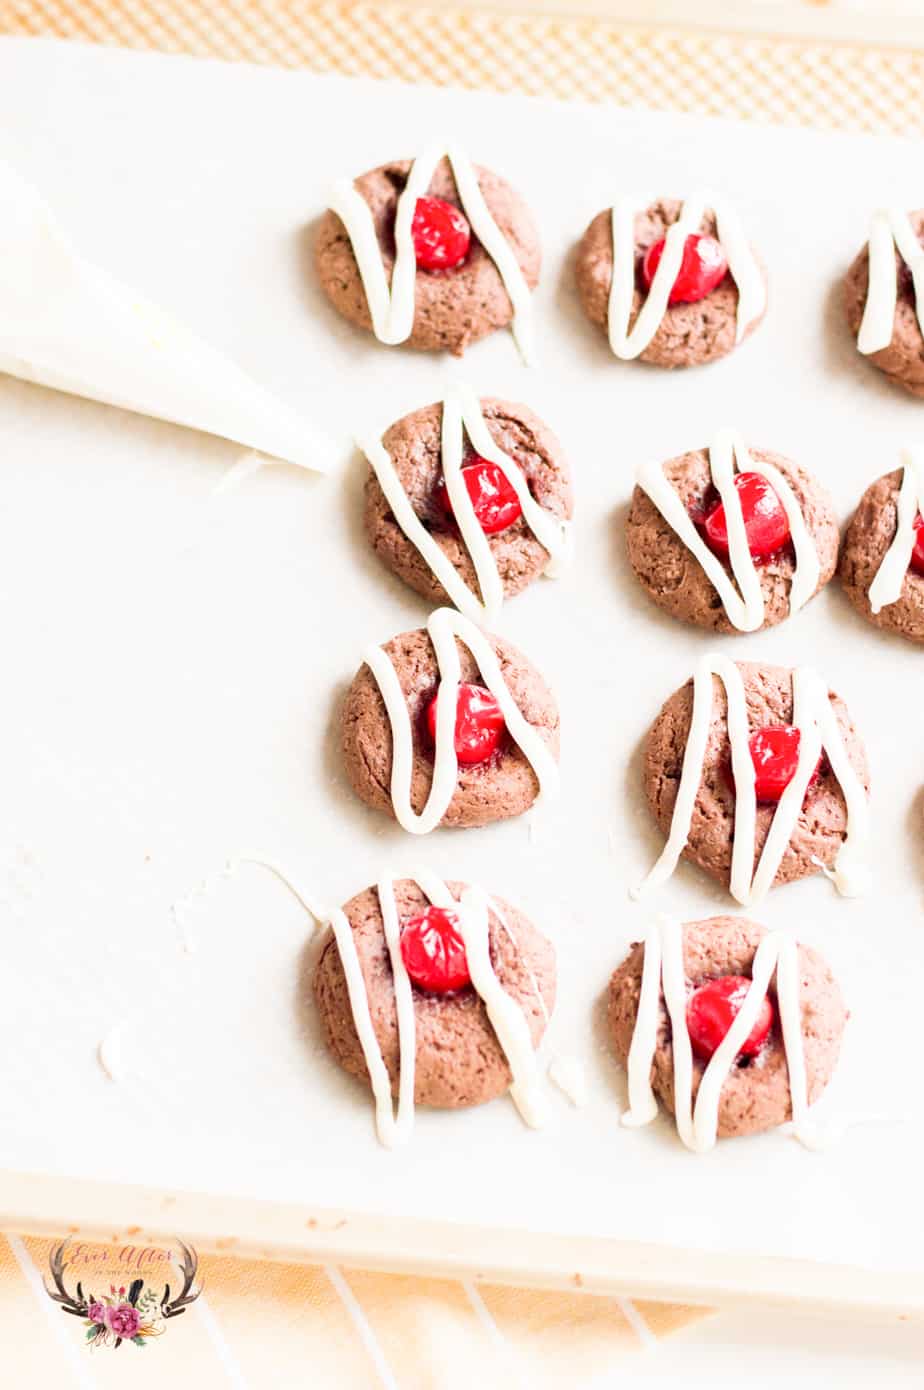
Chocolate Cherry Cookies
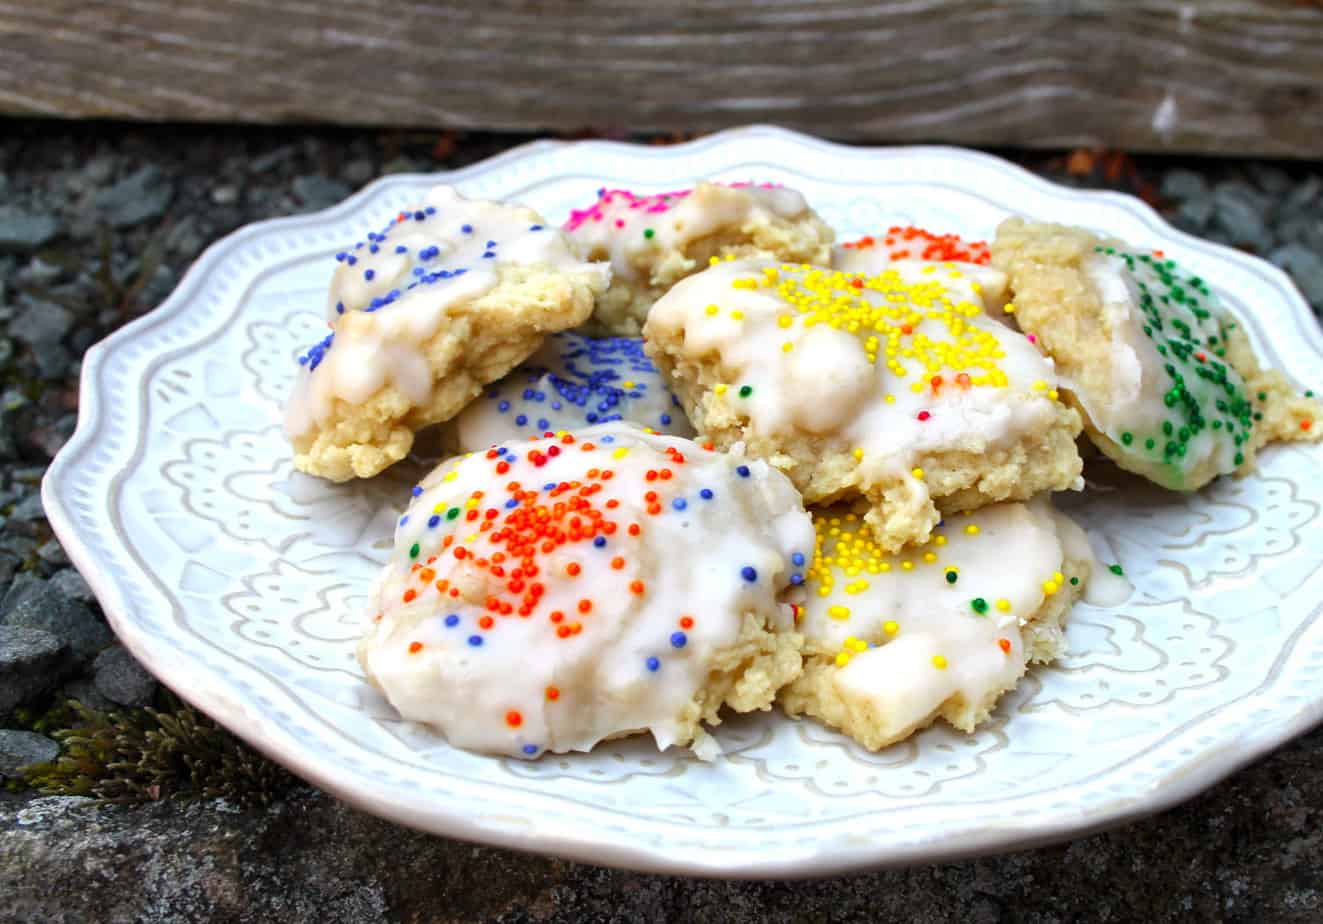
Italian Ricotta Cookies
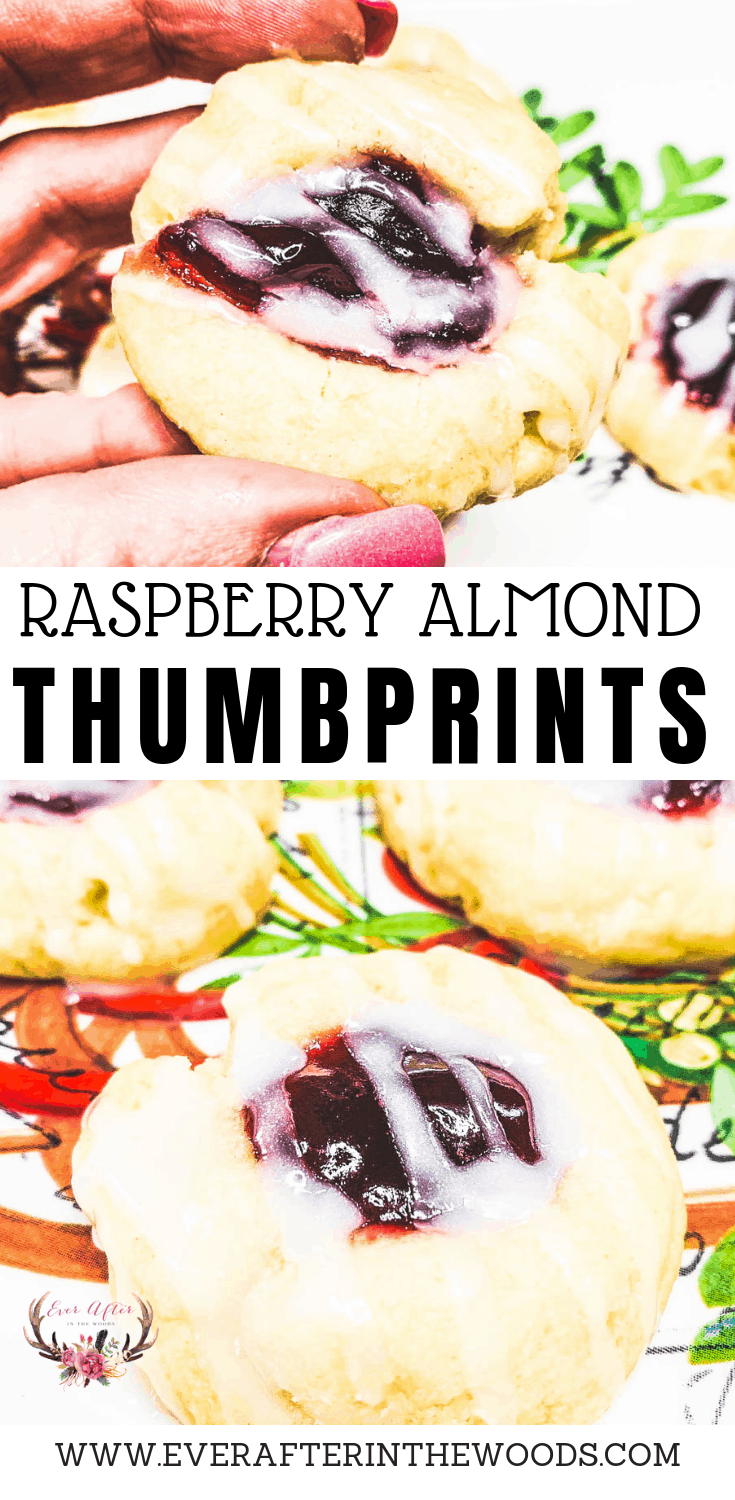
Raspberry Almond Thumbprint Cookies
Linzer Tart Cookies

Grinch Hot Chocolate Bombs
A cute and sweet Grinch Hot Chocolate Bombs for your holiday season and movie watching.
Ingredients
- Wilton Vibrant Green Meltables Candy Wafers - https://amzn.to/3kSferc
- • Celebakes by CK Products Jumbo Red Hearts Edible Confetti https://amzn.to/3cuIW0I
- • Chocolate mold - https://amzn.to/3cq3ojs
- • Nestle Hot Chocolate - https://www.amazon.com/Nestle-Hot-Chocolate-Cocoa-Packets/dp/B07HFVYCXM/
- • Mini marshmallows - A https://amzn.to/3FsTnOU
- • Wilton Disposable Candy Piping Bags, 12-Count - https://amzn.to/3CzYavU
Instructions
1. Place the mold(s) into the freezer
while you are melting the chocolate.
2. Melting the chocolate:
You can either:
Follow the directions on the package
to melt the chocolate in the microwave in a microwave-safe bowl OR you can set
up a double boiler to melt the chocolate.
3. Once the chocolate is melted,
remove the candy molds from the freezer and place on a small baking sheet.
Next, add 1 tbsp of the chocolate into the mold. Use your spoon to move the
chocolate around the inside of the mold. Make sure that you apply the chocolate
evenly.
4. Repeat the process for the
remainder of the molds. When you are done, lightly tap the mold(s) to get any
air bubbles out.
5. Place the mold on the baking sheet
back into the freezer and let the chocolate spheres set up for 10 - 15
minutes.
6. Remove the chocolate bomb molds
from the freezer.
7. Carefully remove the chocolate
from the molds.
8. Heat a plate in the microwave for
approximately 60 seconds. Remove from the microwave then as you work on each
mold, turn one of the bomb halves upside down and place it directly onto the
hot plate for 5 to 10 seconds. You just want the rim to gently melt.
9. Fill the molds with 1 tbsp of the
hot cocoa mix and top with mini marshmallows.
10. Then repeat the step to melt the
rim of the bomb you are using to top your hot chocolate bomb.
11. CAREFULLY press the two halves
together.
12. Repeat the process until all of
the chocolate bombs are done.
13. You can add some of the green
candy melts into a disposable candy melt bag, microwave according to directions
on the bag, and then snip off the tip of the bag and drizzle the chocolate over
the tops of the hot chocolate bombs, then add on a red heart.
*TIP - using the disposable candy
melt bag is honestly the best way to drizzle melted chocolate. Plus, when it’s
all done, just throw the bag away. Easy to clean, easy to melt the chocolate,
and you can snip off just the right size of tip that you want.
16. To use the hot chocolate bomb,
place it in a large mug, pour warm milk over it and stir until everything is
mixed together and enjoy!
Notes
Colored candy melts set up a lot
faster than regular chocolate ones so keep that in mind when working on these.
Make sure you have everything ready to go and be ready to work on these.
To store these, they will need to be
stored in an airtight container or bag for up to two weeks. You can keep them
in the fridge as well.
You can also use your own homemade
hot chocolate recipe and buy the marshmallows separately.
To prevent fingerprints on the chocolate
balls, wear food safe gloves while making these.