How to Make Agate, Geode Candy Slices

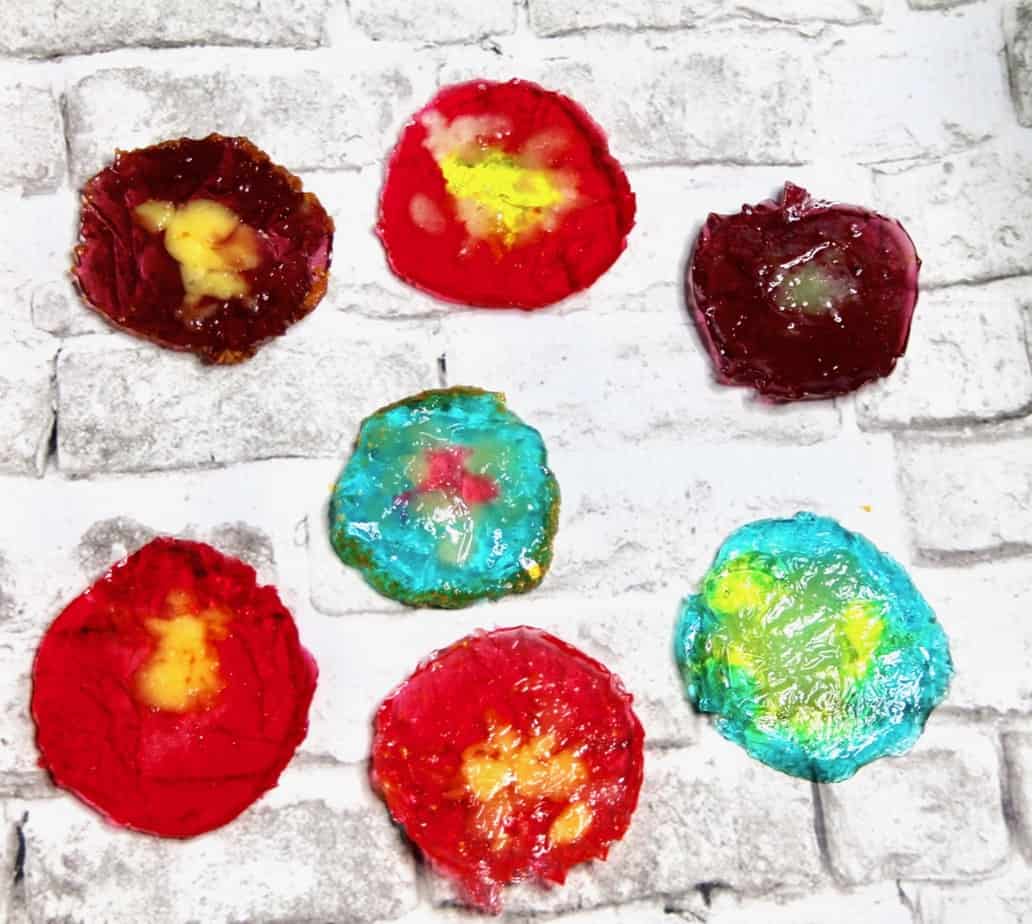
Out of this world! These Agate, Geode or Rock Cupcake Toppers are the ultimate idea for an outer space or space birthday party. These cute candy pieces are adorably clever and will be the topic of conversation at your party. Perfect for the solar eclipse too!

How to Make Agate, Geode or Rock Cupcake Toppers from Candy
It all starts with the hard candy. I used a mixture of lollipops and Jolly Ranchers to make my stone slices but you can use any hard candy you would like depending on what colors you want your agate to be. I loved using a variety of colors. The key to making these geode rock candy slices is that the tin foil is smooth and you use a squirt of non-stick spray so they do not stick.
FYI- the candy was a little hard to crush – but fun!

Geode, Moon Slice, Solar Eclipse Cupcake Toppers
View our video to show the process.
Materials
Hard candy, crushed (we put ours in bags and pounded with meat tenderizer)
tin foil
non stick spray
Directions
Crush candies and separate by color.
Preheat oven to 300.
Using tin foil make circle molds. We used a biscuit cutter and a mason jar lid to template the shape.
Smooth the bottom of each tin foil circle.
Spray with non-stick spray.
Add the colored candy piece in circular layers, like a bullseye.
Bake for 10-15 minutes.
Let cool completely before peeling off the foil.
I added a little edible gold glitter to the outside edge.
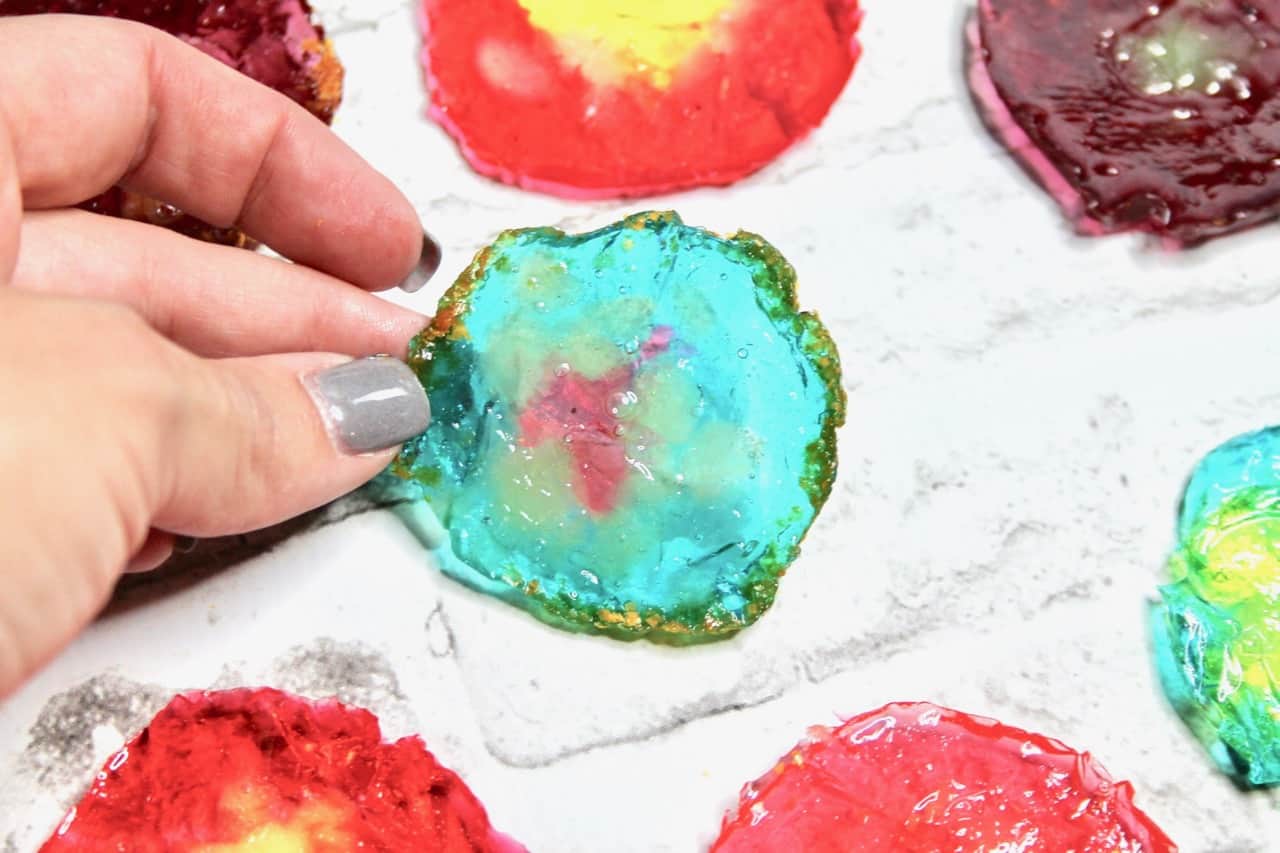
A very easy way to make these beautiful agate crystal cupcake toppers. My daughter and I ha so much making these and pounding the candy pieces. We honestly could have made dozens more. They look so pretty on cupcakes or cakes too. Perfect for a space-themed party.

Side note – you can make them into lollipops by placing a lollipop stick into the melted candy when they come out of the oven and before cooling.
Happy Baking!

How to Make Agate, Geode Slice Candy Topper
Ingredients
- Hard candy crushed (we put ours in bags and pounded with meat tenderizer)
- tin foil
- non stick spray
Instructions
- Crush candies and separate by color.
- Preheat oven to 300.
- Using tin foil make circle molds. We used a biscuit cutter and a mason jar lid to template the shape.
- Smooth the bottom of each tin foil circle.
- Spray with non-stick spray.
- Add the colored candy piece in circular layers, like a bullseye.
- Bake for 10-15 minutes.
- Let cool completely before peeling off the foil.
