If Your Sourdough Keeps Failing, These 10 Common Errors Might Explain It
Sourdough might look rustic and carefree, but behind every perfectly chewy loaf is a careful dance of timing, temperature, and bacteria.
If your dough keeps collapsing, crusts come out pale, or your starter seems more moody than magical, you’re not alone.
Even seasoned bakers have had their sourdough dreams deflate like a bad soufflé. Sometimes it’s not you — it’s that one sneaky habit you didn’t realize was ruining everything.
Grab your apron and your troubleshooting hat, because your next loaf is about to level up.
1. Zombie Starter Blues
Your starter should bubble with life like a witch’s cauldron, not lie dormant like a zombie. An inactive starter simply can’t lift your dough, resulting in dense, brick-like loaves that could double as doorstops.
Feed your starter regularly at room temperature for several days before baking.
It should double in size within 4-8 hours after feeding and pass the float test—a small spoonful should float when dropped in water.
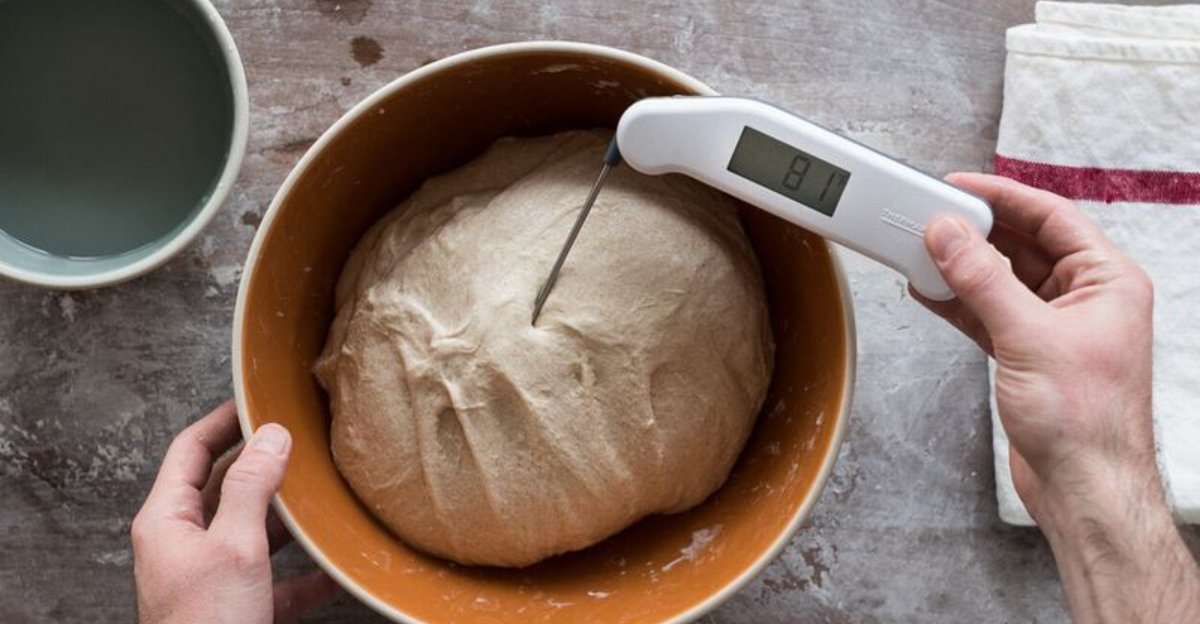
2. Temperature Tantrums
Water temperature isn’t just a suggestion—it’s chemistry! Too hot (above 100°F) and you’ll destroy your precious yeast friends.
Too cold and they’ll move slower than a turtle in molasses, leaving you wondering why your dough refuses to rise.
Aim for the Goldilocks zone: 75-85°F for active fermentation. Professional bakers use thermometers for a reason.
I once scorched my starter with boiling water and had to start from scratch after a week of no activity.
3. Rushed Rise Regrets
Patience isn’t just a virtue—it’s essential for good bread! Underproofed dough hasn’t developed enough structure or flavor, resulting in dense loaves with large, random holes and tears at the bottom.
My first sourdough looked beautiful going into the oven but came out resembling a sad pancake.
The poke test is your friend: when you gently poke the dough, it should slowly spring back but still hold a slight indentation.
4. Fermentation Overload
Left your dough to rise while binging a TV series? Oops! Overproofed dough has exhausted its rising power, resulting in flat loaves that spread rather than spring upward in the oven.
The structure collapses because the gluten network has weakened. I once forgot my dough overnight and ended up with what looked like focaccia instead of a boule!
Watch for signs: dough that feels loose, jiggly, and overly airy, or that deflates when you touch it.
5. Flour Fiascos
All-purpose flour might be your kitchen staple, but it’s the equivalent of trying to build a skyscraper with popsicle sticks.
The lower protein content simply can’t create the strong gluten network needed for proper structure. Bread flour (12-14% protein) creates stronger dough with better rise.
My loaves transformed when I switched from all-purpose to bread flour, with higher rise and better chew. For extra flavor complexity, try incorporating some whole wheat or rye.
6. Lazy Hand Syndrome
Skimping on kneading is like skipping leg day at the gym—your bread will be weak and wobbly!
Proper gluten development requires actual work, whether through traditional kneading or stretch-and-fold techniques.
My early loaves had the texture of play-dough until I learned to develop the gluten properly.
The windowpane test never lies: stretch a small piece of dough—it should stretch thin enough to see light through without tearing.
7. Flour Frenzy During Shaping
Panicking when dough sticks to everything? Been there! Drowning your dough in flour during shaping creates dry spots that prevent proper sealing of the surface.
These dry spots create weak points where steam escapes during baking instead of pushing upward for that gorgeous oven spring.
A lightly floured surface is all you need—plus perhaps wet hands to prevent sticking.
I switched to a bench scraper and suddenly my loaves stopped resembling saggy pancakes!
8. Slash and Burn Blunders
Wild, haphazard scoring might feel artistic, but your bread needs strategic vents! Poor scoring leads to unpredictable expansion, resulting in loaves that burst out the sides like aliens trying to escape.
A sharp razor blade (not your kitchen knife) makes clean cuts about ¼-inch deep at a 45-degree angle.
My game-changing moment? Investing in a proper bread lame after months of using scissors. Remember: decorative scoring looks pretty but functional scoring controls the rise.
9. Lukewarm Oven Letdowns
Cranking your oven to volcanic levels isn’t just for pizza! Sourdough needs serious heat—450-500°F minimum—to achieve that magnificent oven spring.
Your beautiful dough will flop like a sad pancake in a lukewarm oven. Preheat your Dutch oven or baking stone for at least 45 minutes.
My first successful loaf happened when I finally listened to this advice instead of being impatient. The initial blast of heat creates steam that lifts your dough before the crust sets.
10. Rushed Fermentation Folly
Flavor development in sourdough is a marathon, not a sprint! Rushing fermentation by skipping the cold proof robs your bread of complex flavors and that signature sourdough tang.
The refrigerator is your secret weapon. An overnight cold fermentation (8-12 hours) not only develops flavor but also makes the dough easier to handle and score.
My bread went from bland to grand when I started refrigerating it overnight. Patience rewards with flavor that store-bought can’t touch!