


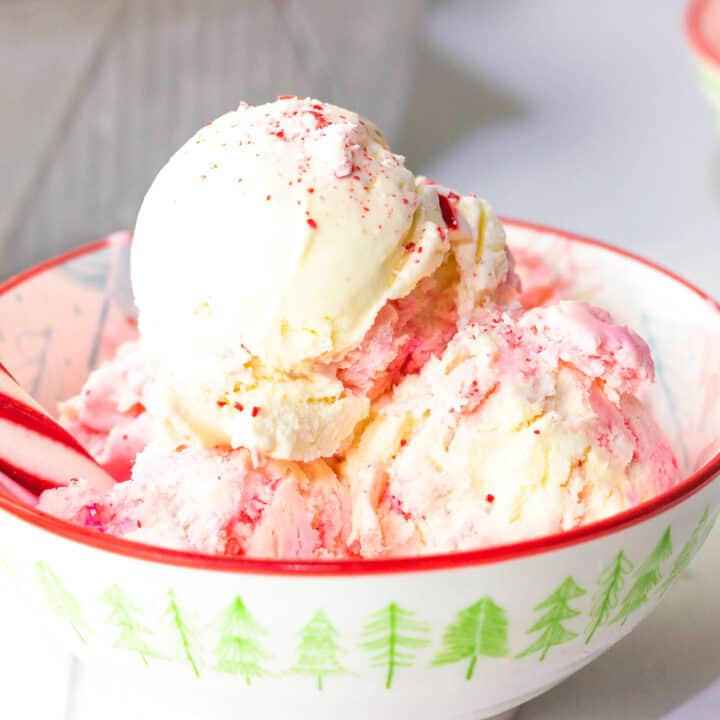
No Churn Peppermint Ice Cream
Peppermint Ice Cream
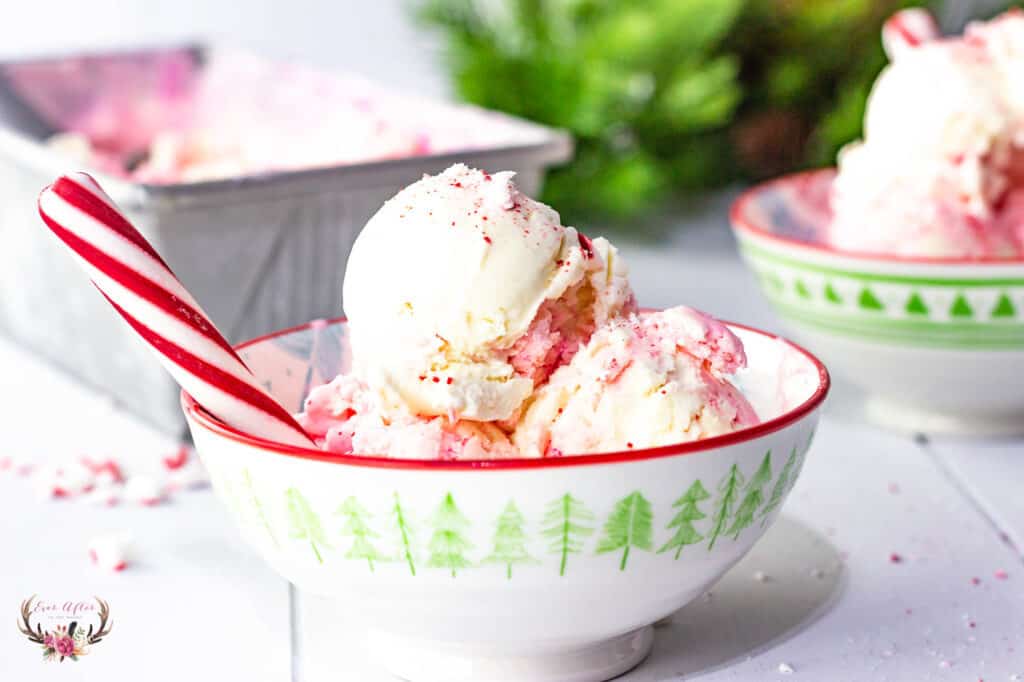
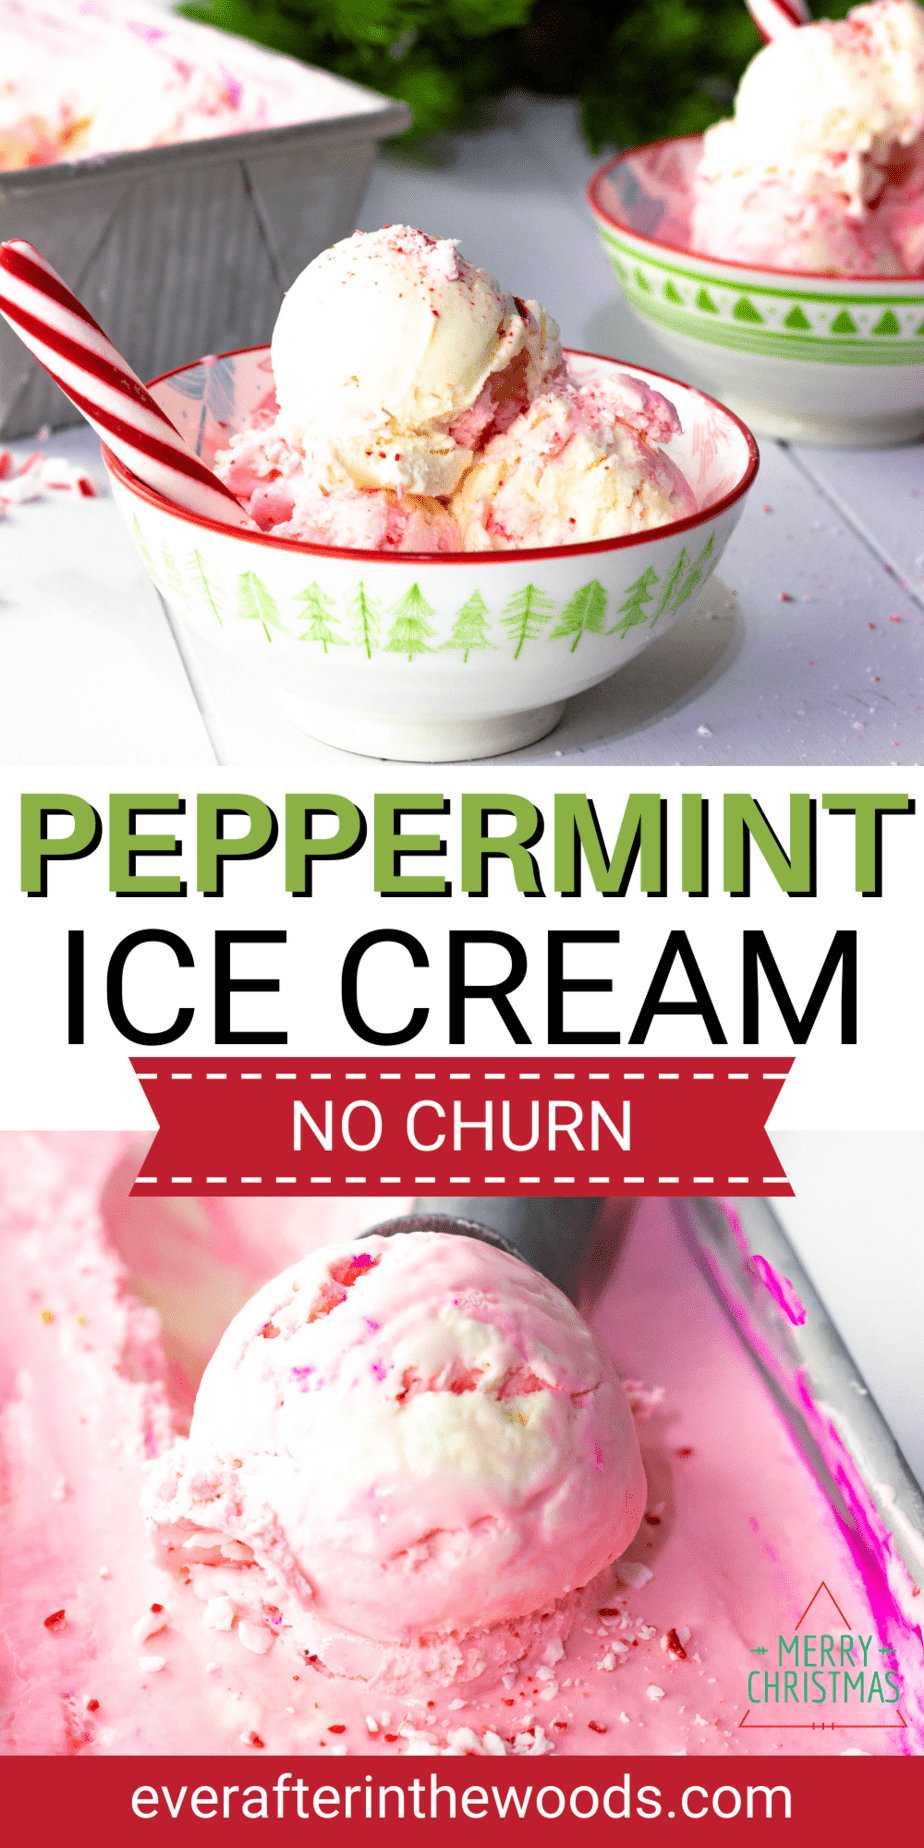
Peppermint Ice Cream (No Churn)

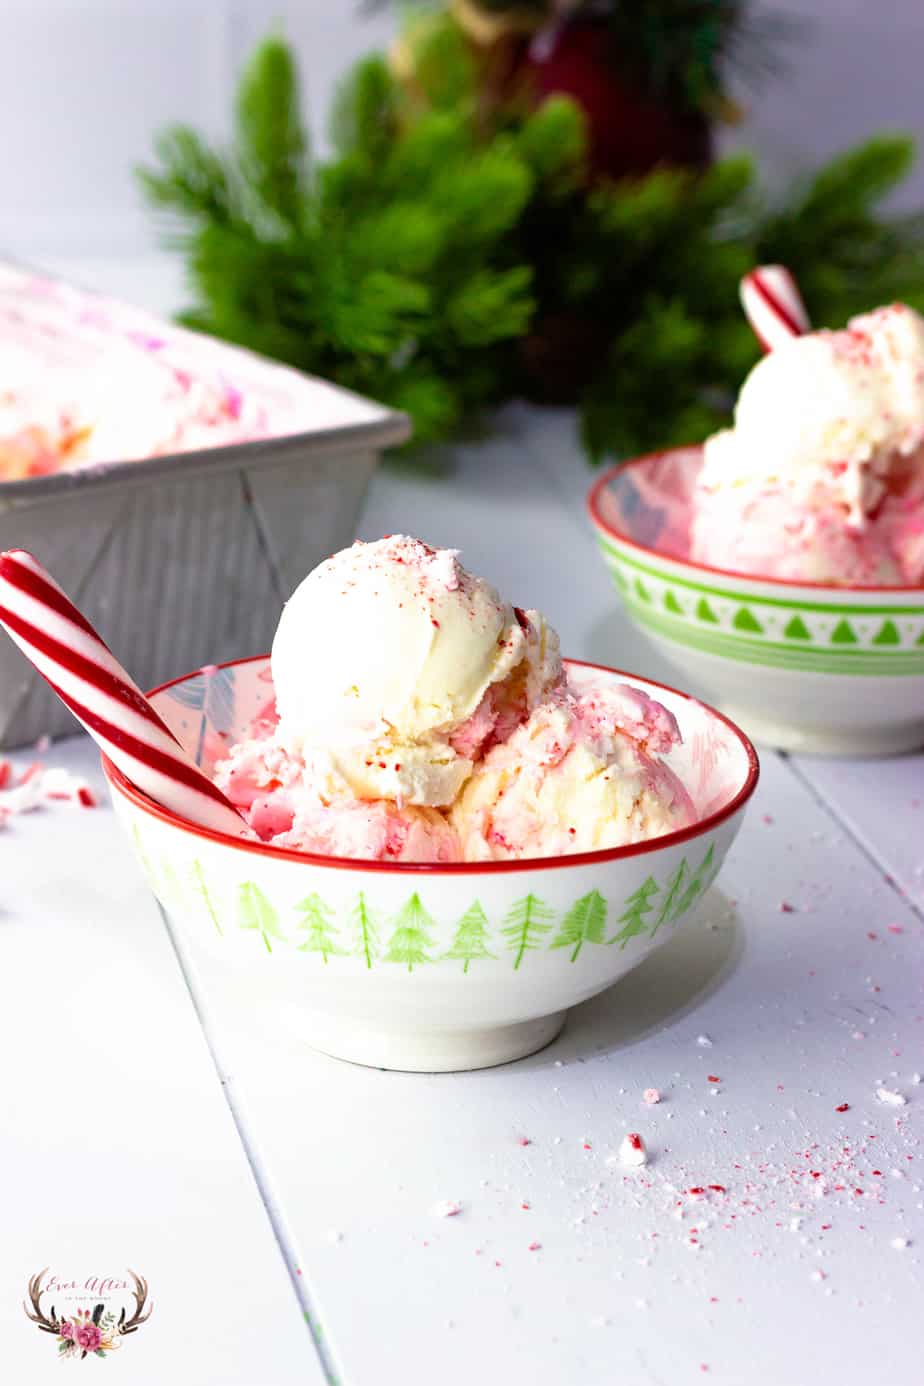
No Churn Peppermint Ice Cream is creamy, easy to make, and perfect any time of the year! One of the great things about no churn ice cream is that it is so versatile! You can add in whatever flavors you like, toppings your family loves, and overnight you will have your very own customized ice cream that only required a minimum of two key ingredients to make. And the best part is you probably already have at least one of them in your pantry!

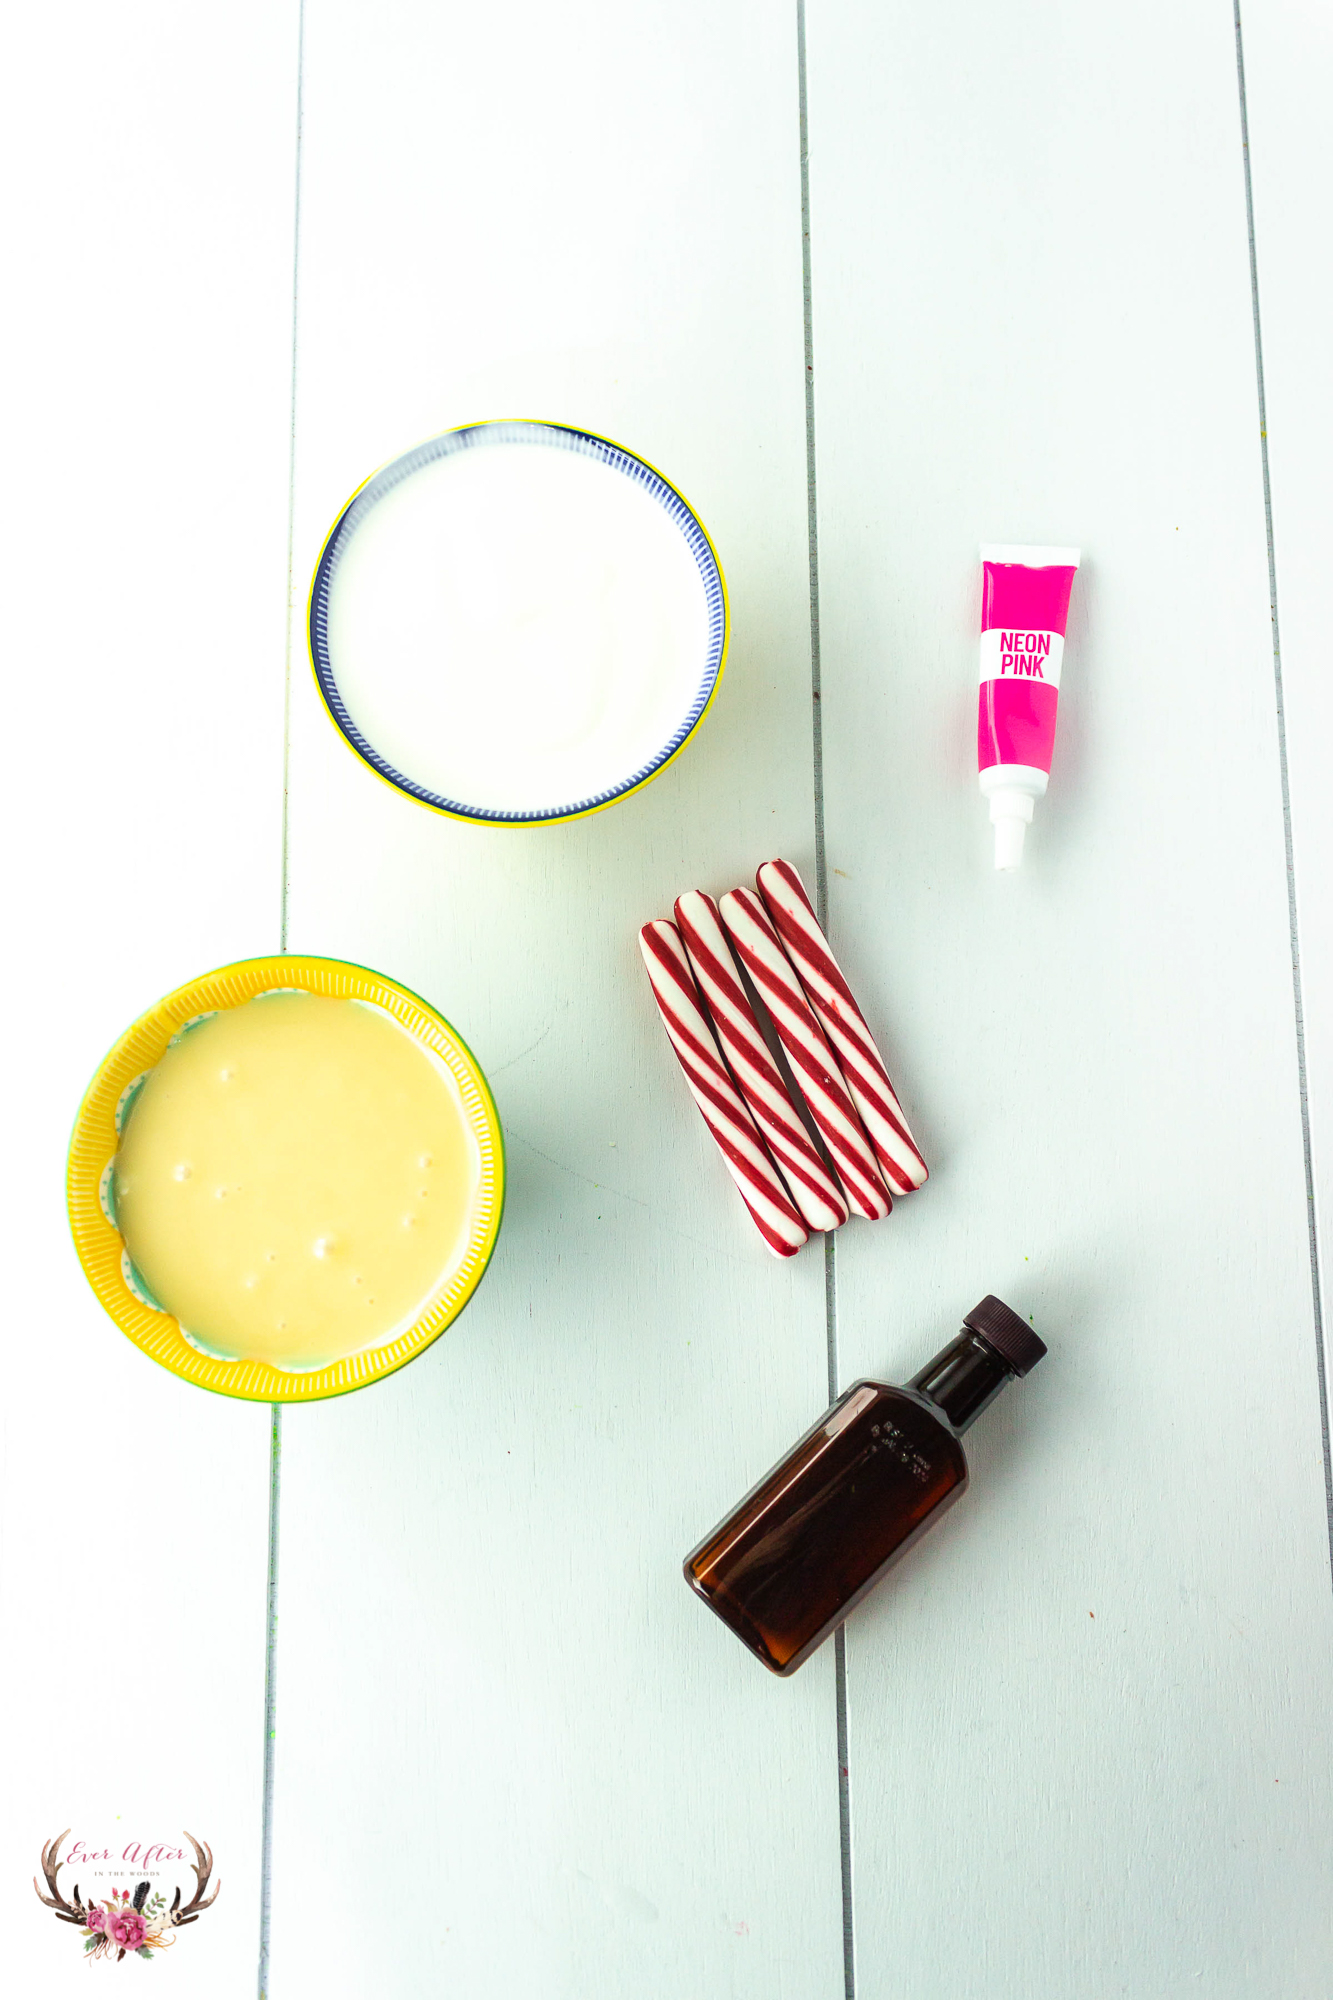
Ingredients for No Churn Peppermint Ice Cream
-
2 cups (1 pint) heavy whipping cream, chilled
-
1 can (14 oz) sweetened condensed milk, chilled
-
1 teaspoon pure peppermint extract
-
Crushed peppermint sticks (3)
-
Red gel food coloring
Supplies Used:
- 9×5’ stainless steel loaf pan
- Stainless steel mixing bowl
- Whisk for stand mixer
- Spatula
- Knife
No Churn Peppermint Ice Cream
Instructions
Take 3 peppermint sticks and place them into a Ziploc bag and seal it. Then using a rolling pin or meat pallet, crush the peppermint sticks into the size of peppermint bites you are looking for. Then set aside.
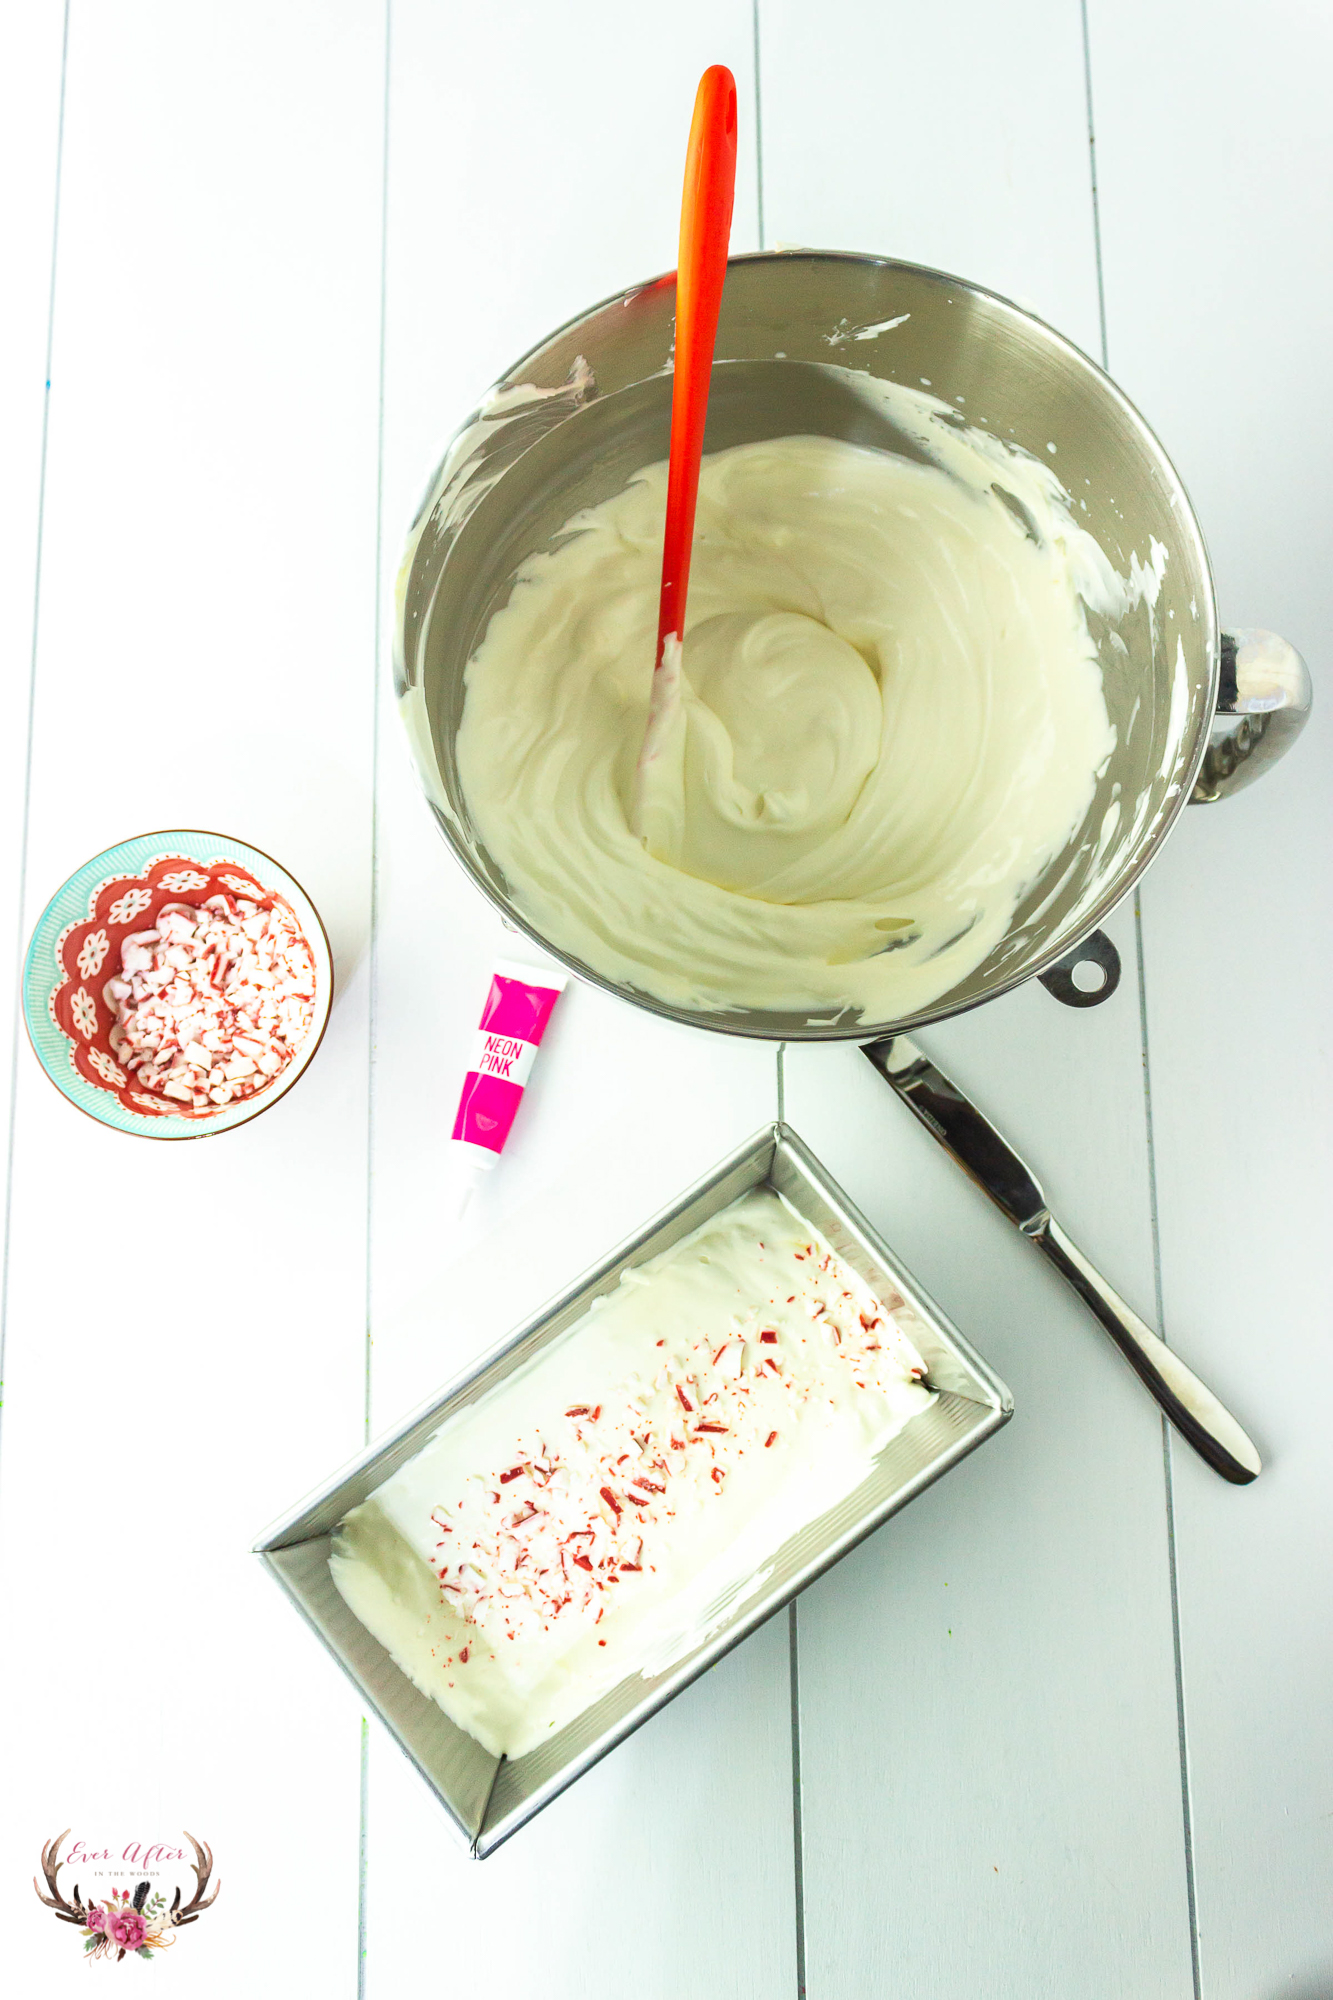
Add the heavy whipping cream into a chilled mixing bowl and beat until stiff peaks have formed. This will take at least 2 to 3 minutes.
Next, turn the mixer off and remove the mixing bowl from the mixer.
Add in the peppermint extract and GENTLY fold in the extract. You don’t want to lose the fullness of the heavy whipping cream.
Next add in half of the ice cream into the loaf pan, sprinkle as much of the crushed peppermint that you would like, then add in the rest of the ice cream.
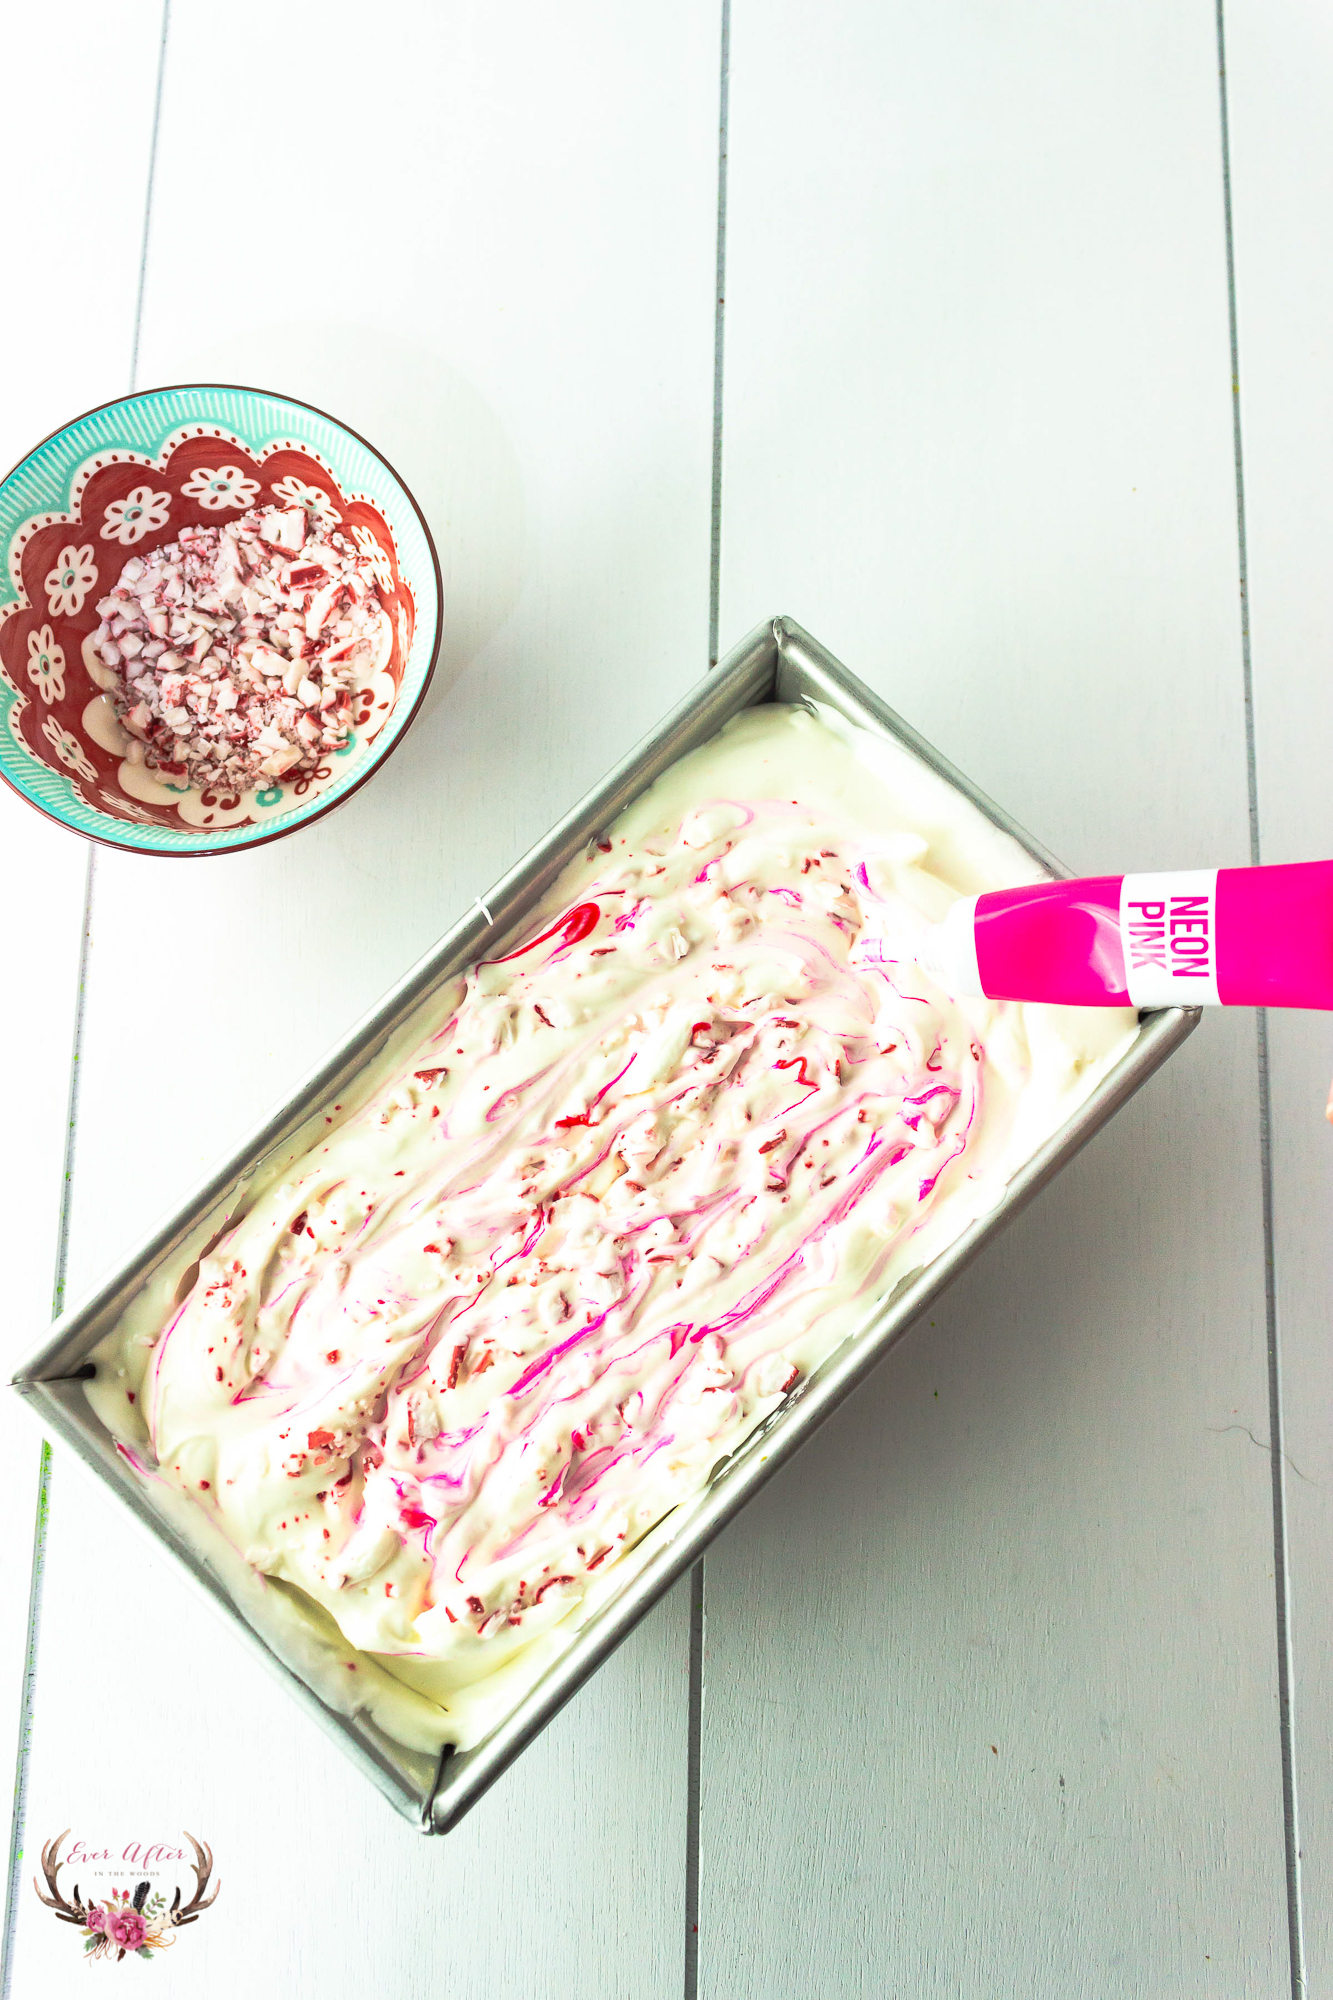
Then add 1 – 5 drops of the red gel food coloring. You can add as much or as little as you would like. The goal is to get the color of pink or red that you are looking for.
Next top with the remaining crushed peppermint and then place in the freezer for at least 6 hours to overnight.
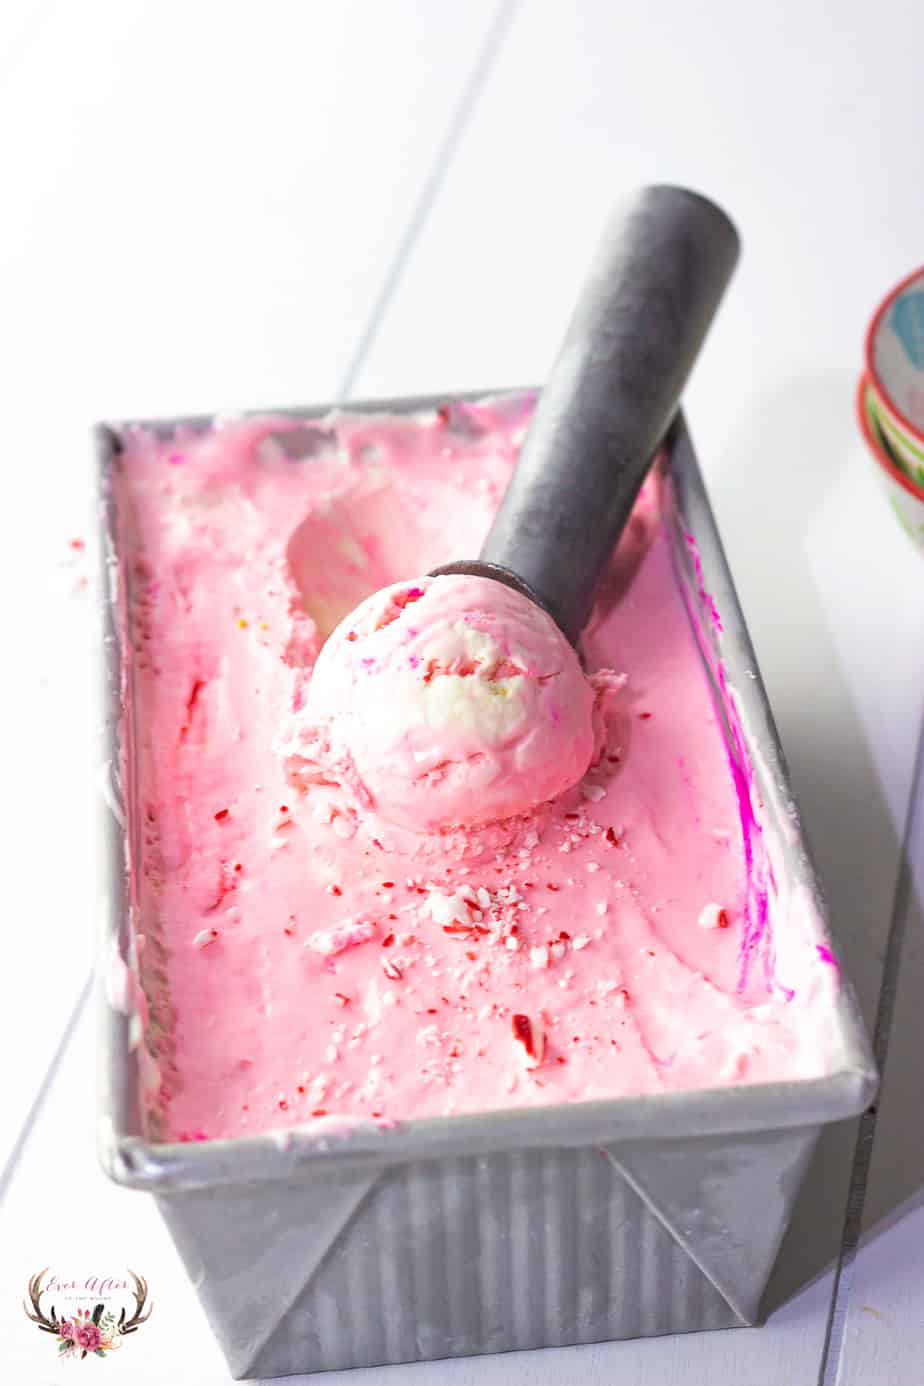
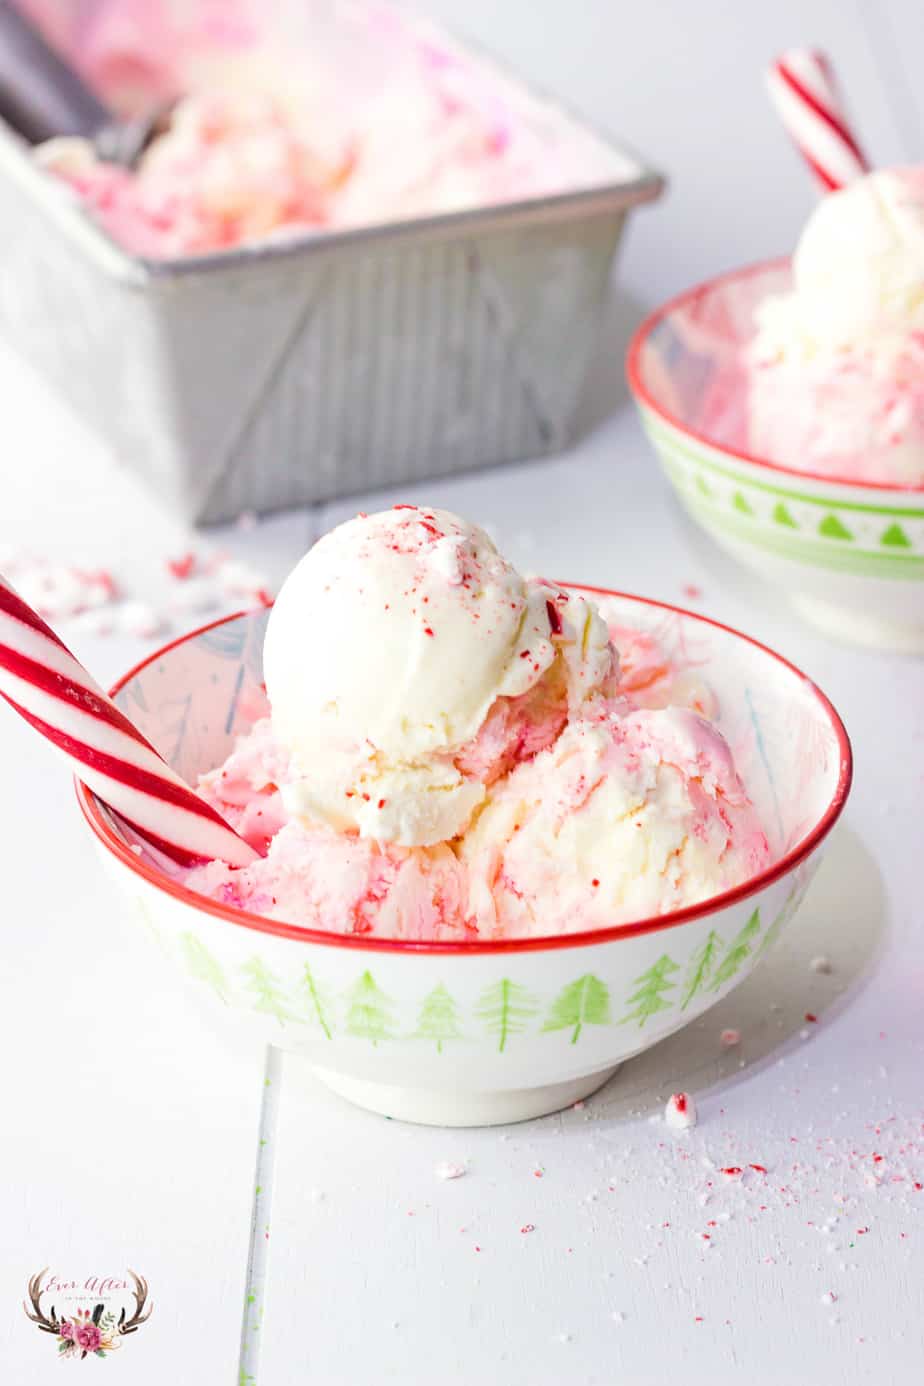
When it’s frozen completely through, scoop out and enjoy!
Additional Tips for Success
Put the can of sweetened condensed milk in the fridge the day before or at least an hour or two BEFORE you plan on making the ice cream. The milk MUST be chilled when making this.
Put the mixing bowl, the loaf pan, and the whisk in the freezer before making this recipe. I recommend 30 minutes to one hour before. THIS IS CRUCIAL!
Keep the heavy whipping cream chilled until you are actually ready to add it to the mixing bowl.
I have found that the best results are achieved when letting it freeze overnight; however, if you are looking for softer ice cream, 6 to 8 hours is a good time frame.
You can also use peppermint candy or Star Mints. However, I have found that when making this, the peppermint sticks seems to hold up the best and provide the best results.
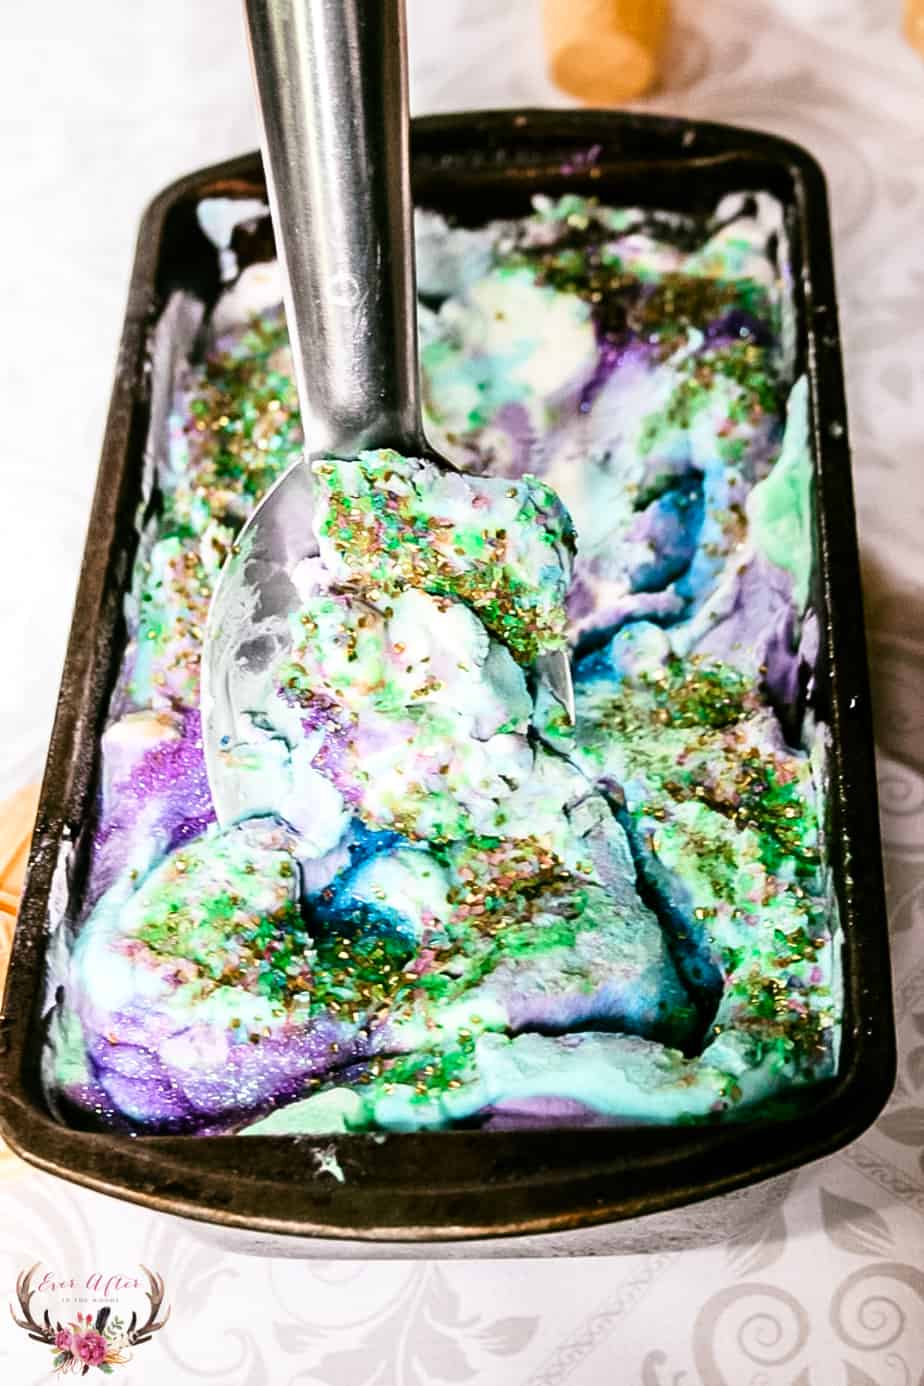
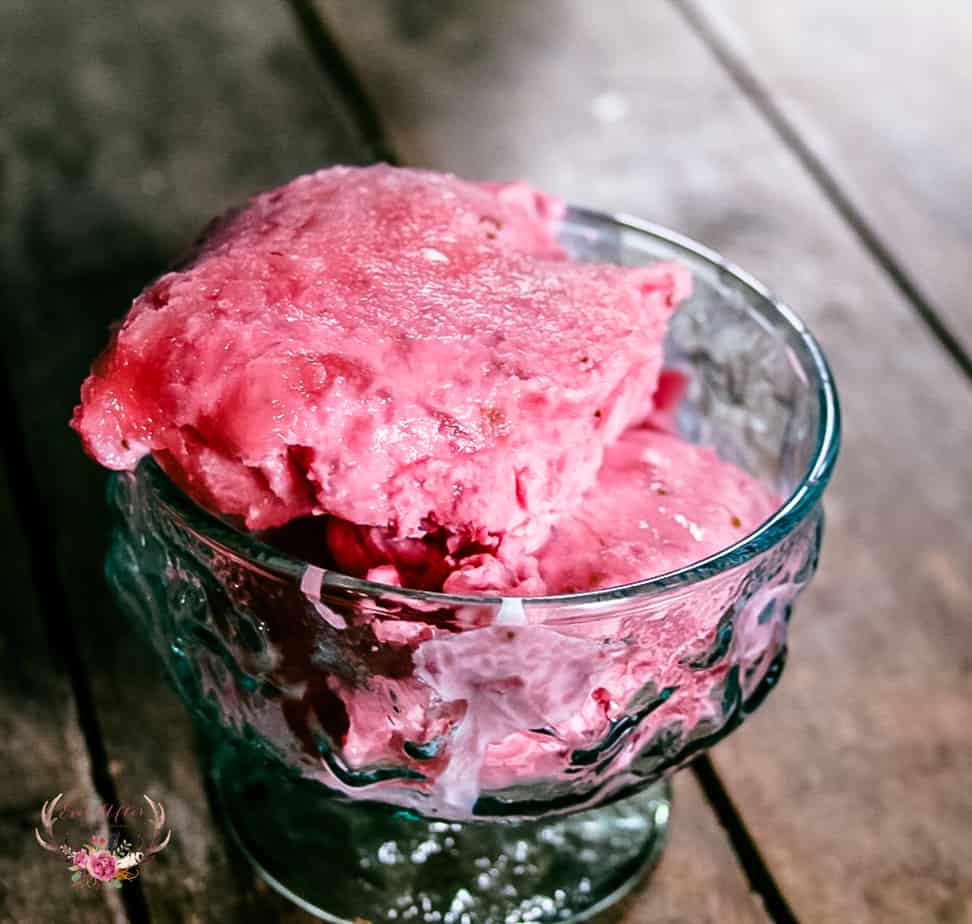
We always have a tub of fresh ice cream in the freezer! From mermaid ice cream, strawberry ice cream and even this rocky road ice cream recipe!
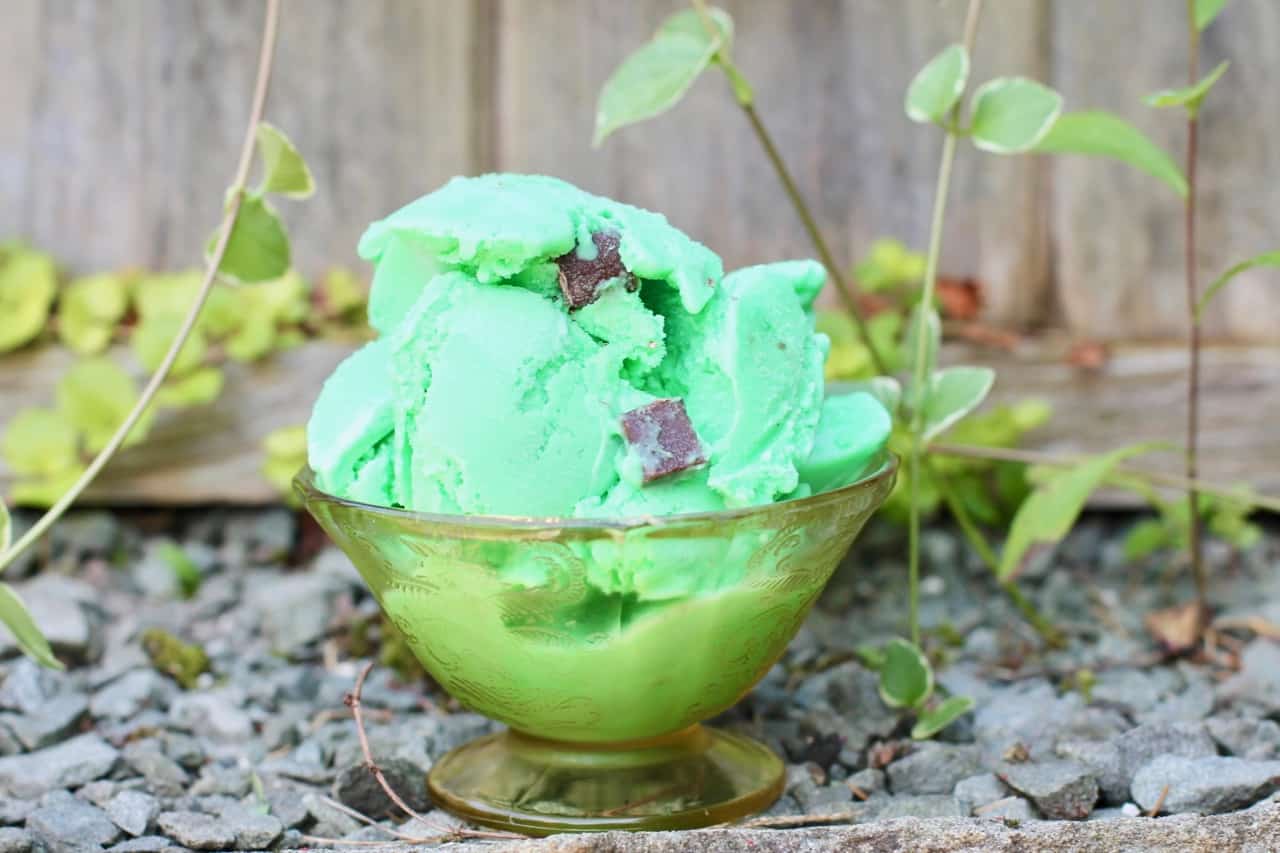

Have a look at my mint chocolate chip ice cream recipe too if you like a minty ice cream.

Homemade Chocolate Ice Cream
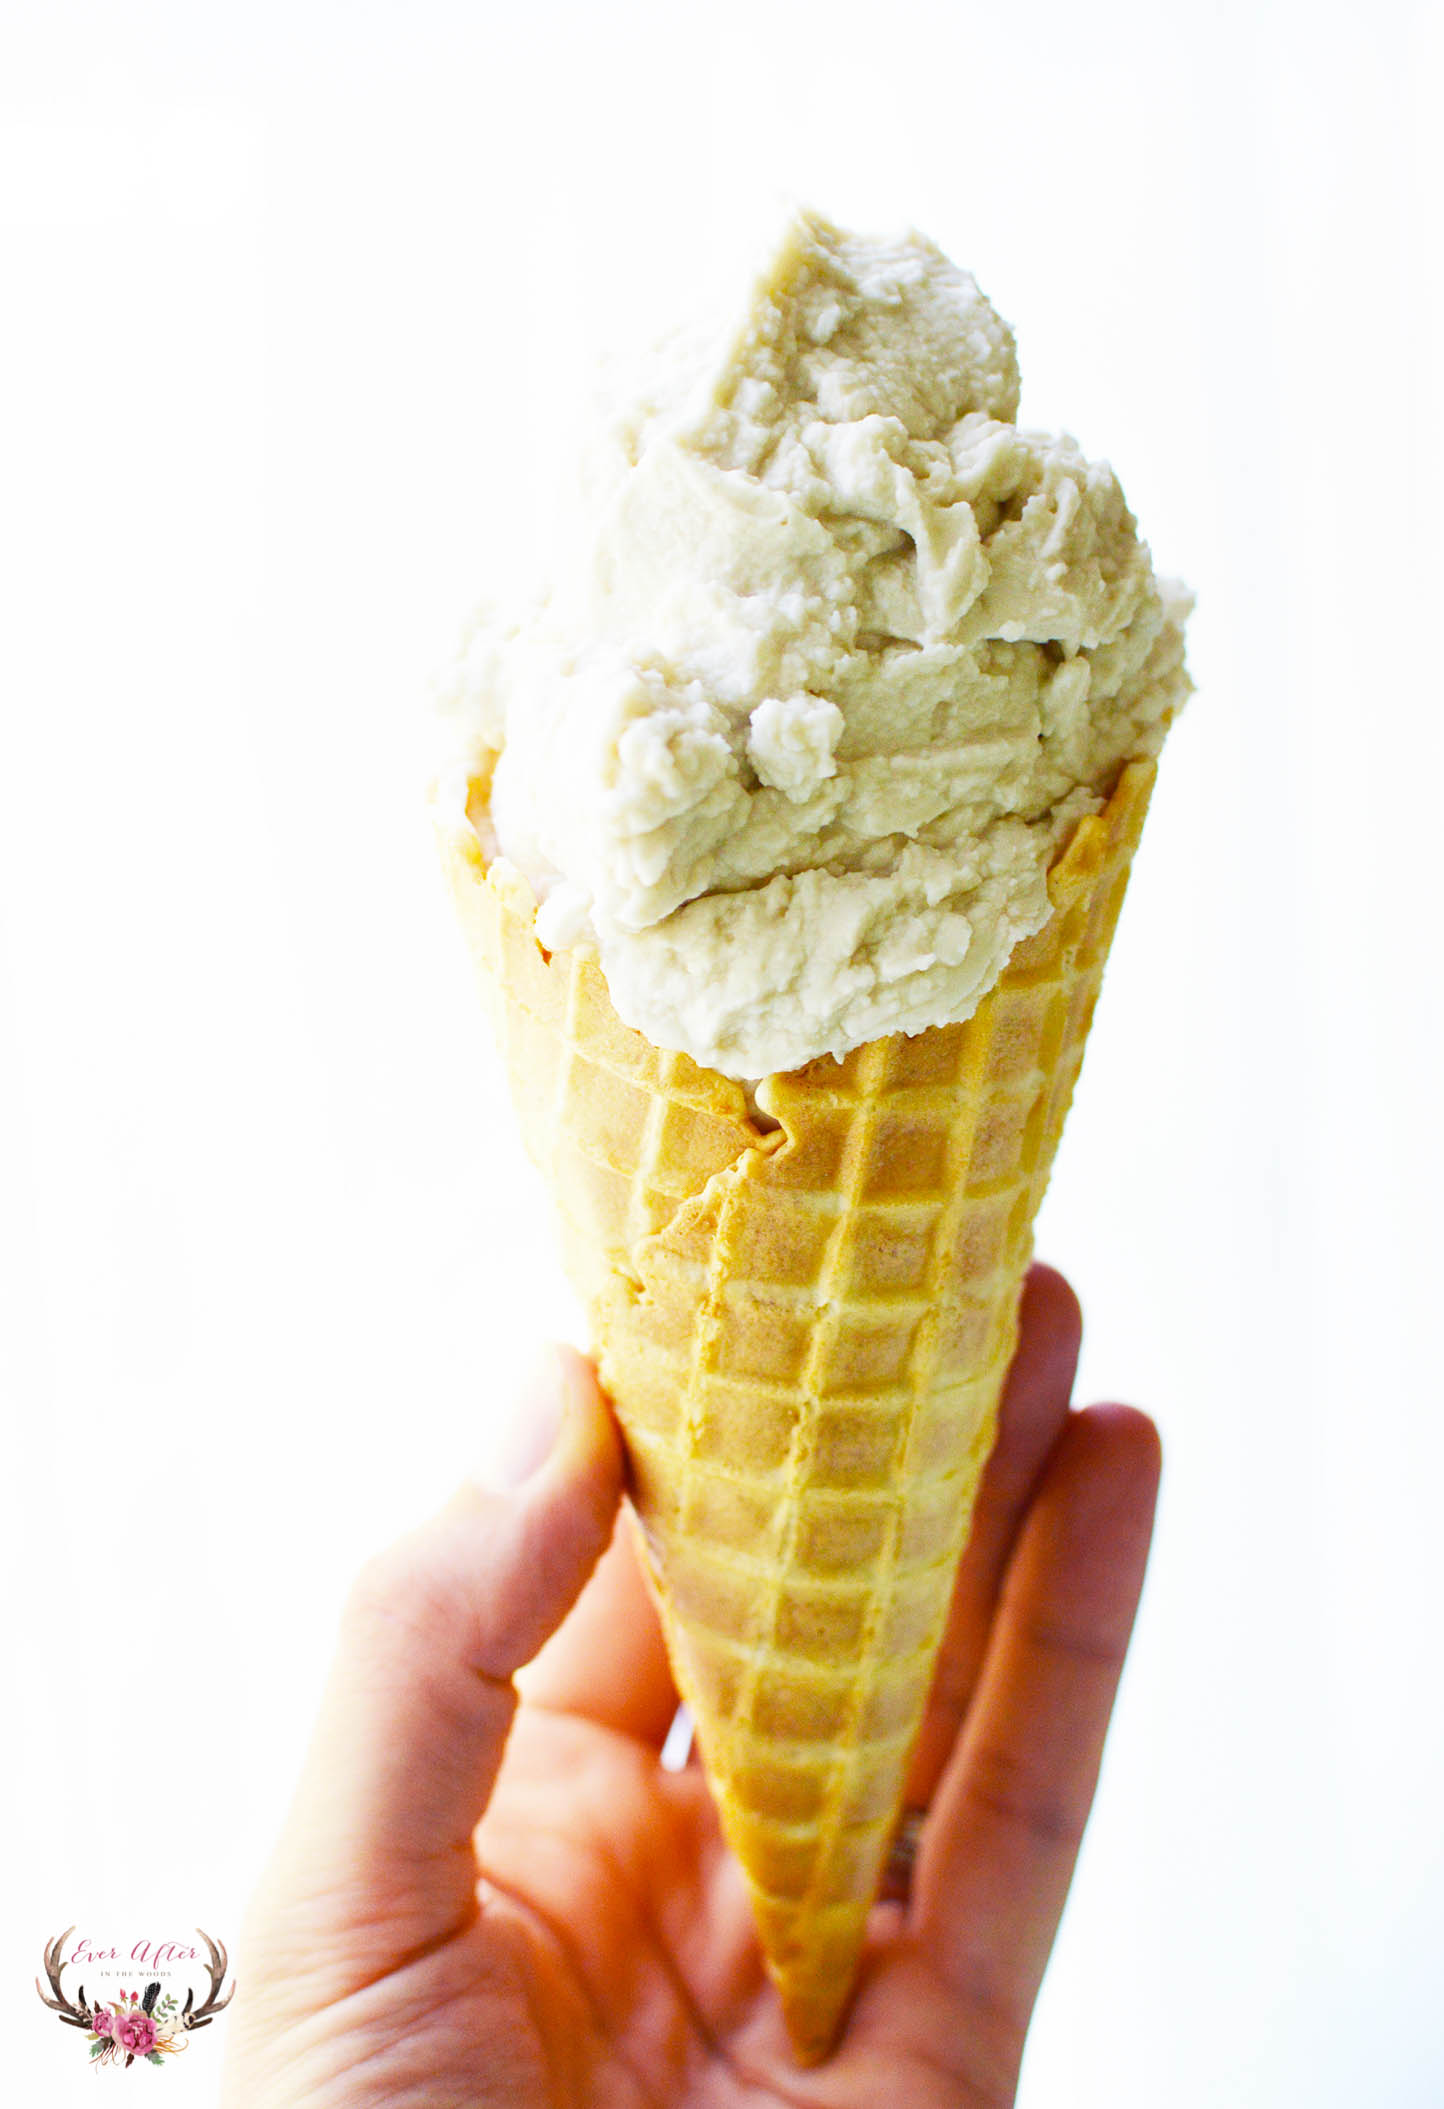
Vegan Maple Ice Cream
Circus Animal Cookies Ice Cream

No Churn Peppermint Ice Cream
No Churn Peppermint Ice Cream is creamy, easy to make, and perfect any time of the year! One of the great things about no churn ice cream is that it is so versatile!
Ingredients
- • 2 cups (1 pint) heavy whipping cream, chilled
- • 1 can (14 oz) sweetened condensed milk, chilled
- • 1 teaspoon pure peppermint extract
- • Crushed peppermint sticks (3)
- • Red gel food coloring
Instructions
Take 3 peppermint sticks
and place them into a Ziploc bag and seal it. Then using a rolling pin or meat
pallet, crush the peppermint sticks into the size of peppermint bites you are
looking for. Then set aside.
Add the heavy whipping
cream into a chilled mixing bowl and beat until stiff peaks have formed. This
will take at least 2 to 3 minutes.
Next, turn the mixer off
and remove the mixing bowl from the mixer.
Add in the peppermint
extract and GENTLY fold in the extract. You don’t want to lose the fullness of
the heavy whipping cream.
Next add in half of the
ice cream into the loaf pan, sprinkle as much of the crushed peppermint that
you would like, then add in the rest of the ice cream.
Then add 1 – 5 drops of
the red gel food coloring. You can add as much or as little as you would like.
The goal is to get the color of pink or red that you are looking for.
Next top with the
remaining crushed peppermint and then place in the freezer for at least 6 hours
to overnight.
When it’s frozen completely
through, scoop out and enjoy!
Notes
Put the can of sweetened condensed milk in the
fridge the day before or at least an hour or two BEFORE you plan on making the
ice cream. The milk MUST be chilled when making this.
Put the mixing bowl, the loaf pan, and the whisk
in the freezer before making this recipe. I recommend 30 minutes to one hour
before. THIS IS CRUCIAL!
Keep the heavy whipping cream chilled until you
are actually ready to add it to the mixing bowl.
I have found that the best results are achieved
when letting it freeze overnight; however, if you are looking for softer ice
cream, 6 to 8 hours is a good time frame.
You can also use peppermint candy or Star Mints.
However, I have found that when making this, the peppermint sticks seems to
hold up the best and provide the best results.